It’s always been part of my plan to create a time-lapse video of the building progress. It seems easy enough – “simply” take a photograph of the site from the same location every day or so and string them together to make a video. Looking into the next level of detail though things get a little more complicated:
- For the best effect each shot needs to be taken from exactly the same location. That means it’s best to leave the camera in one fixed position and trigger it to take shots on a regular basis.
- The camera is going to be outside all the time so it needs to be weatherproof.
- Let’s assume the build is going to take 12 months – that’s quite a lot of photographs, and at decent resolution it’s quite a lot of data storage.
- The camera needs a power source and some means of extracting the photos from it. Some cameras use batteries and data cards which means the camera needs to be accessible to swap those, whereas for the best coverage (and to help prevent anyone trying to steal or vandalise the camera) it wants to be in a relatively high and inaccessible location.
- You ideally want to review what the camera is capturing on a regular basis. It would be disappointing to think the camera was collecting all the important events when in fact it wasn’t but you didn’t find out until the end of the build.
There are some dedicated time-lapse cameras available (e.g. from Brinno, including a package aimed specifically at construction projects) but they’re not cheap and the batteries and data cards need managing.
An alternative approach is to use a network-connected video camera (i.e. an outdoor webcam) from which still shots can be extracted on a regular basis and used to make a time-lapse video. The benefits of this approach are:
- The photos are downloaded over the network, which means the camera can be mounted in an inaccessible location.
- It’s possible to check exactly what the camera is recording in real-time, reducing the risk of it failing to capture the shots you want.
- Having a video camera monitoring the site is good from a security standpoint, with all sorts of options for motion detection and sending automated alerts.
- There are some decent outdoor-grade video cameras available for less than the cost of a specialist time-lapse camera.
The main challenge with this approach is the power source and possibly also the network connection – WiFi is an option for the network but batteries aren’t a great option as a power source. However, if you bite the bullet and run an Ethernet cable that will also supply power to the camera, even over a significant distance (several tens of metres).
Then there’s the issue of siting and mounting the camera:
- It wants to be located so as to capture all of the important building activities in reasonable detail: close enough to provide a quality image but far enough away that the camera’s field of view includes everything it should.
- It wants to be out of the way of the building work so it doesn’t get damaged or dislodged.
- It wants to be quite high up, for something of a bird’s eye view and to discourage people from interfering with it. Unless there’s a convenient building nearby it’s probably best to mount it on the top of a pole.
- It ideally wants to be facing north, so it’s never pointing into the sun.
Fortunately for me, the previous owners of the property had a flagpole on the southern boundary near to the location of the new house. It’s a scaffolding pole, made from aluminium rather than the more usual steel, which makes it easier to drill and move around but also makes it a bit “wobbly”, especially in the wind – aluminium is nothing like as stiff as steel. Although the southern boundary is only about 10m from the house, an outdoor webcam mounted on the top of this existing pole can fit all of the house (but not all of the outbuildings) into frame, plus it also covers the caravan and a lot of the wider site.
I’ve had good results using other computer networking equipment from Ubiquiti Networks so I decided to use one of their UniFi Video Camera devices. This is suitable for outdoor use “under an overhang” which means I needed to give it some extra protection and settled on mounting it inside a length of 110mm drain pipe with a cap on the back:
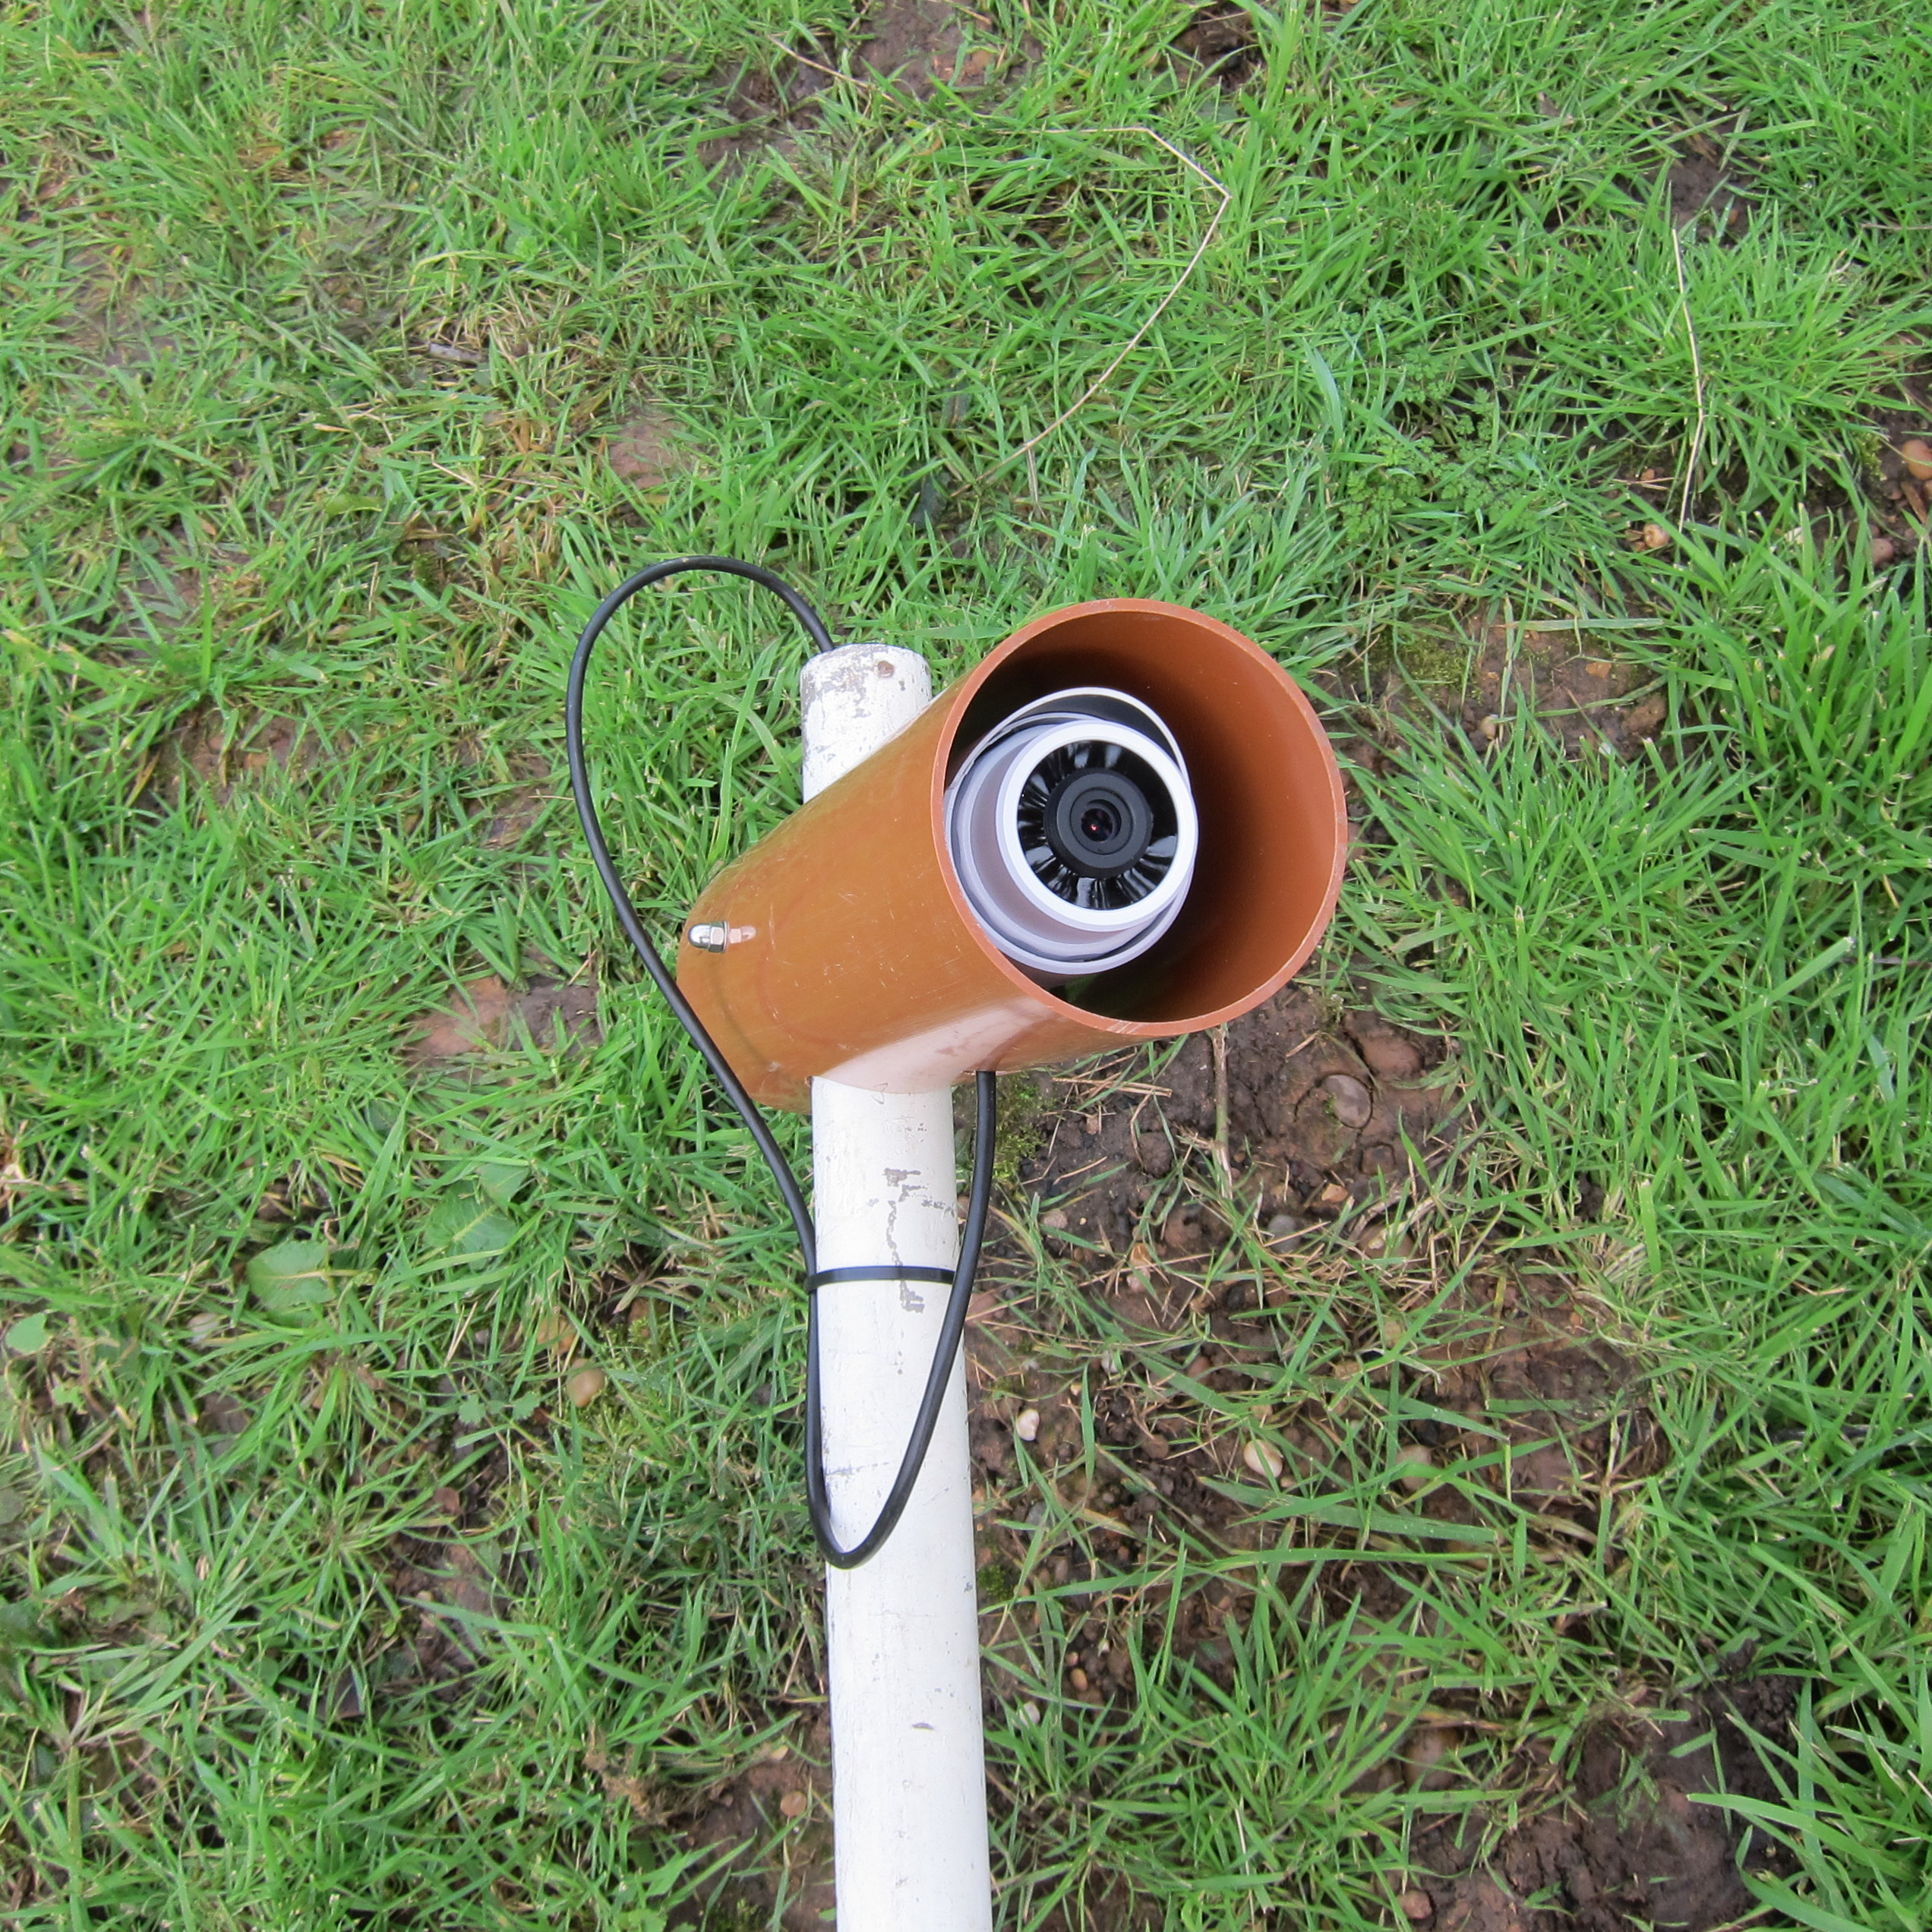
UniFi Video Camera fitted to pole, protected by drain pipe
Here’s a shot with the camera and pole in-situ. The pole is roughly 6.5m long and the camera is pointing down at an angle of 13 degrees:
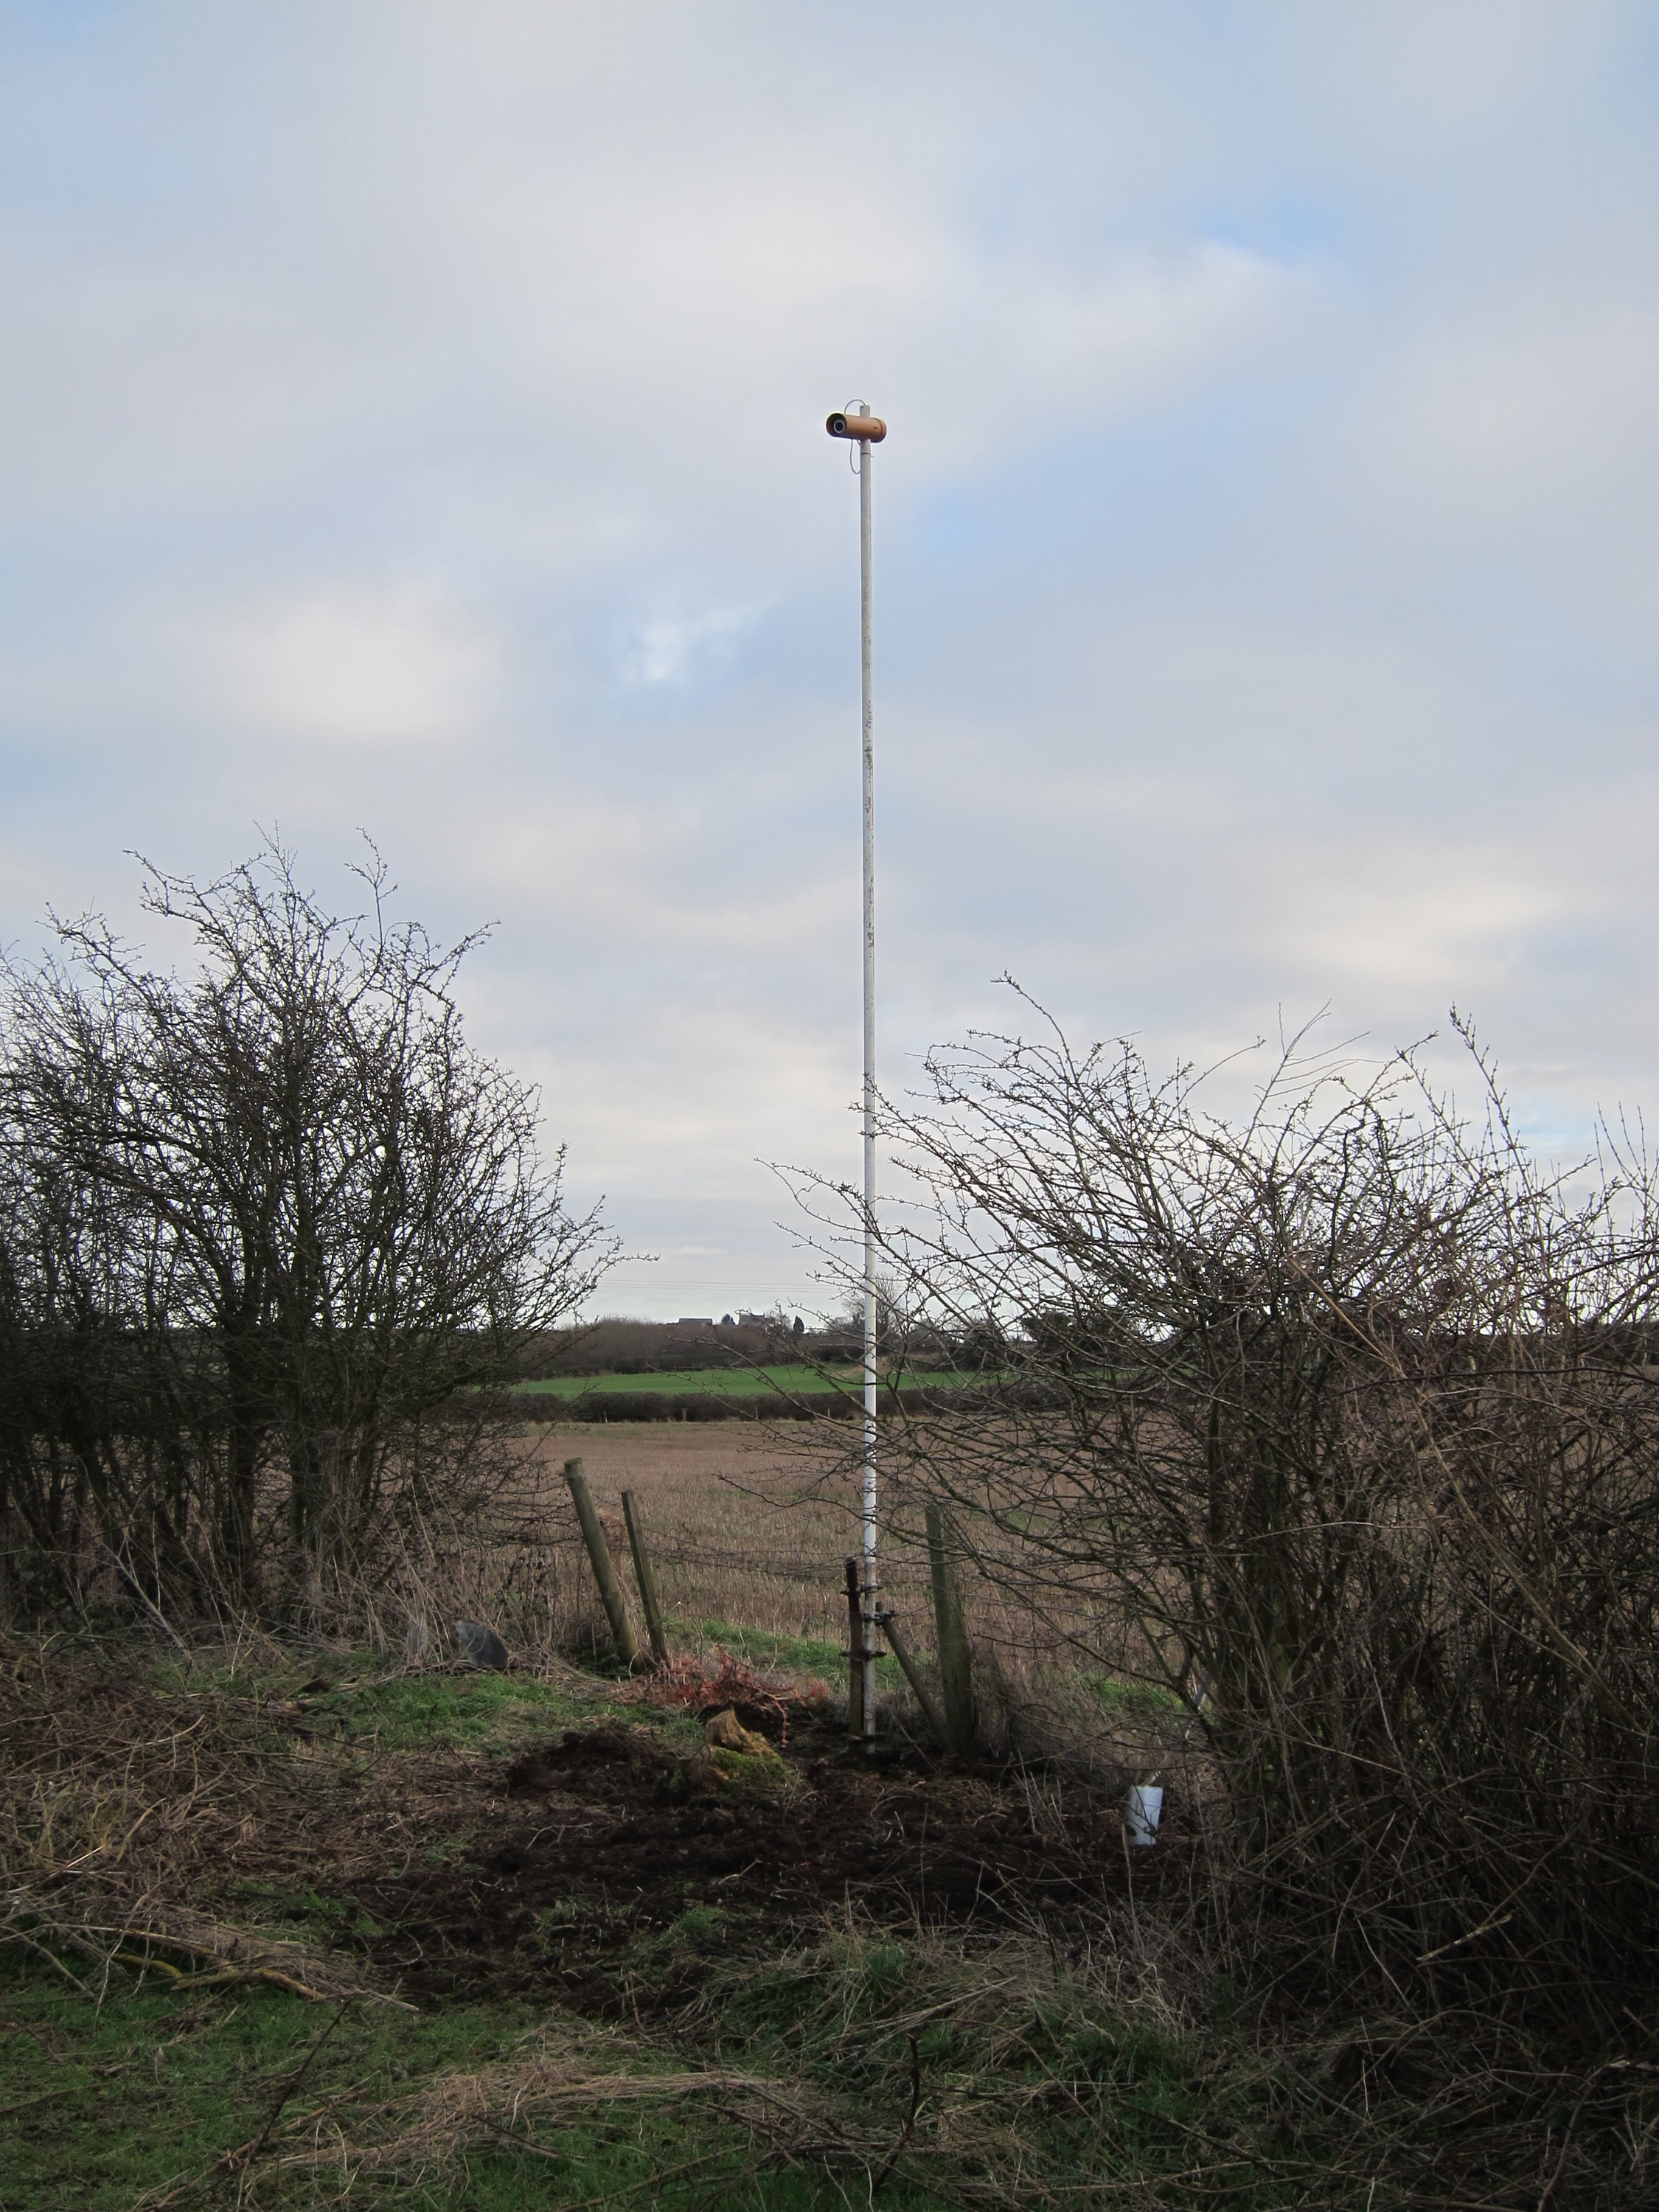
UniFi Video Camera mounted on top of pole, protected by a length of drain pipe
And here’s what the camera is looking at. You can just make out a string line running from left to right in the foreground which marks the southern-most edge of the new house. The trenches you can see are along some of the foundations of the old farmhouse.
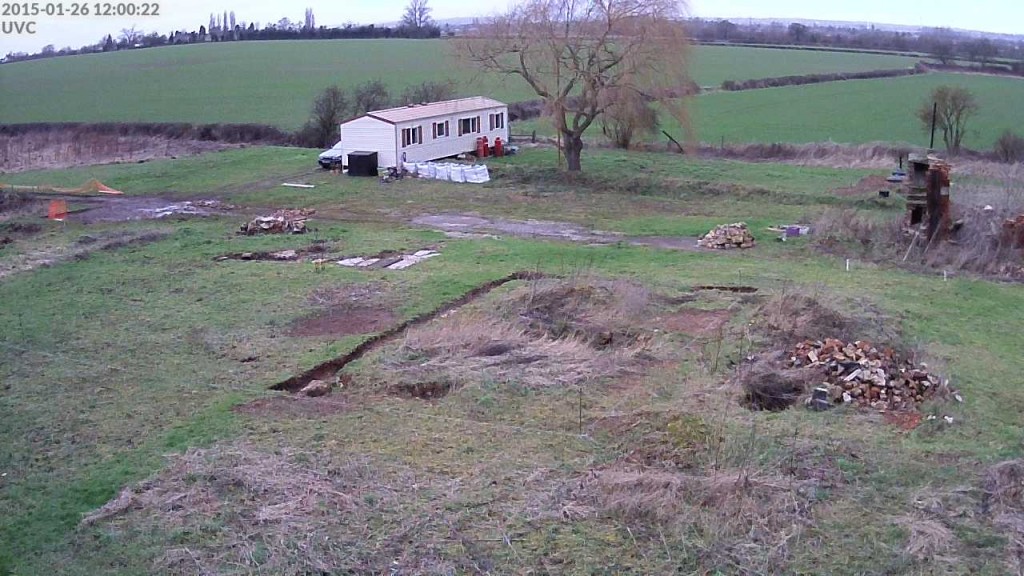
Still frame from time-lapse camera, 2015-01-26 @ 12:00
See my separate Technical Article for more details about the construction of the camera enclosure and the software tools for grabbing and processing the images.