Week 26, Day 3:
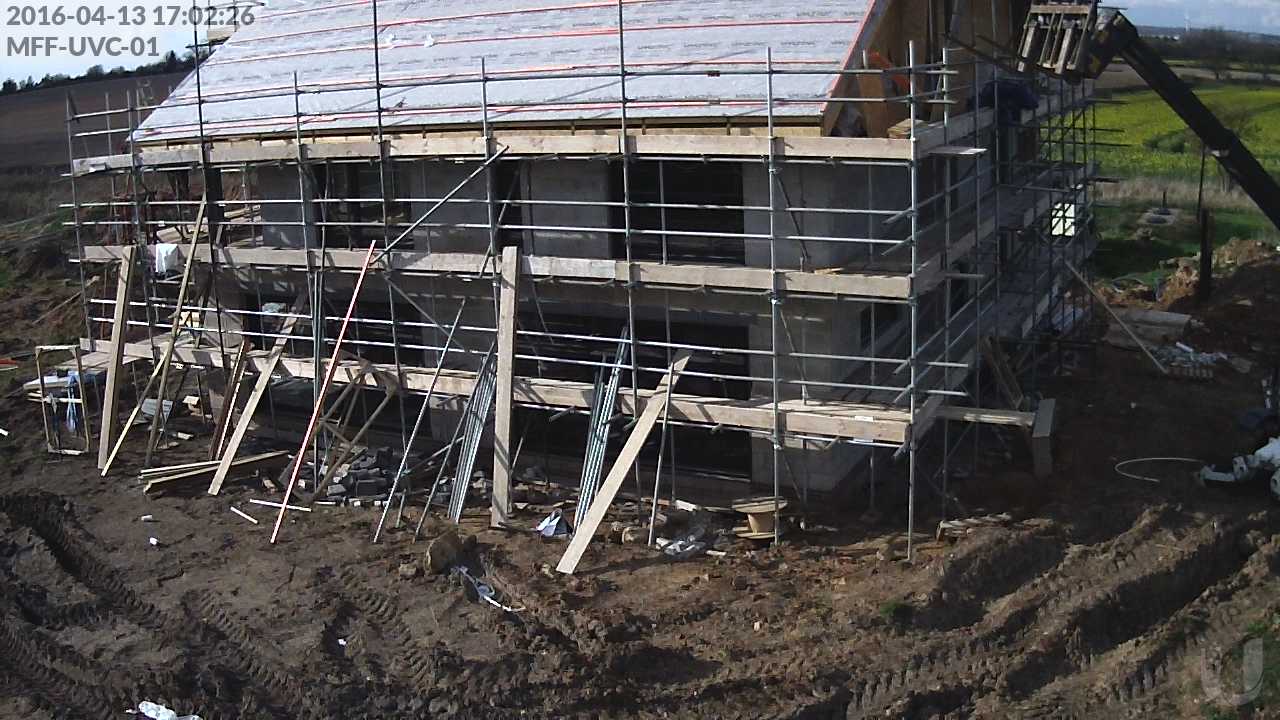
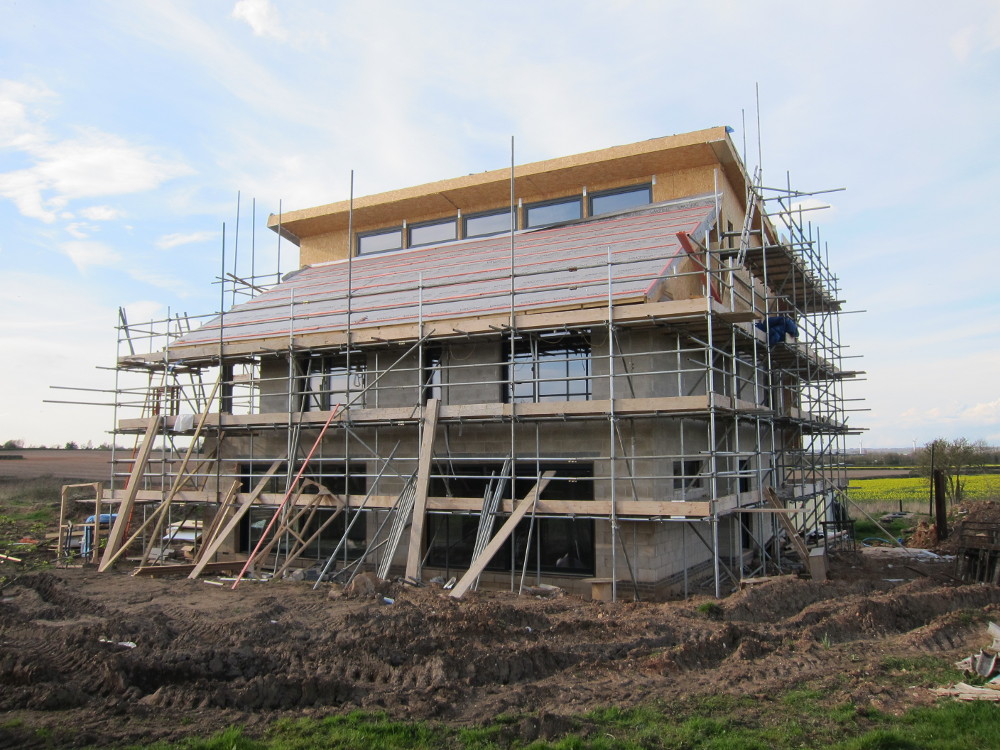
- The south roof was over-boarded with 11mm OSB to provide enough thickness to firmly fix the zinc roof retaining clips to
- The north roof has 18mm OSB whereas the south roof only had the 11mm OSB as the upper face of the Structural Insulated Panel
- Still some discussions ongoing about the precise specification of the “structured separation layer” which needs to go between the roof boards and the zinc covering – in the meantime a basic membrane has been installed to keep the rain off and give the boards chance to dry out as much as possible before the zinc goes on
- The concrete flooring team came back to cut the expansion joints into the concrete
- The “missing” window glass for the top floor has been located at the Internorm factory in Austria and is now being shipped to the UK, so that should be installed by the end of next week
While the floor looks pretty good already, this is just the “rough” finish. After it’s had chance to cure for about 4 weeks it will get diamond-polished (so around the middle of May).
The paler circular disk is one of the electrical floor boxes, which will get a brushed stainless steel cover. (There’s another box barely visible further into the room.)
![]() Week 26, Day 3 by Marsh Flatts Farm Self Build Diary is licensed under a Creative Commons Attribution-ShareAlike 4.0 International License.
Week 26, Day 3 by Marsh Flatts Farm Self Build Diary is licensed under a Creative Commons Attribution-ShareAlike 4.0 International License.


Can you post a link to where you sourced the circular floor sockets and the back boxes that they fit into
Also I presume that the boxes for them were tied to the rebar steel when concrete being poured did you make any allowance for the grinding down of the boxes during polishing process?
Hi Brendan,
The floor-boxes are the 700-series Round boxes from CableDuct Ltd, http://www.cableductuk.com/700series_round.html
They’re actually fixed to the sub-floor, using wooden blocks in place of the insulation that’s under the rest of the floor slab.
For the polished concrete floor I specified the “retrofit” boxes, so the back-box doesn’t extend any further than the circular cover; normally the back-box is rather larger than the cover but that would have made the concrete likely to crack around the shape of the back-box.
They were located accurately at the finished (after grinding) floor level – or at least that was the plan (one is about 2mm too low). There’s not much scope for grinding down the stainless steel rim, so you need to get the boxes at the right height then be careful with the concrete installation.