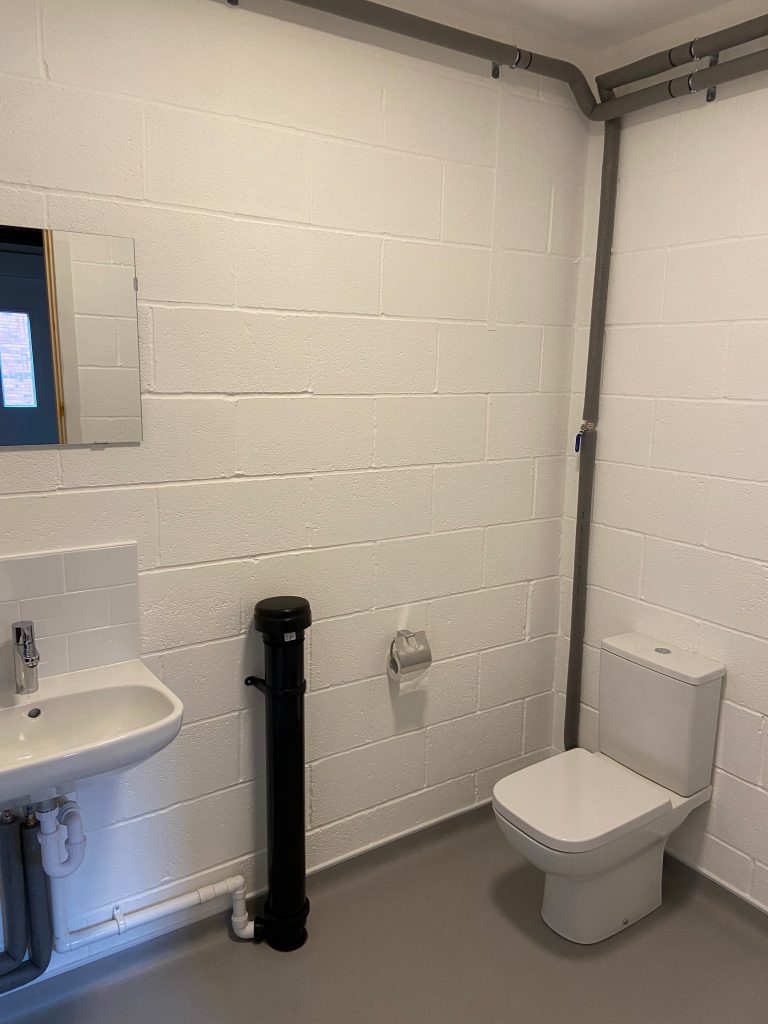
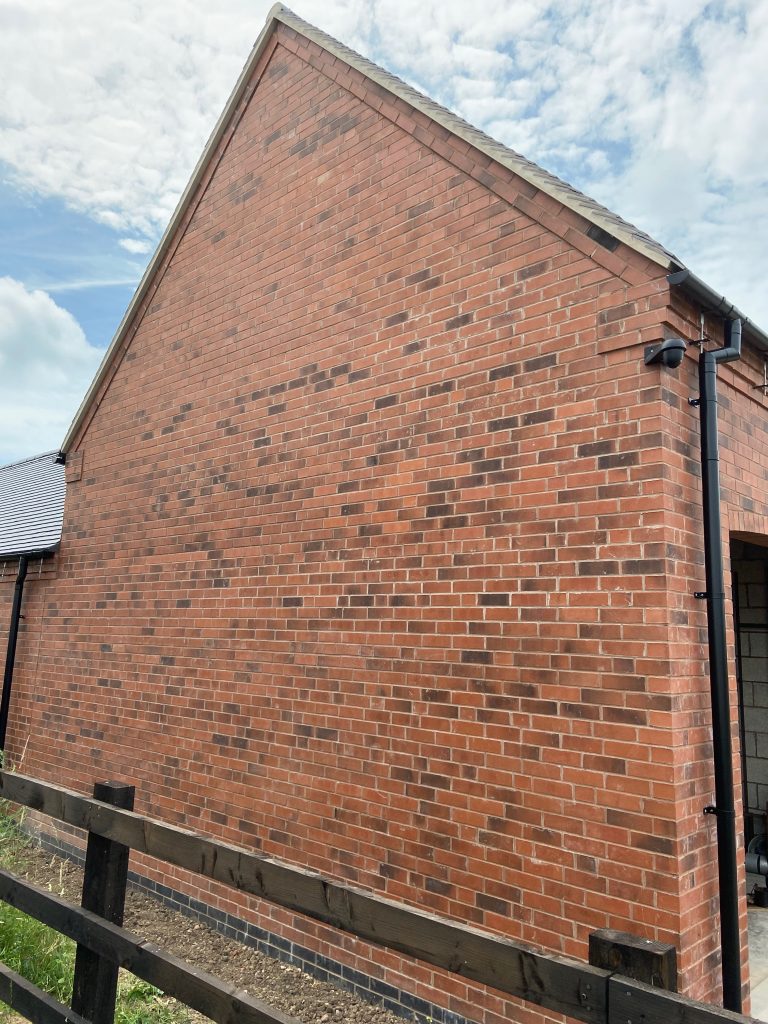
One minor disappointment with the Outbuildings is that the East-facing gable wall of the garage block has been getting damp coming through to the inside on a few occasions when there’s been persistent driving rain. This is a ‘solid’ wall (i.e. without a cavity) about 210mm thick, formed of brickwork on the outside and blockwork on the inside. Since it’s in the unheated-and-uninsulated half of the building this wall didn’t need a cavity for insulation purposes but on reflection it would have benefitted from an uninsulated cavity to stop penetrating damp coming all the way through.
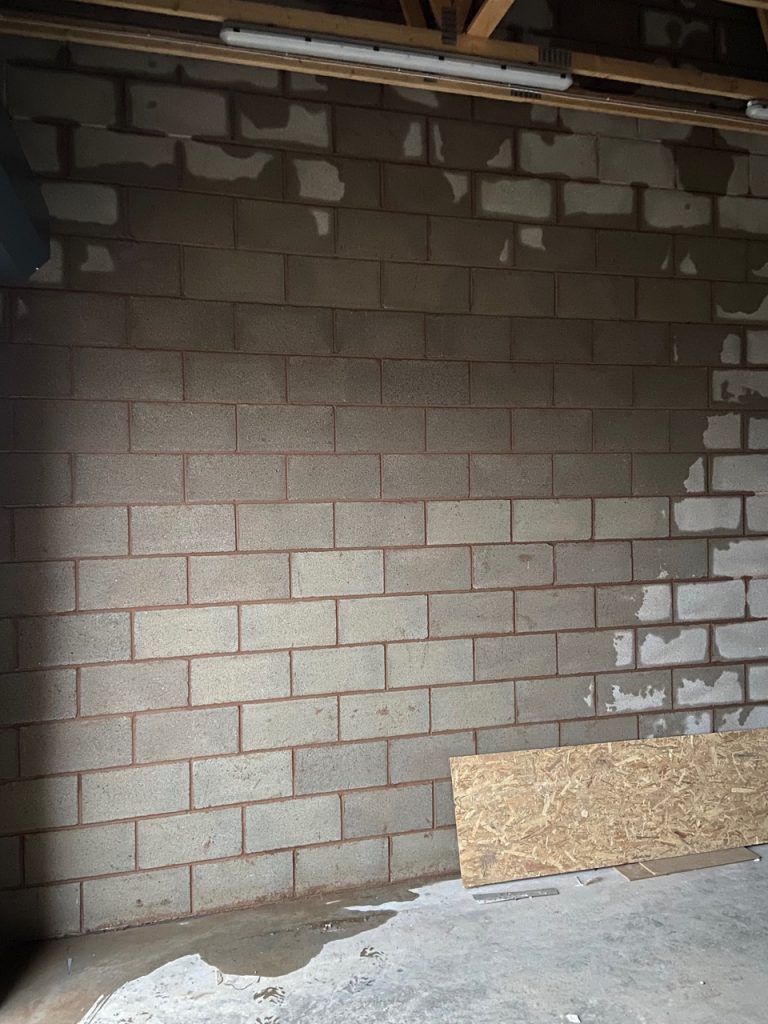
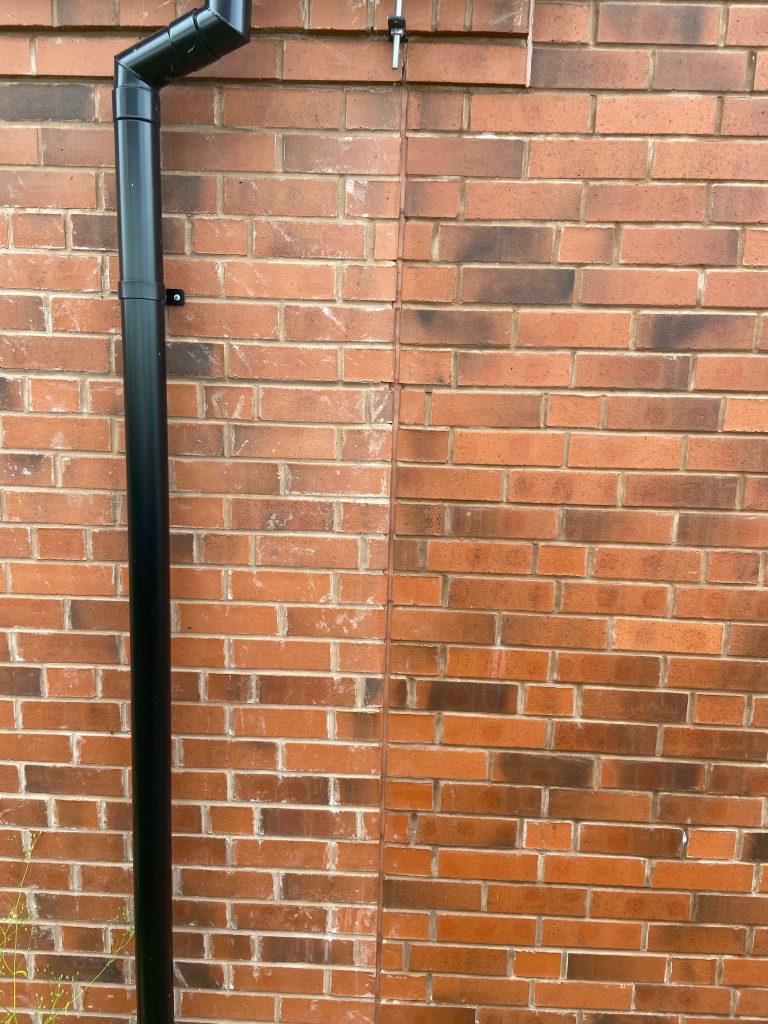
Based on the internal photo, the damp appears to be worse at the bottom than the top (and the left (i.e. North) rather than the right) but later in the winter the whole wall appeared to be more evenly damp. Since the bricks used throughout the Outbuildings are very tough – almost Engineering Brick grade – the builders’ conclusion was that the water probably isn’t coming through the bricks themselves but is more likely to be mostly coming through the mortar. It’s possible that the additives included in ready-mixed mortar, to help that remain workable for several days, might make it less waterproof than site-mixed mortar. Over the winter, the ambient humidity tends to remain high and even with the garage door left open the wall didn’t dry quickly.
It’s not clear how much consideration was given to this risk at the design stage. The fact that the wall faces due East might have been expected to mean it would be relatively sheltered from the prevailing wind – which is generally assumed to come from the South-West. Research into prevailing wind directions (such as Seasonal variation of the prevailing wind direction in Britain) confirms that South-West is the dominant wind direction (based on data from a location about 90 miles away). With East Midlands Airport being only a few miles away, their weather data is generally directly applicable and the Met Office publish weather data for UK airports – including the ‘Windrose’ shown below, which indicates the wind is indeed generally from the West and South-West. In particular, the strongest winds are mostly from the South-West. This expectation probably excuses driving rain on an East-facing wall being considered a significant risk at design stage – but clearly there’s still enough wind-blown rain coming from the East and North-East directions for there to be a problem, on this relatively exposed and unsheltered gable wall.

The Architect for the project, acting in their capacity as Project Administrator, concluded that the builders had faithfully built what was shown on the drawings and so were not liable for this being considered a ‘construction defect’. In the end we all agreed that the best course of action was to try applying some sort of water repellent treatment to the outside of the wall – the expectation being that even a modest waterproofing effect would probably be sufficient.
Stormdry Masonry Protection Cream claims a 25-year lifespan and has BBA Approval. As a goodwill gesture the builders agreed to pay £125 for 5 litres of this. There was no point trying to apply it while the weather was cold and the wall was still damp but a warm weekend in early July seemed like the ideal time, with no rain having fallen for a day or two and none being forecast for more than 48 hours.
In the tub, the Stormdry cream is bright white and roughly the consistency of mayonnaise. It cannot be poured in any sort of controlled fashion so it was necessary to ‘spoon’ it into a roller tray. It went on well with a brush around the edges and a long-pile 9″ roller (intended for masonry paint) made it easy to apply over a large area. The white cream turns into a clear liquid once applied which then soaks into the masonry.
A 5 litre tub with a nominal coverage of 25m2 actually covered about 32m2 – no doubt helped by the fact that the bricks are not very porous. The last few bits from the tub were brushed into some of the mortar joints that appeared to be drying quicker than the rest of the wall, suggesting they needed more treatment.
The success (or not) of this treatment won’t be evident until the Winter. It’s probably best never to paint the inside of this wall (or any of the ‘solid’ walls) to allow any moisture that does get through to evaporate. If the problems persist a more dramatic solution would be to build an extra wall on the inside, to form a (ventilated) cavity – so that at least the inner wall remains dry.