Timber Fence Preservative

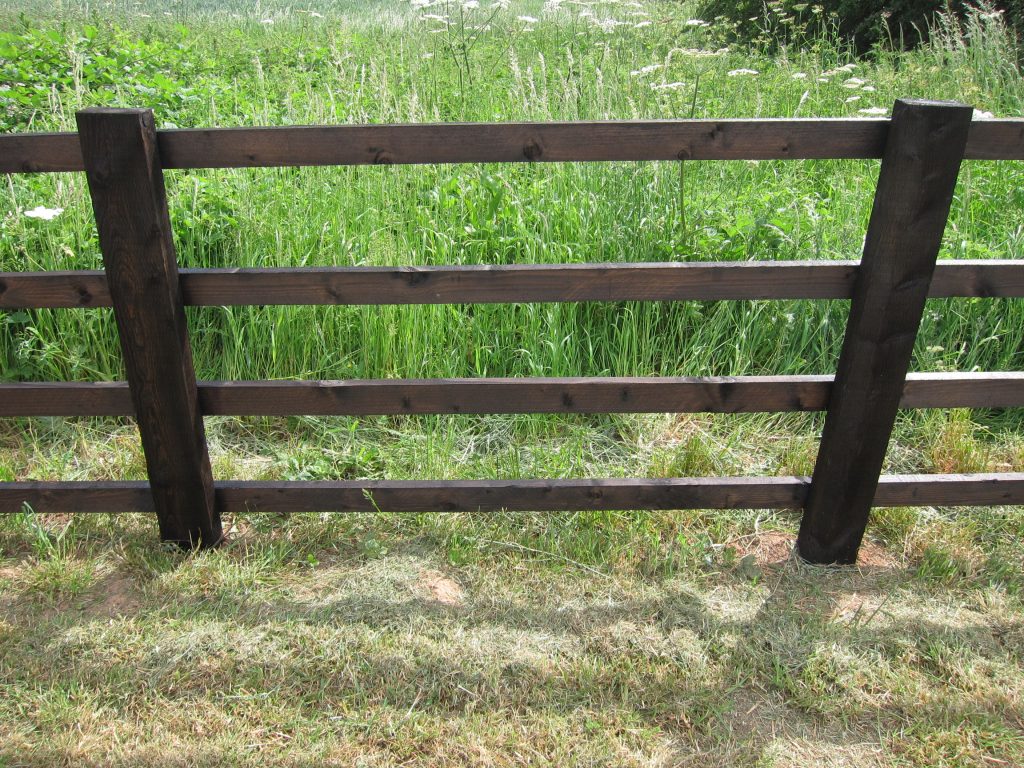
The 65m run of ‘motorway’ post-and-rail fencing along the Eastern boundary of the site, installed in January 2026, always had much paler-coloured Rails than Posts – as can be seen in one of the photos of the adjacent Hornbeam hedge here. To help balance the colours and to prolong the life of the timber, the plan has always been to apply some dark-brown, oil-based timber preservative. Since the preservative effect is improved if that soaks into the wood as much as possible, the best time to apply it is when the timber has been able to fully dry out. The mini-heatwave at the end of May seemed like a good time to apply a first coat, with perhaps a second coat at the end of the Summer.

There are a couple of different treatments which are safer alternatives to traditional creosote, and Creosolv from Barrettine gets good reviews so is the one I selected. It’s quite a thin liquid and so tends to splash easily but it soaks into dry timber very well – especially end-grain and the ‘incised’ surface of the fence posts.

One section of the post-and-rail fencing with a coat of dark brown Creosolv timber preservative

The fence Rails, while being ‘rough sawn’ are actually quite smooth in places, which means the preservative soaks in much less well than on the Posts. On a hot day the product dries quickly enough for a second coat to go on straight away, so some of the Rails did get two coats – but they would benefit from a further coat at some point. Rather than applying that straight away it seems sensible to wait for the fence to dry out some more (and for the finish to ‘weather’ a bit).

65m of fencing needed about 22 litres of Creosolv, so the cheapest option is to buy one 20 litre barrel then top-up with the 4 litre cans if required.

Outbuildings: Week 37, Day 5

Outbuildings: Week 37, Day 5

A sub-zero night – and it didn’t make it far above freezing all day. The noon snapshot pleasingly caught frost on the shaded north-facing roof – which also shows the loft insulation is working OK in the Utility Room. (I’m not sure why the south-facing wall of the Garage often looks green in these photos, when the sun is bright – perhaps something is upsetting the camera’s attempt at white balance.)

The floor covering team were back on-site, laying the vinyl flooring. That will need further work on Monday, to weld the joints together, fit the threshold strips etc.

The plumbers were back too, though not for a full day. They completed the removal of the last of the redundant sections of underground water main – the main complication for that being that it was upstream of the on-site stop tap which meant the water needed isolating at the meter, which is 600 metres away. They also started fitting the water meters and expansion vessel for the rainwater harvesting system.

The heat pump team made a bit more progress, connecting up the pipework for the second indoor unit.

Outside, the main build team re-installed some of the rainwater downpipes with longer brackets, to clear the ductwork for the heat pump system, then continued work on the GrassGuard blocks – including starting to fill the voids in those with topsoil.

One of the rainwater downpipes reinstated with longer brackets, to hold it further from the wall making space behind for the horizontal trunking enclosing the pipework for the air-to-air heat pump

The long-awaited delivery of the new concrete headwall (and the collection of the one sent incorrectly) did happen as scheduled – while I was off-site turning off the water at the meter. When I got back I realised it looked wrong and checking the drawing confirmed it was a ‘small’ model (815mm high) not the required ‘medium’ model (1150mm high). The story is that it was a mix-up at the dispatch yard, where the one destined for here got labelled for another customer – so we got theirs. The plan is to swap them on Monday.