Dressing Room Built-In Wardrobes

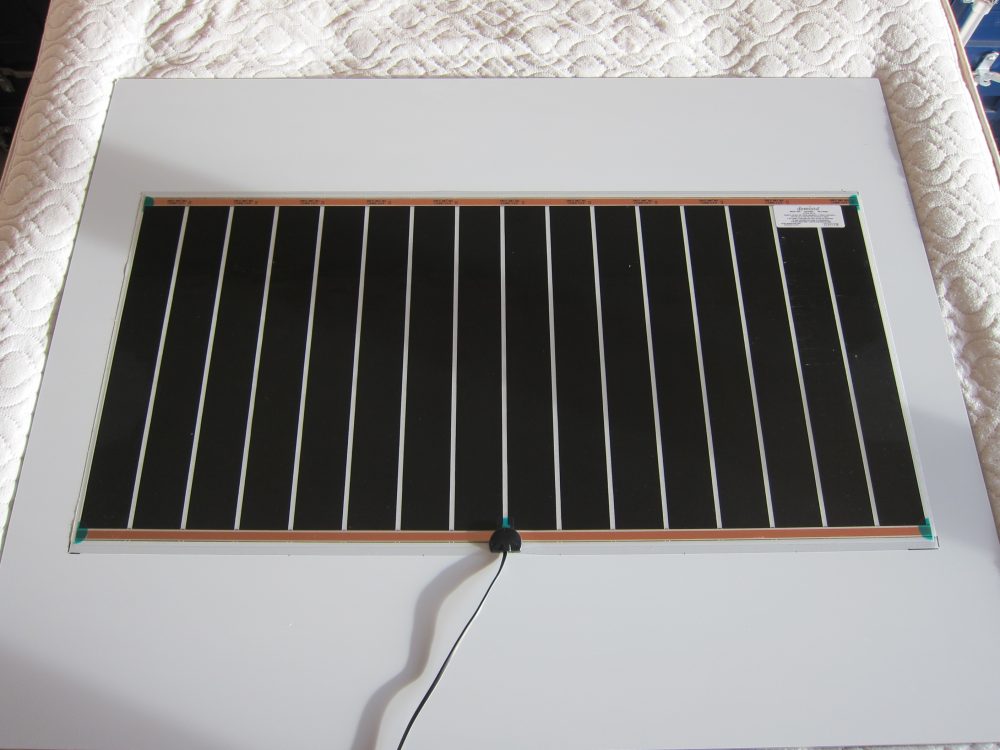
For no particular reason it’s not been a priority to finish off the built-in wardrobes in the master bedroom, so despite buying the fittings some months ago there’s been little progress until now.

It’s always been the plan to install wardrobe fittings here while providing access to the plumbing and electrical fixtures behind and it’s always been the case that they would need to be mounted on floor-to-ceiling columns rather than being fixed to the back wall, where the services are. (The units on the left of the photo are touching the wall but not fixed to it; the units at the back of the photo are about 100mm clear of the consumer units and other services behind.) There is enough access for basic maintenance with the wardrobe fittings in place but in case better access is required all the fittings are removable with a couple of Allen keys.

Built-in wardrobe fittings in front of electrical and plumbing services

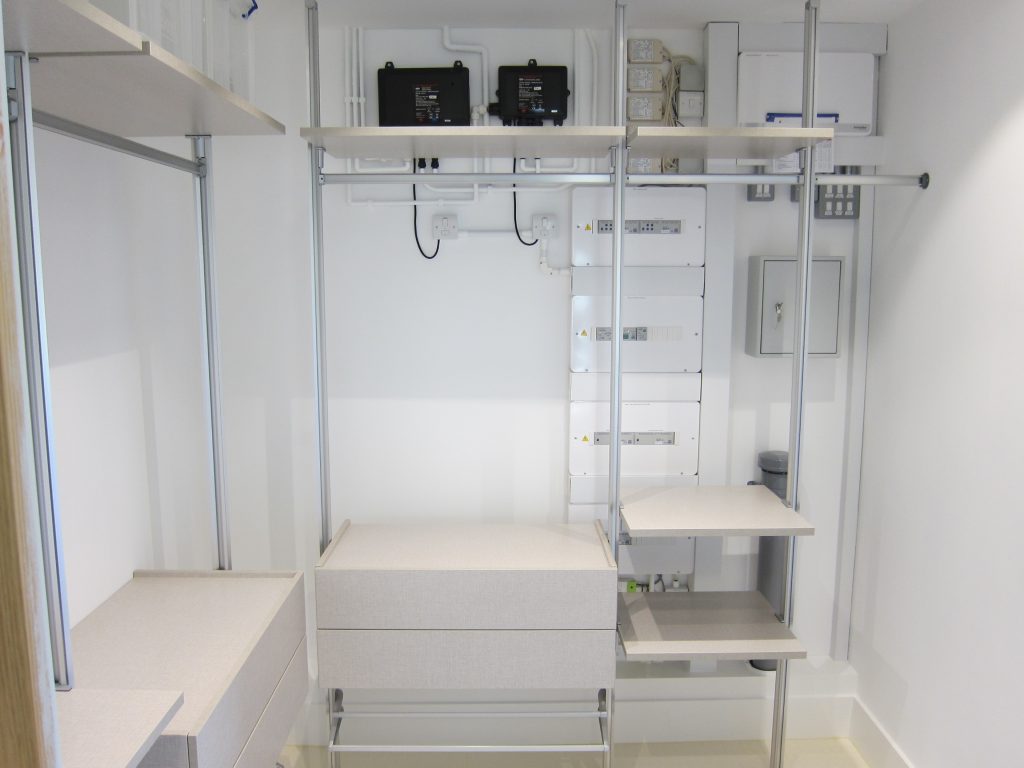
The wardrobe fittings are from the Spacepro Relax range. These seemed the best option for the circumstances – the columns are plenty long enough to suit the high ceiling and the fittings have a high-quality feel about them. The columns and rails are made of anodised extruded aluminium which are strong enough but the columns in particular are slightly flexible and wobble slightly – although installing the other fittings helps to brace them and prevent too much movement. The ‘wide’ units are 900mm wide and the ‘narrow’ ones are 550mm wide.

The somewhat non-symmetrical layout is because these will be fitted with sliding doors and it’s obviously important to ensure the drawers can open and not clash with the doors – there would have been space for an additional ‘wide’ unit in place of the ‘narrow’ one, but this would have clashed with the doors. (Sketchup 3-D modelling to the rescue again.)

Heated Bathroom Mirrors

It’s annoying to have a bathroom mirror rendered unusable by condensation after a shower or bath and I’ve been impressed by the performance of heated bathroom mirrors in hotels so I originally specified that all the mirrors in the bathrooms should be pre-wired for heating elements. As a cost efficiency measure that was scaled back to just the two main bathrooms on the basis that they might not be necessary – the logic being:

  • In a Passivhaus, all of the surfaces are maintained at a comfortable temperature all the time, so it’s not the case that the mirror will be particularly cold.
  • With the mechanical ventilation, humid air will be extracted from the bathroom at least as effectively as in a house with a simple extractor fan, so there might not be as much humidity in the air to condense on the mirror anyway.

It turns out that the mirrors do get quite bad condensation – even from a fairly short and fairly cool shower – so I am going ahead and installing heaters in the two bathrooms that are wired for them.

From an energy efficiency standpoint it would be really bad to have the heaters running all the time and quite bad to have them running whenever the bathroom lights are on, so they’re wired to KNX control relays and scheduled to come IF the lights are on AND it’s in the morning. The heaters are simple resistive devices so it would be an option to wire them to dimmer switches so they could be “dimmed” to reduce the electricity consumption if it’s found they don’t need to run at full power.

The mirrors are quite big – 1200mm wide x 960mm tall – and while the heated mirror pads are available in large sizes they get very expensive once you go above 1040mm x 524mm so I opted for that size and installed the pad in the middle of the mirror. While there’s a fairly big unheated margin top-and-bottom there’s still a substantial heated section that’s thoroughly usable. The heaters are nominally 200W per square meter so the 1040mm x 524mm size consumes 100W.

Demista heating pad attached to back of mirror

Effect of heated mirror pad