
My original plan, while temporarily living in the caravan and perhaps also for the new house, was to rely on 3G or 4G wireless broadband services rather than a traditional copper telephone line and ADSL broadband. While I can get a decent 3G signal (as long as the aerial is outside the caravan – the aluminium skin hurts the signal strength to a significant extent) I’ve found that the connection isn’t as reliable as I’d like and the performance degrades significantly at times – presumably because there are a lot of other people making calls – which makes it difficult to rely on getting a good service.
Other reasons to think about a more conventional broadband solution are:
- While data plans for mobile phone devices offer “unlimited data” those for tablets or dongles are typically capped at 10GB per month (or 15GB if you ask nicely) which is OK for emails and casual web browsing but barely adequate for working from home and definitely no good for streaming audio or video data (like BBC iPlayer).
- The sort of intruder alarm system I’m likely to want in the new house will almost certainly call for two independent signalling paths back to a monitoring station, one of which can be a mobile phone-type connection but the other really wants to be a regular phone line.
At the end of August 2014 I decided that it was time to get the phone line that used to supply the old house connected to the caravan in such a manner that it could be fairly easily re-routed to the new house in the future. That can’t be hard, right?
After 3 and a half months I finally have a working ADSL connection for which I paid the standard installation fee of £75 for the telephone line plus £50 for the broadband. The broadband is faster than I feared it might be at around 8Mb/s (and apparently I’m eligible for the BT Infinity-style Fibre-to-the-Cabinet (FTTC) VDSL service if I choose to pay for the upgrade) but it’s been something of a difficult journey. I won’t go into all the details here but basically BT kept sending “engineers” who were not expecting to have to do quite as much work as was required in order to:
- Locate the underground armoured cable which was completely buried when the old house was demolished.
- Lay about 30m of new underground armoured cable from where the old cable was located to connect up to the caravan.
- Repair the overhead telephone line in the lane which had been brought down at some point, presumably during a storm which moved the trees through which the line was routed more than the cable was expecting.
At one point BT declared that everything was installed and broadband was operational on the line, despite the previous (third, I think) engineer visit having been thoroughly unsuccessful and there still being no cable between the caravan and any sort of BT telephone infrastructure.
The breakthrough was getting the job referred to someone in the BT Openreach Survey department, who was able to locate the buried cable and order the additional cable and a small(-ish) underground joint box in order to make the necessary connections to the caravan. After much discussion I agreed I would install the joint box and dig the trench to bury the cable rather than incurring significant extra costs to have BT do that work for me, although BT supplied all the equipment and took care of all the wiring connections.
That’s enough words – time for some photos!
In order to make a joint between the old underground armoured cable and the new one while leaving the joint accessible and protected (it will need to be re-made when the house is built) BT supplied a “Joint Box 26”, one of their “medium single lid footway boxes”. More info about these here. Here’s the joint box and its cover as supplied.
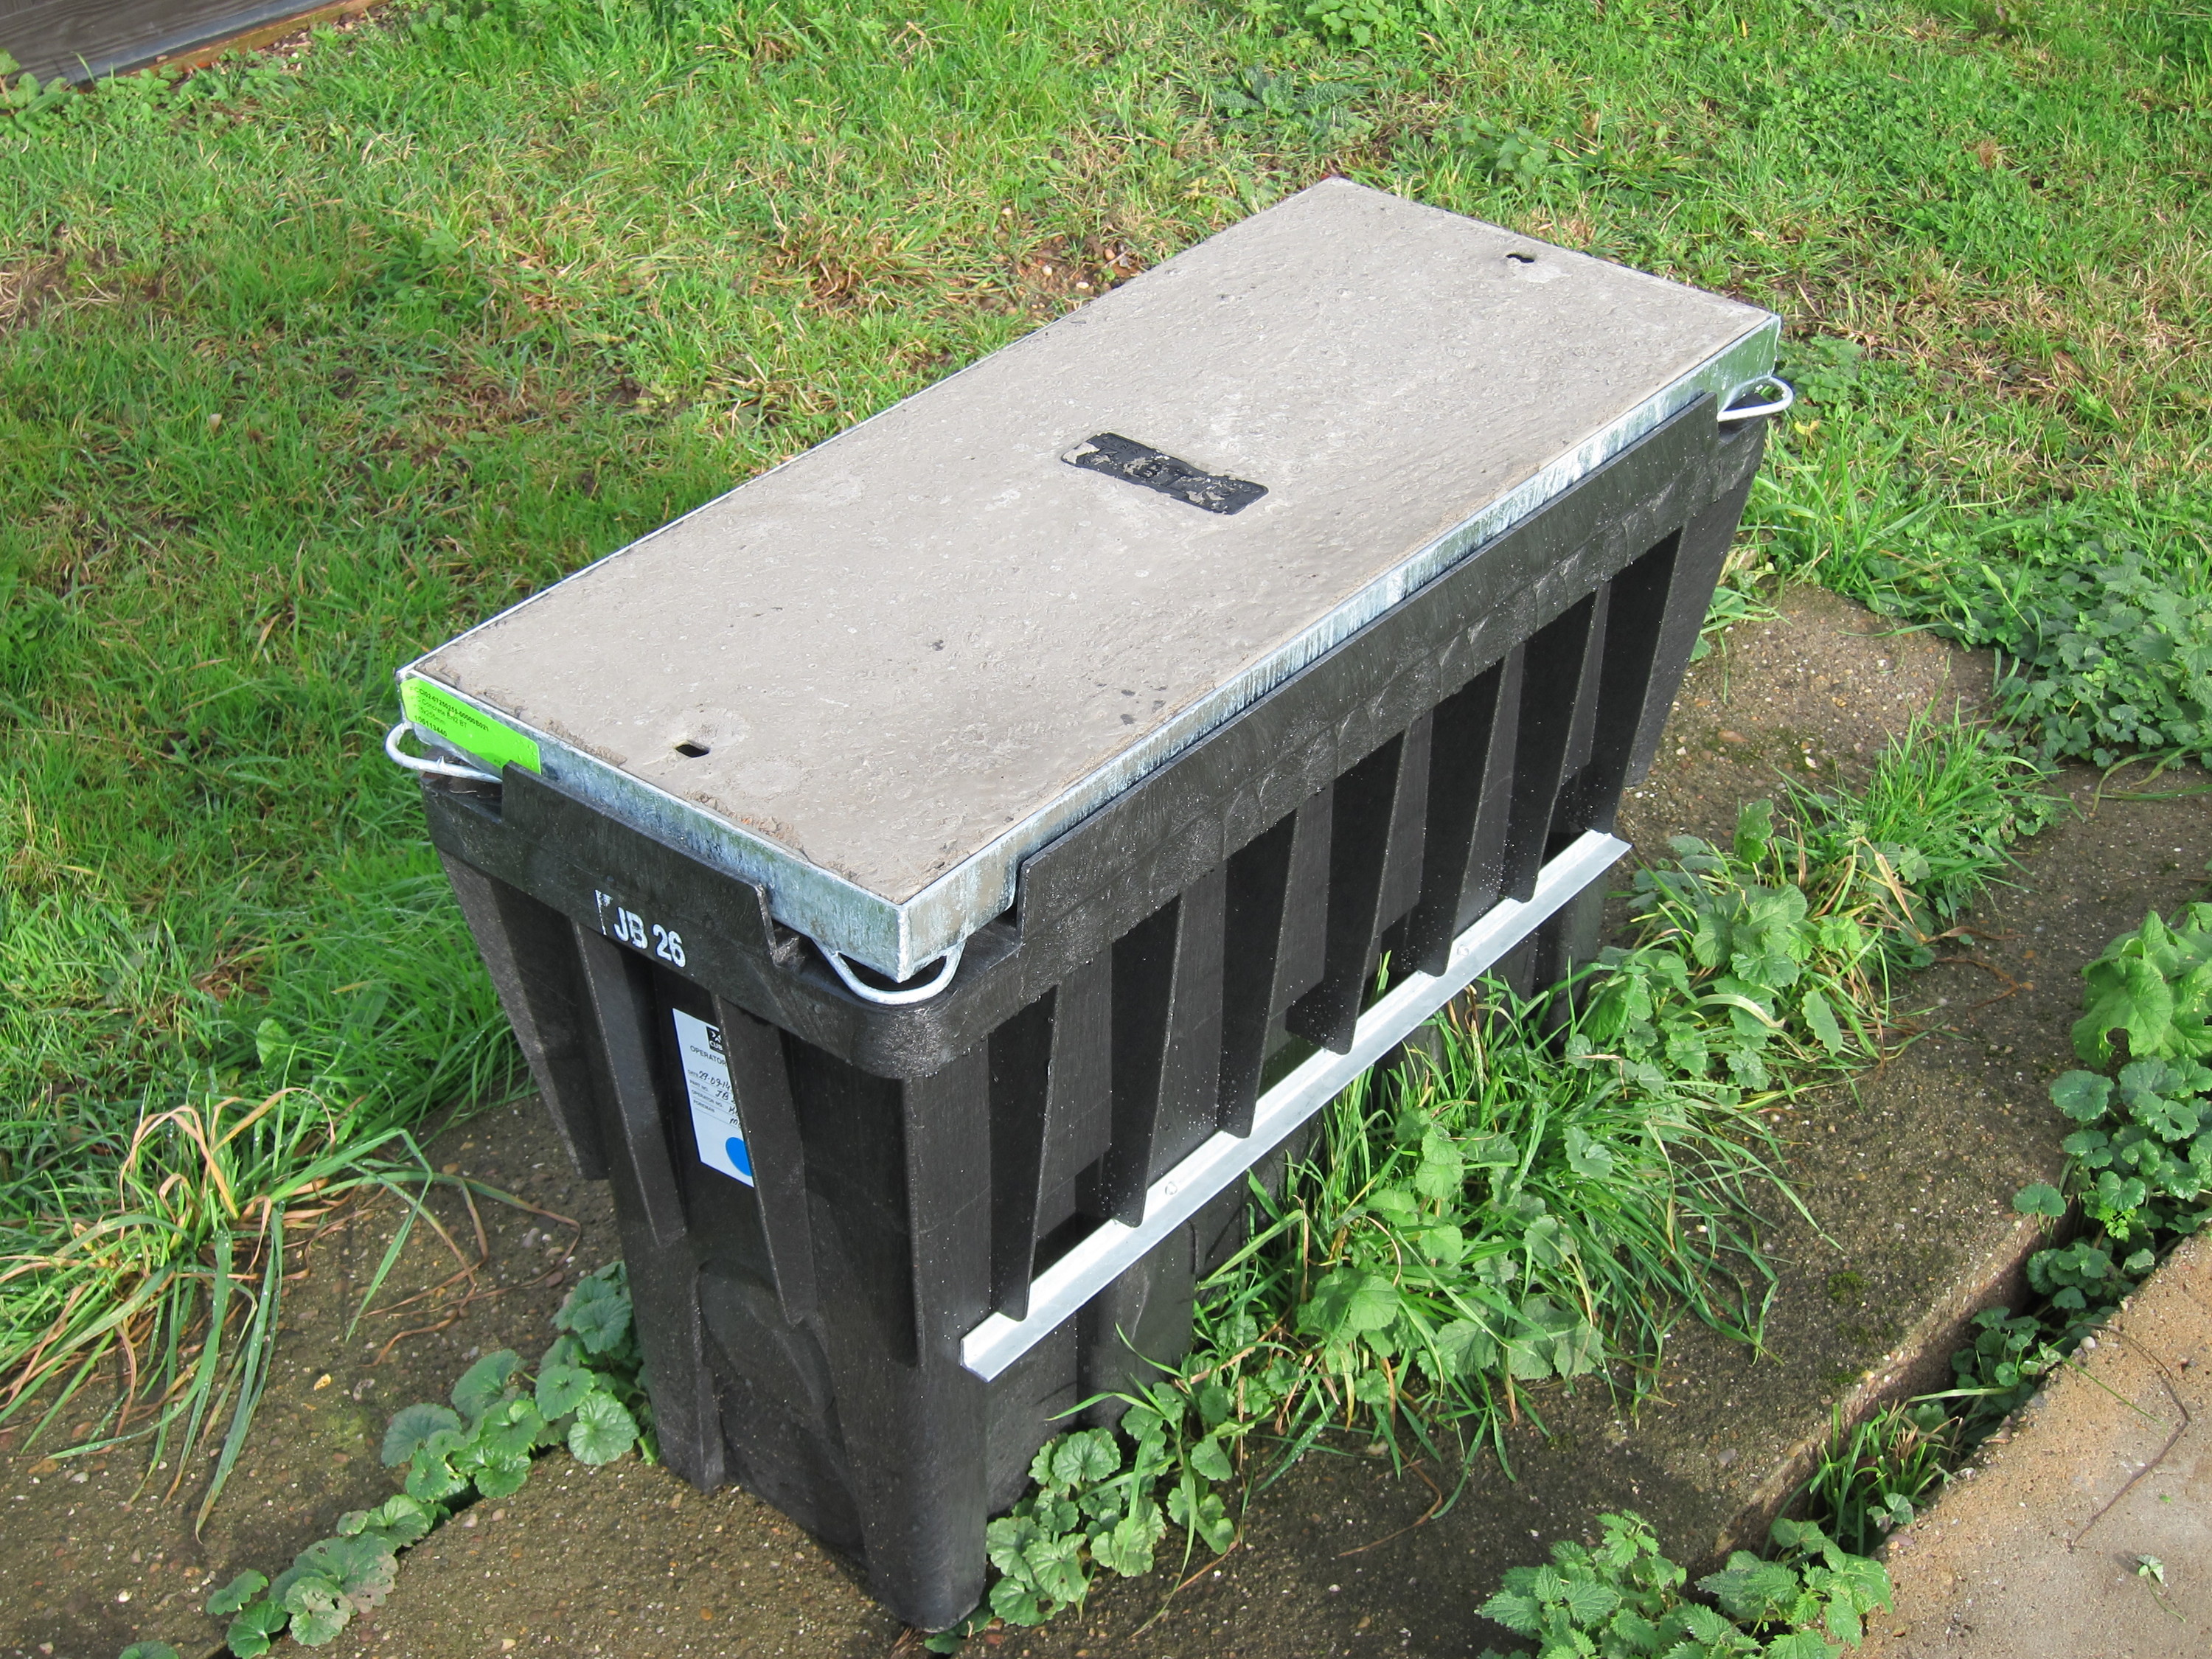
BT JB (Joint Box) number 26 – The concrete cover is 340mm x 800mm and the fibreglass box is 350mm deep
And here is it buried with the joint made. The old cable comes in from the left and new one goes out to the right. While the box is dry in this photo it does tend to fill with water in heavy rain.
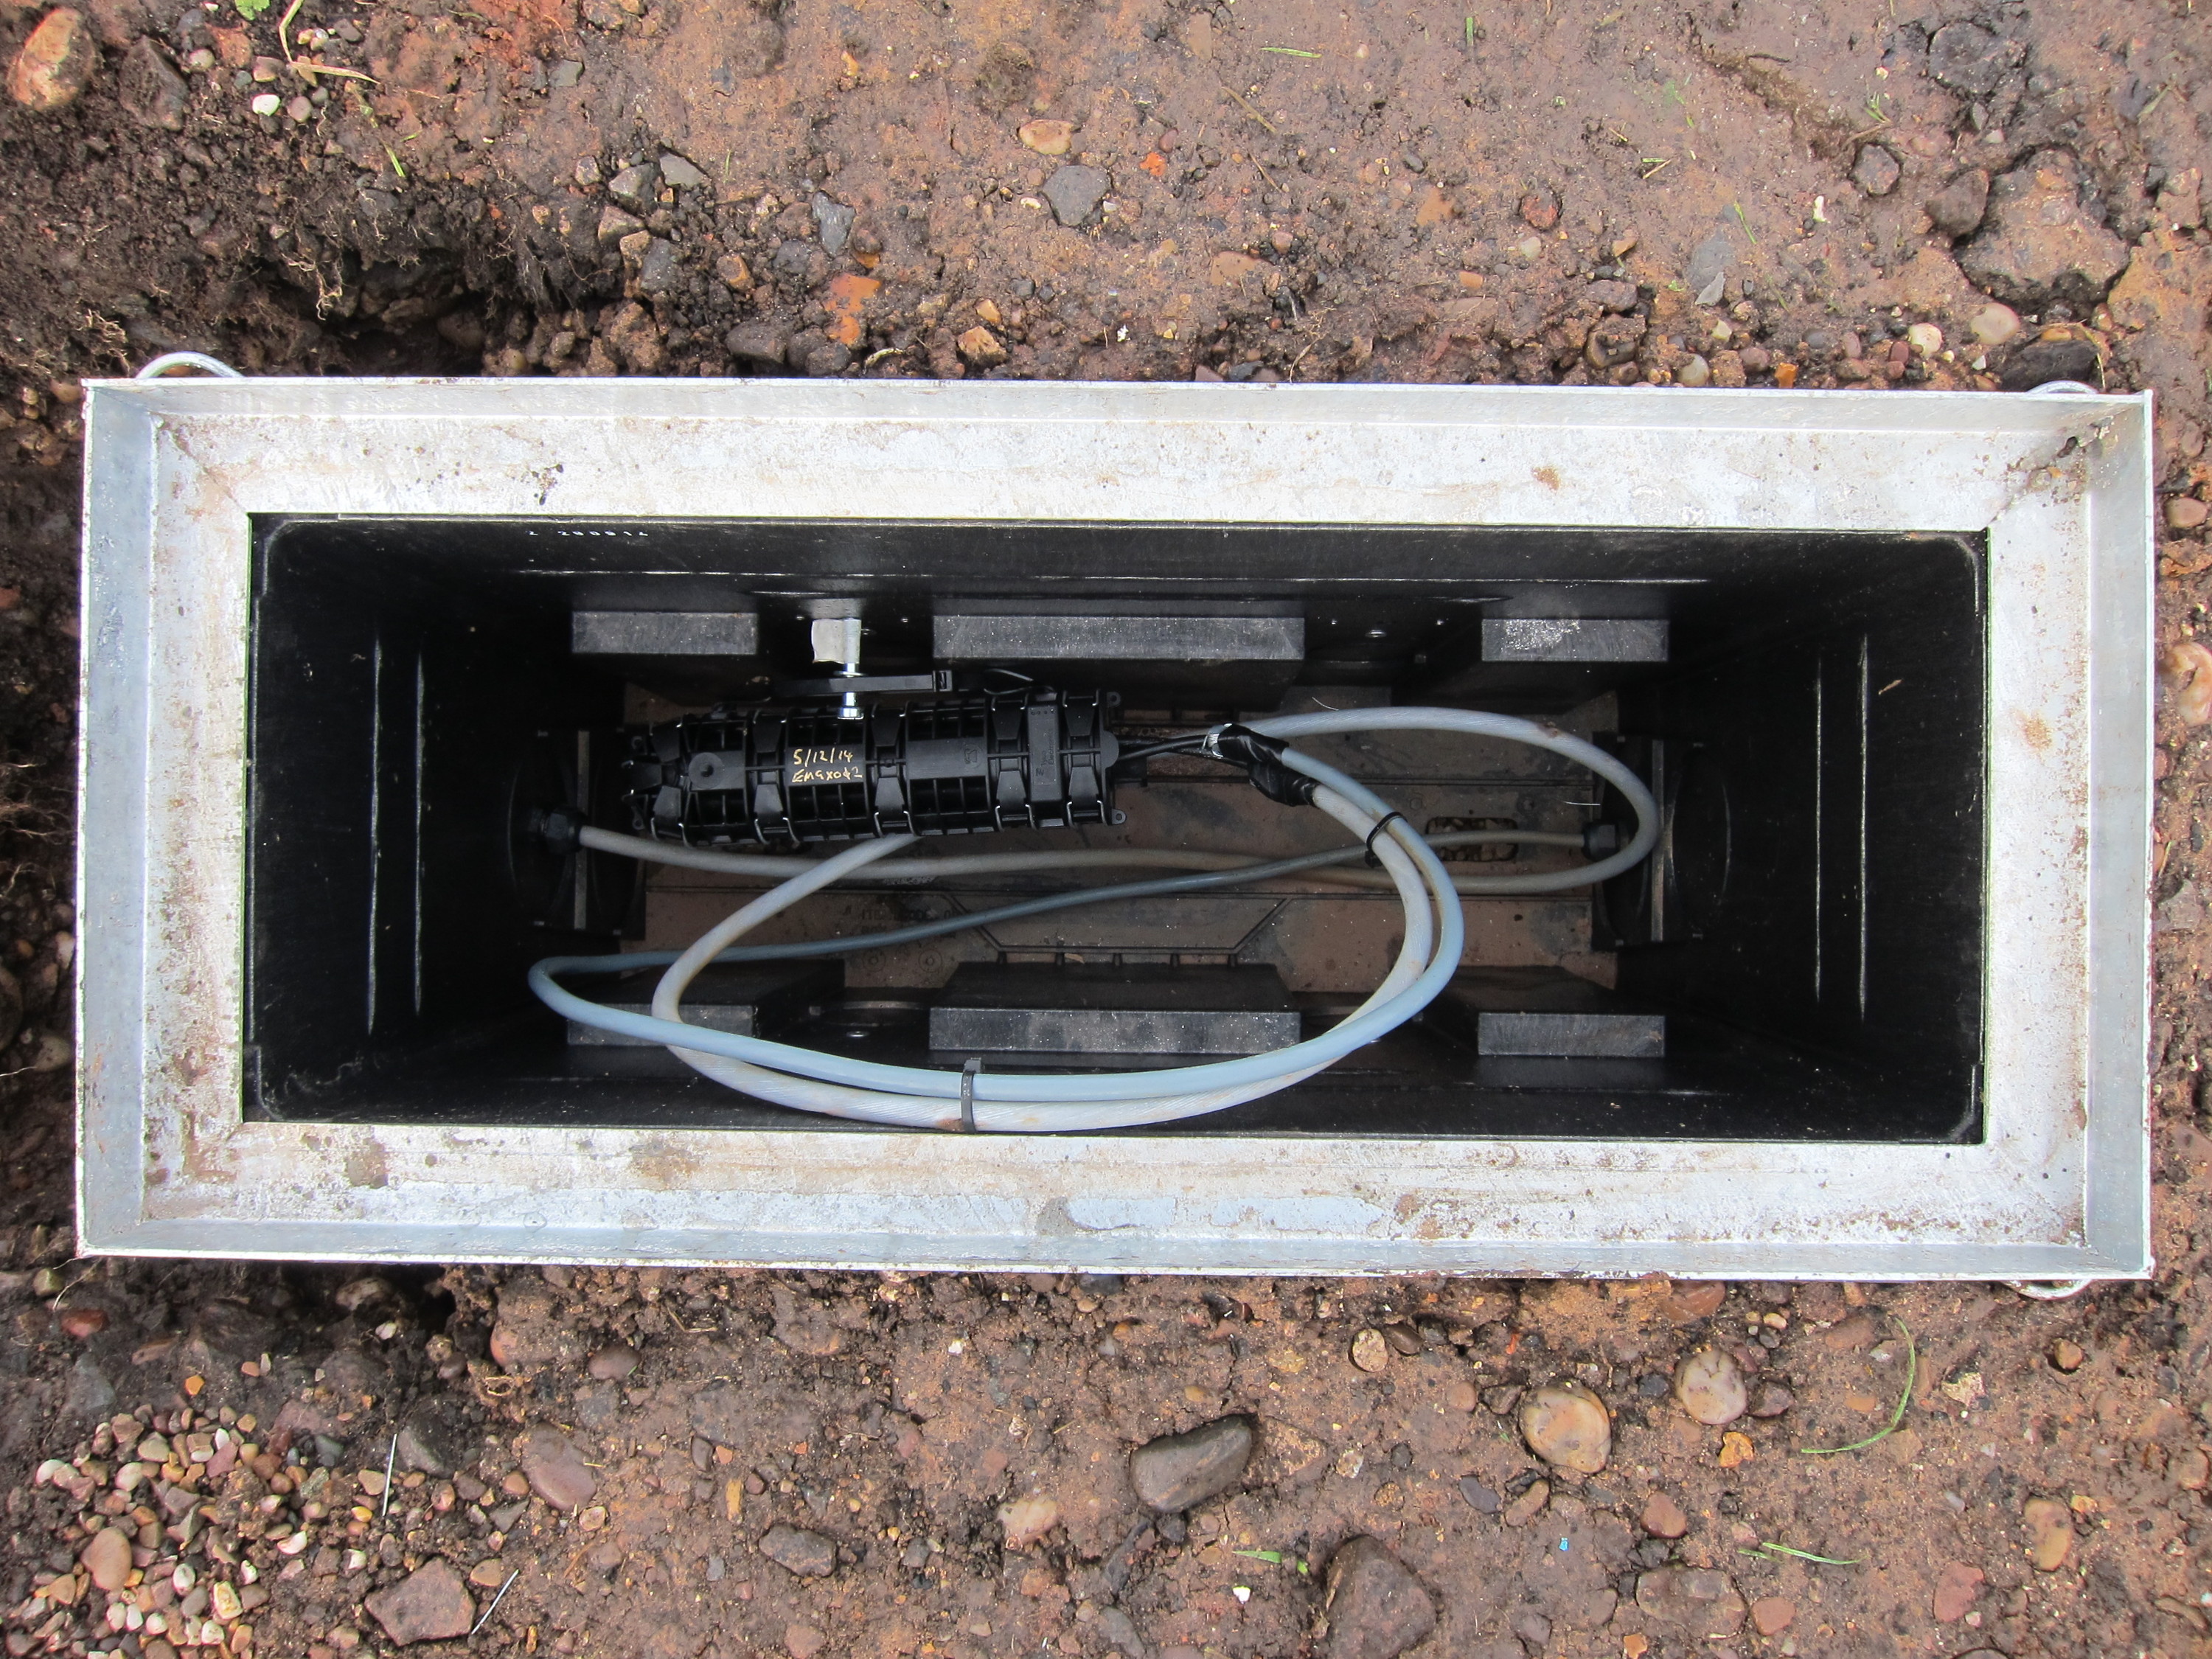
Inside of JB 26 showing joined cables
I presume the old cable was installed with a mole plough which means there was no opportunity to place any marker tape over it. Since I was digging a trench I didn’t have the same excuse. This Green tape doesn’t seem as common as the Blue tape for Water, and that in turn is nothing like as common as the Yellow tape for Electricity, but I might as well do it properly. The photo below also clearly shows how pretty much pure red clay was laid over the rather stony sub-soil when the site was levelled in 2011 or thereabouts.
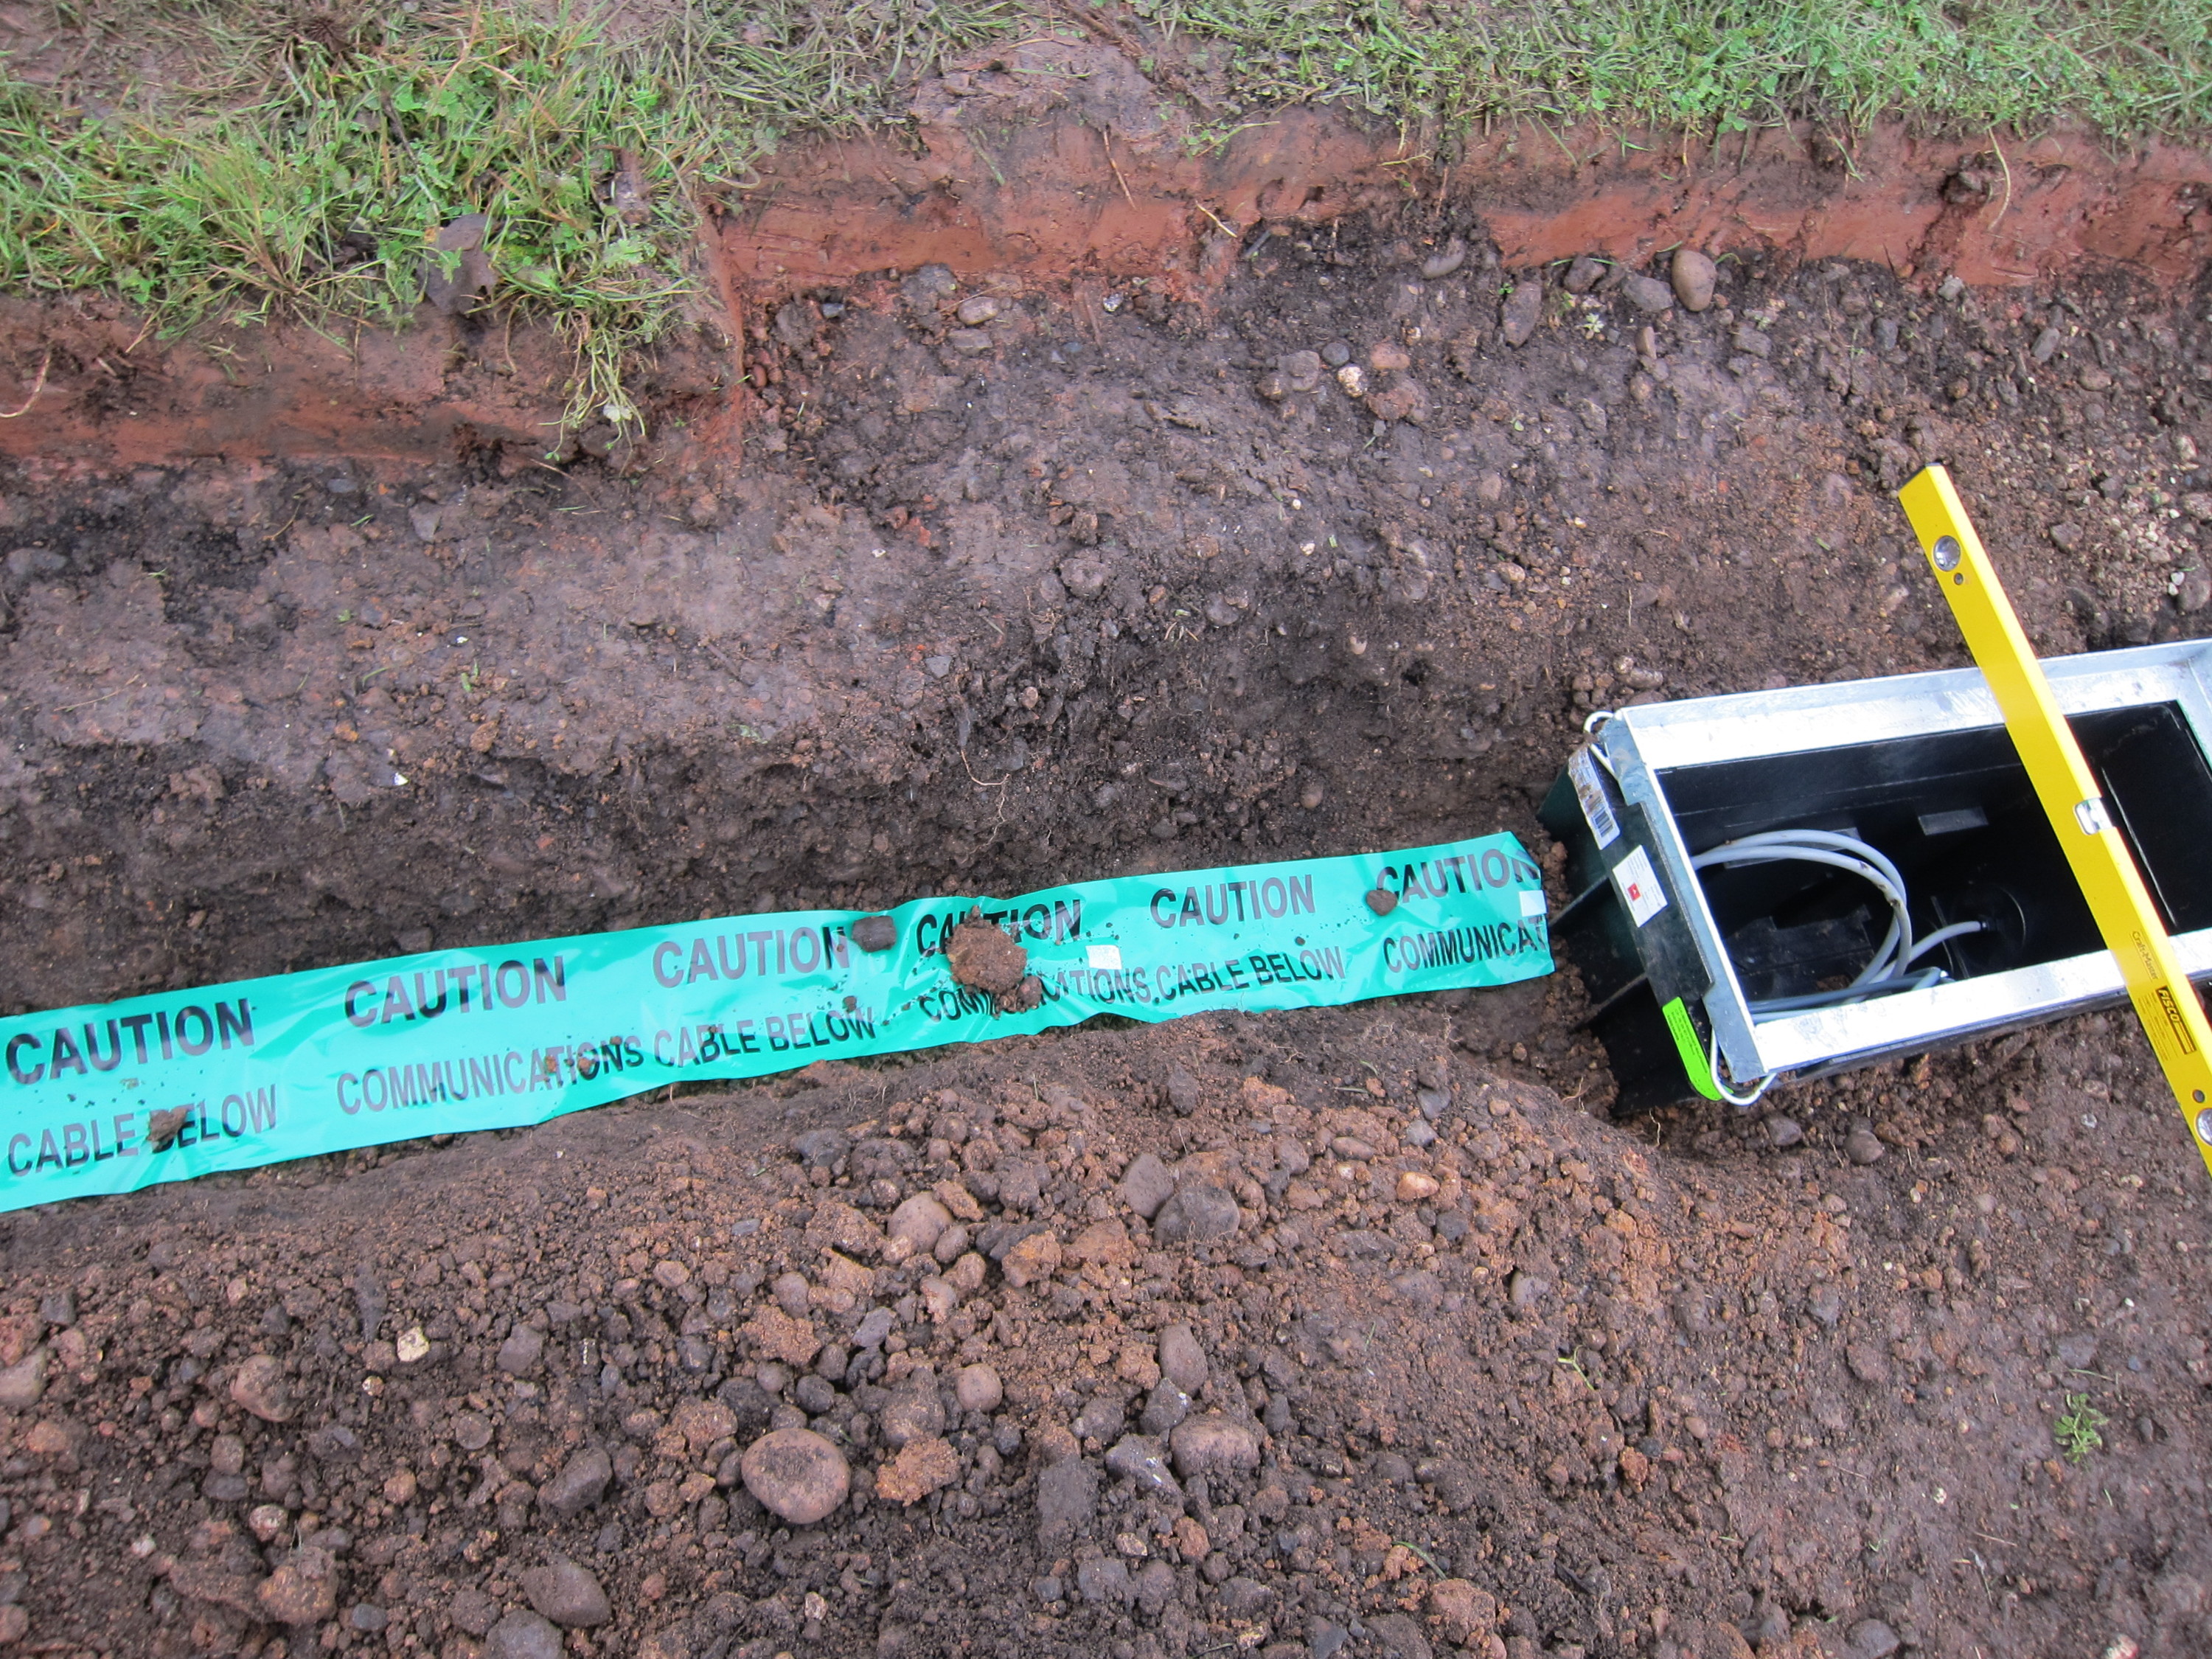
CAUTION – Communications Cable Below
The new cable runs underground in a trench, 2m out from the edge of the caravan. The JB26 is just visible as a horizontal grey line towards the top right of the photo.

Part-backfilled trench with new armoured telephone cable to caravan
From the joint box the cable runs underground roughly 300m to a wooden telegraph pole on Aston Lane from which it runs overhead across 5 more poles to the “Distribution Point” where a thick multi-pair cable coming from the Telephone Exchange (actually the Street Cabinet) is split into smaller cables feeding individual premises. The cable from the Cabinet is one of the ones coming in from the left (the one that’s looped down the pole and back up again). The other cable on the left is actually a line going back out the way it came. The cable which exits the top of the picture is going out to another property and the one feeding Marsh Flatts Farm is rather thinner and much harder to see: it heads off to the right of the photo but it’s looped under one of the branches on the tree.
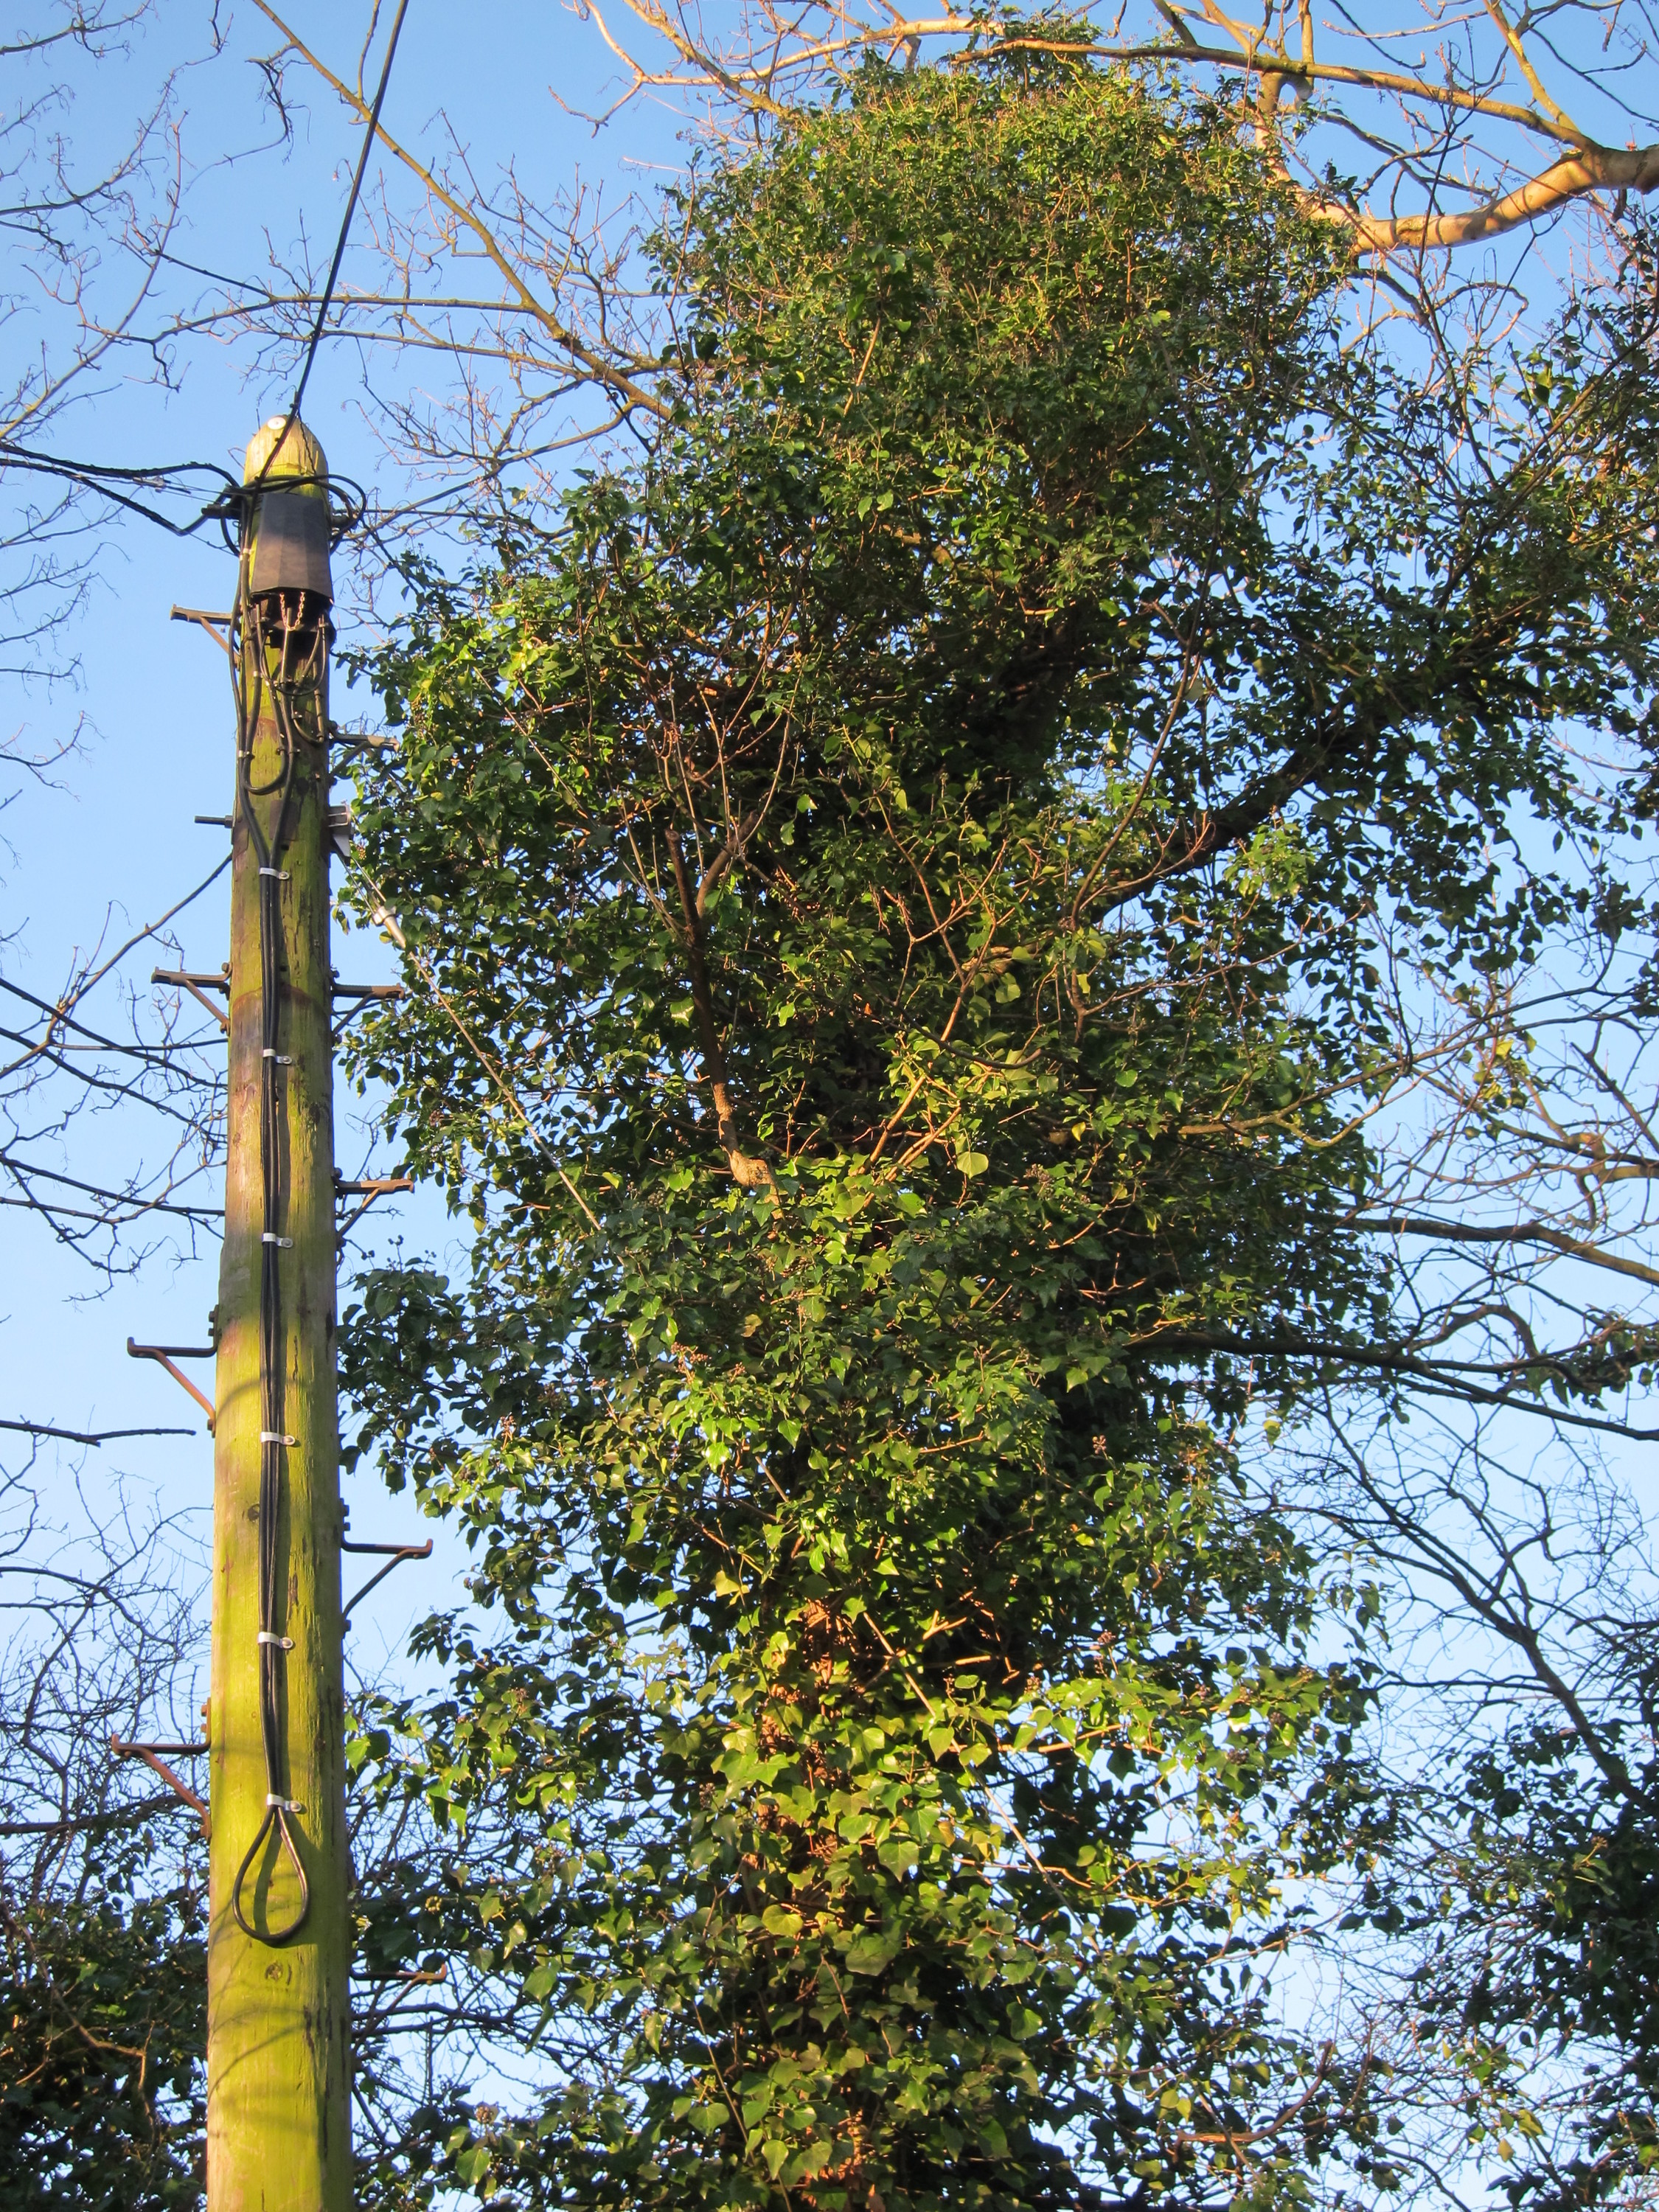
BT Distribution Point 89 on Aston Lane
This next photo shows the route of “my” cable rather more clearly (highlighted in pink).
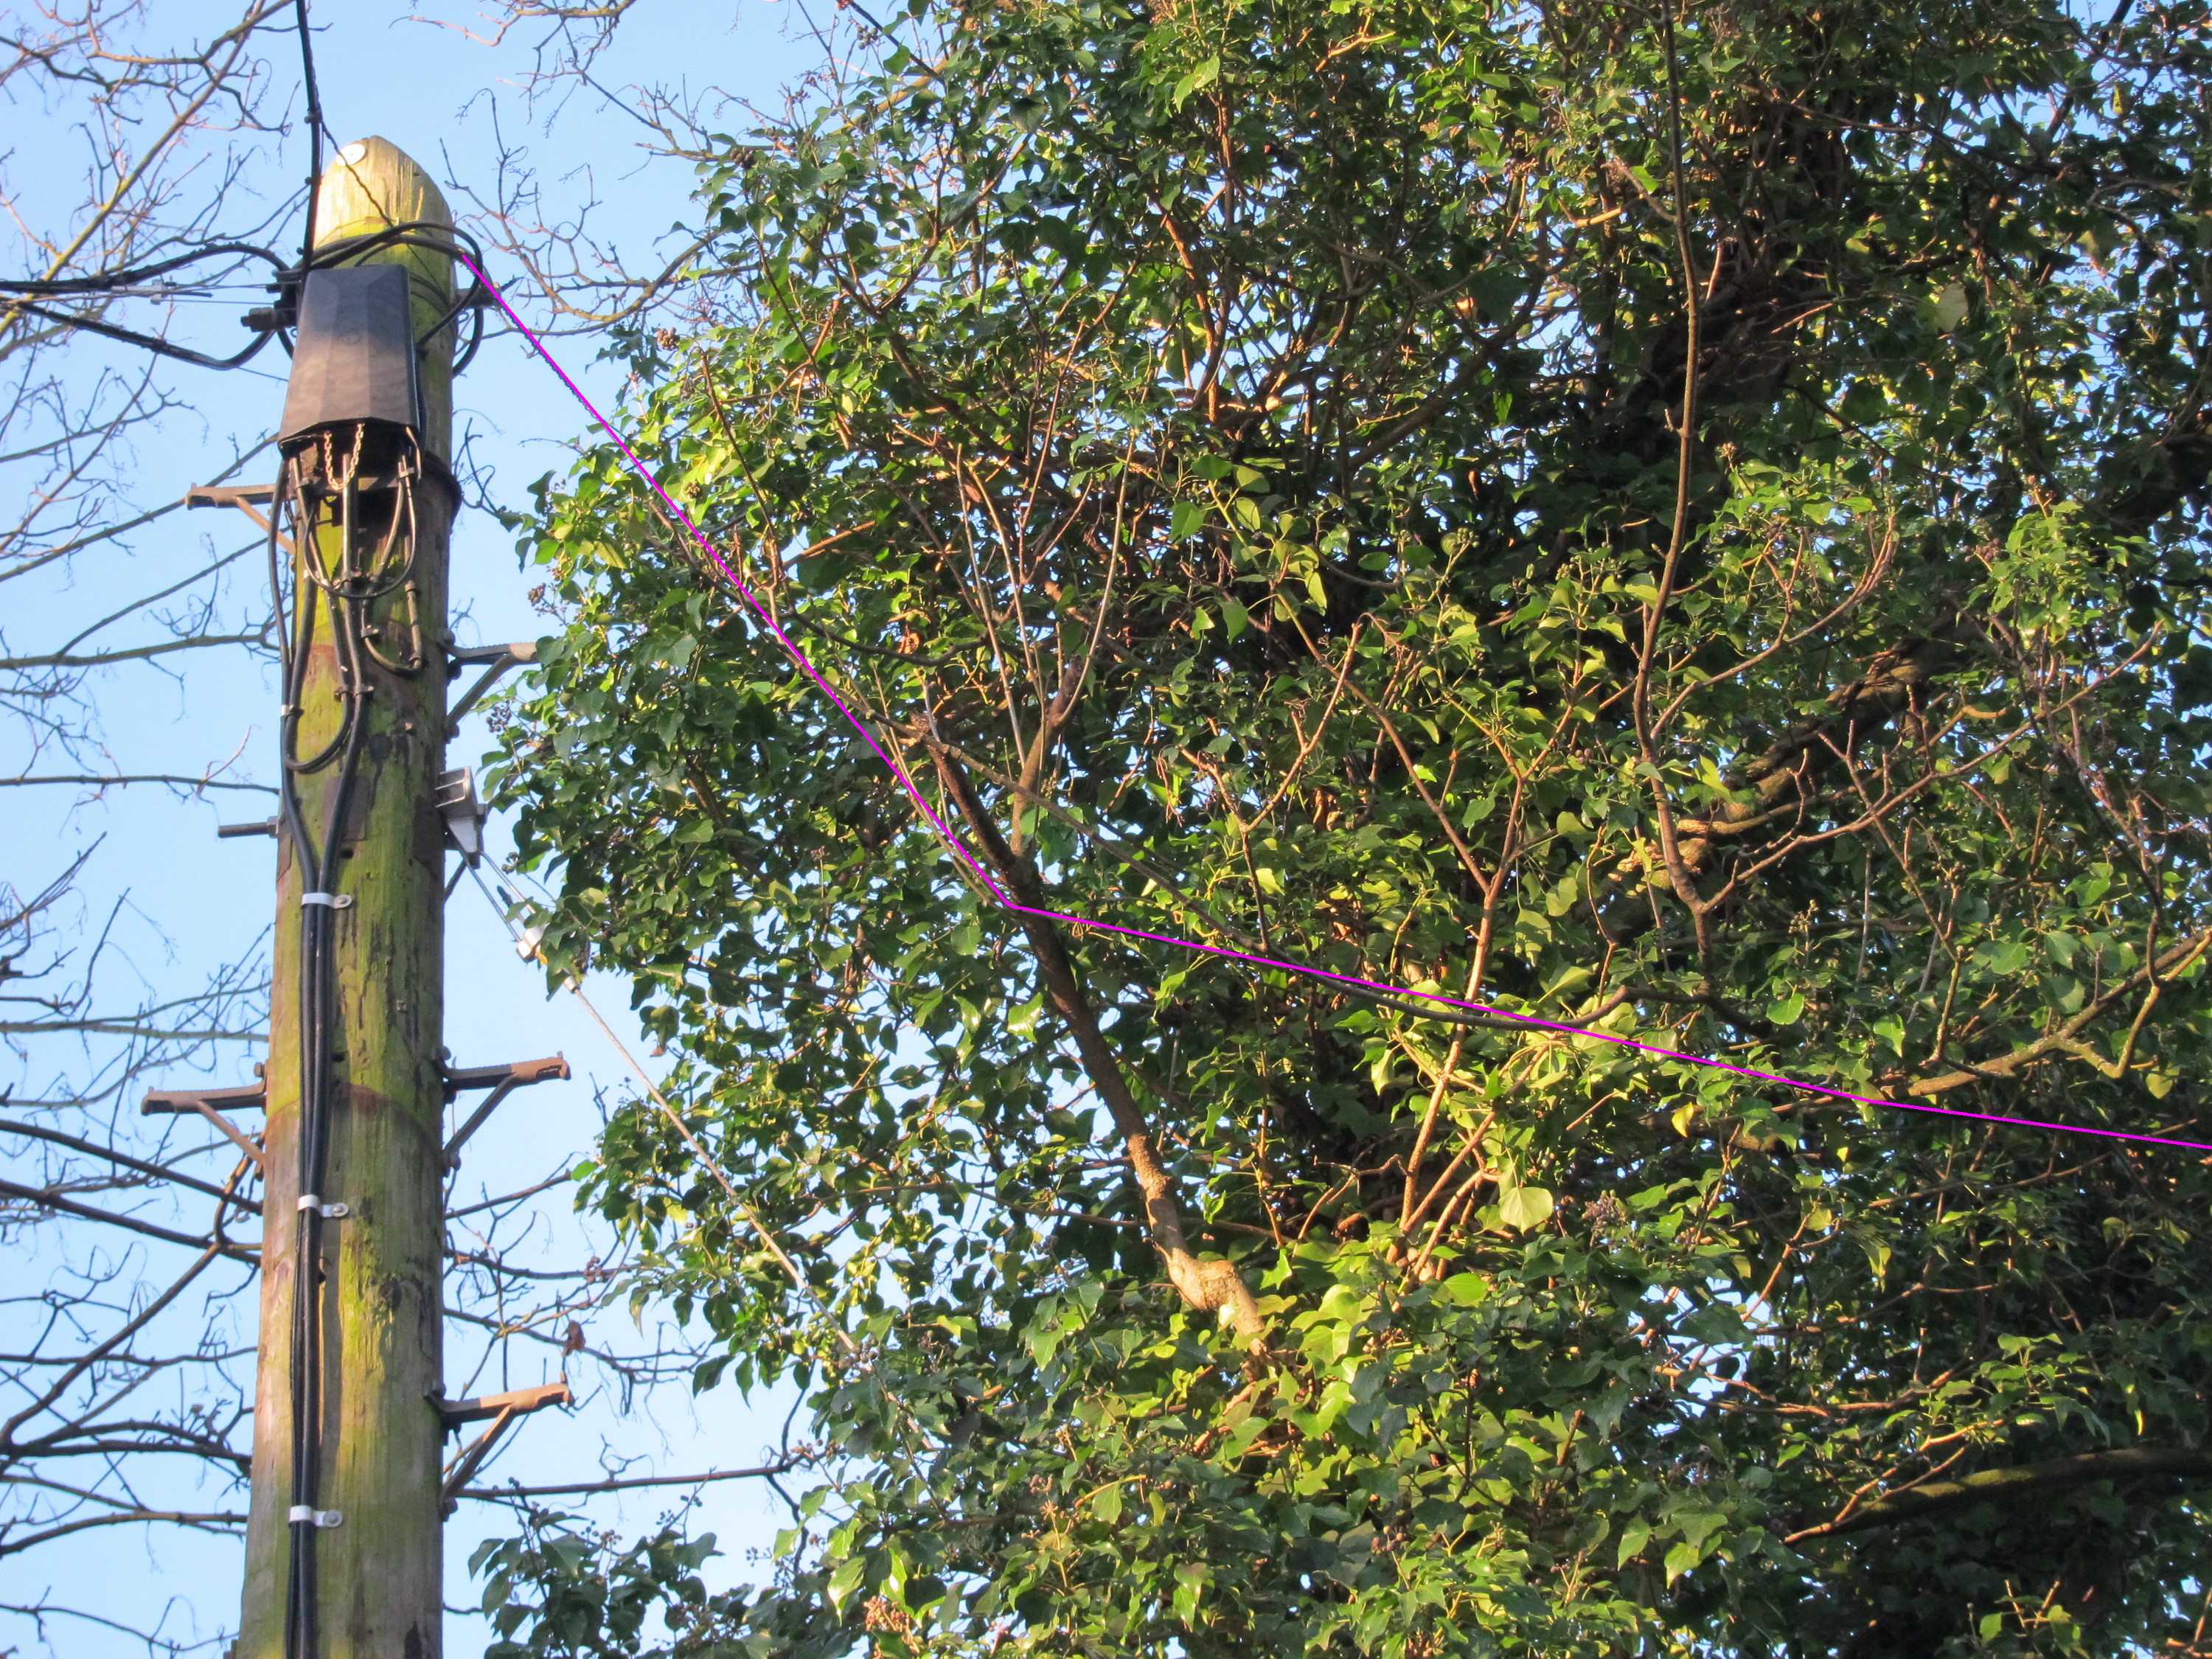
Close up of DP89 with cable route highlighted
The map below shows the whole route of the cable to Cabinet 2. Blue = Underground, Red = Overground.
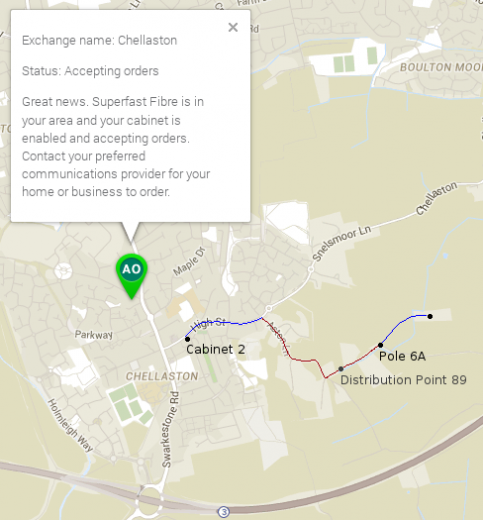
Telephone Line Route to EMCHELL Cabinet 2