The UniFi CCTV cameras around the House were originally part of a “UniFi Video” installation, for managing the cameras, storing recordings, easy access from a smartphone app etc. The UniFi Video software was hosted using a Docker Container running on an HP MicroServer with a relatively modest amount of CPU and disk capacity (but also a modest power consumption).
Ubiquiti stopped developing the UniFi Video software years ago (end of 2020?) so it has not been receiving any functionality enhancements or security fixes. Major security vulnerabilities such as Log4J were fixed in the Docker Container image but there are bound to be other vulnerabilities present – although the installation was isolated from the Internet, with remote access only possible via VPN, so it was not particularly at risk of compromise.
The replacement software, “UniFi Protect”, only runs on Ubiquiti hardware, so an in-place upgrade wasn’t possible (if it was I would have done it ages ago). I’m broadly supportive of Ubiquiti’s business model whereby an initial hardware purchase funds the development of their software – that’s much better than them requiring ongoing subscription fees – and it’s beneficial that all the data stays local, so I was happy to continue using the Ubiquiti equipment.
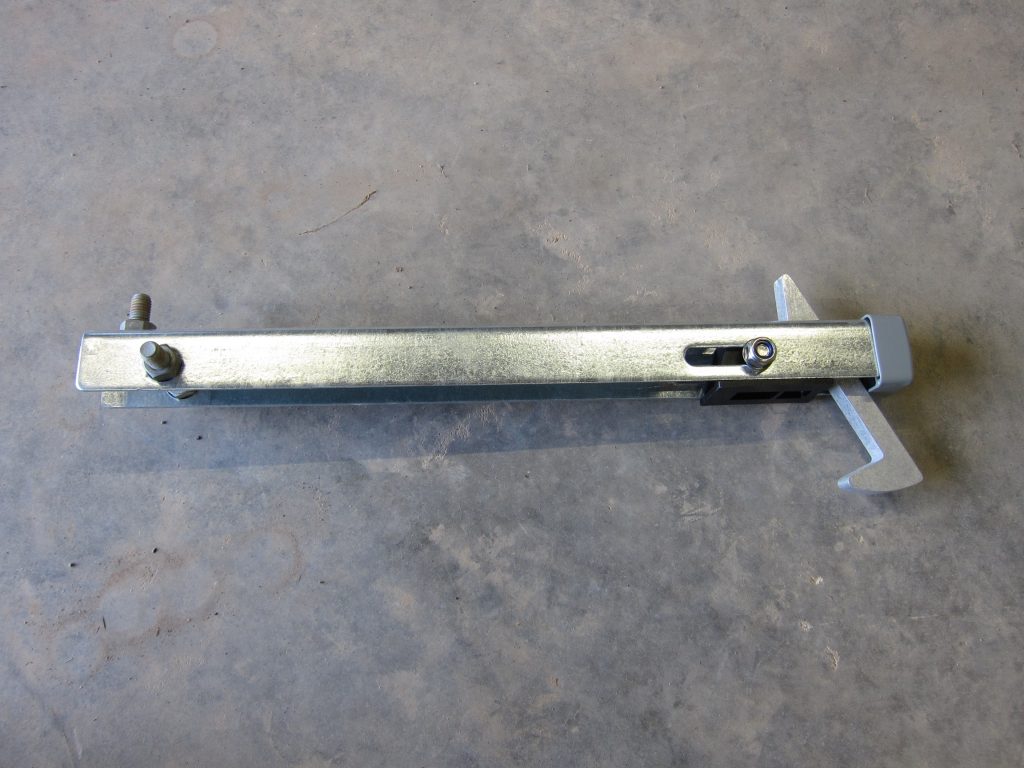
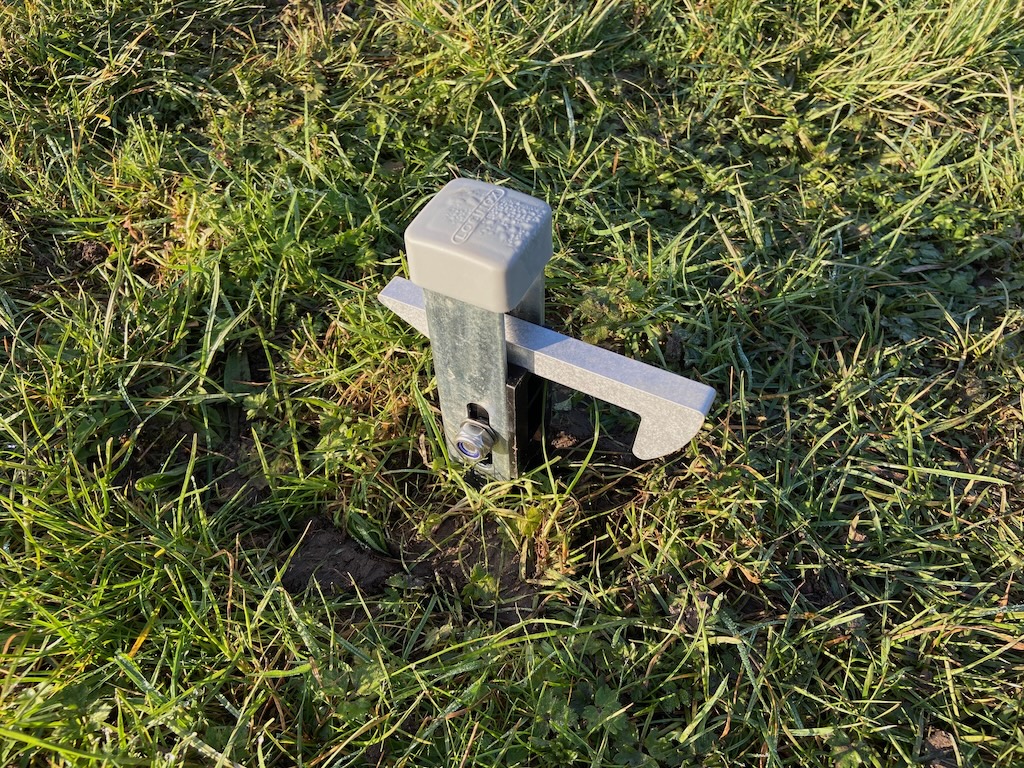
With the expansion of the CCTV installation to the Outbuildings, requiring the purchase of additional cameras (and thus placing additional load on the Network Video Recorder back-end) the time had come to switch to the UniFi Protect back-end. The newer (G5 and later) cameras didn’t want to be ‘adopted’ by UniFi Video anyway; G3s would be compatible but those are a poor-value investment these days.
This required the purchase of one of the UniFi hardware appliances able to run the UniFi Protect software (prices stated are as of mid-2025):
- The various ‘Dream Machine’ appliances can run UniFi Protect alongside the UniFi Network Controller and can also act as a Network Gateway – but most of them only have space for a single disk drive, which didn’t seem adequate
- The Dream Machine Pro Max has space for two drives – but it’s expensive; about £550 (inc VAT)
- Then there are the dedicated Network Video recorder appliances:
- The 4-bay UNVR; about £290 (inc VAT but excluding any disk drives)
- The 7-bay UNVR-Pro; about £470 (inc VAT but excluding any disk drives)
I like the idea of having a dedicated NVR appliance (rather than the Dream Machine) – and I don’t want / need to change the network Gateway or Controller hosting at this time – so the 4-bay UNVR looked like the best option.
The approach of not including any disk drives as standard might seem odd but it gives the customer full control over how many drives to install, what drive capacity to choose and what brand/specification of drives to select. The drive bays accept either 2.5″ or 3.5″ SATA drives and there doesn’t seem to be much restriction on which brands and models can be used.
The CCTV cameras are constantly generating data so the drives have to work pretty hard. Specialist surveillance-specification drives are advisable to accommodate this type of workload. I opted for WD Purple Surveillance drives and installed two 4TB models, in a RAID5 configuration, leaving two further drive bays empty for later expansion. With only two drives, RAID5 allocates one of those as the ‘spare’ so the usable capacity is 3.96TB – the same as it would be with a RAID10 configuration – but if further drive(s) are added later, RAID5 makes all the extra drive space available.
Recordings are only purged once the storage gets full, so the volume of storage installed determines the retention period for recordings. After a few months of operation, 4TB of storage is giving about 120 days of retention for 12 cameras, at HD (rather than 4K) resolution and using ‘adaptive’ recording, which stores lower-quality video when no events are detected and higher-quality when there is activity identified. 120 days of retention seems perfectly adequate in a domestic setting.
While none of the new cameras include specific “AI” features such as facial recognition (it would be possible to retrofit “AI” processing to non-AI cameras using the UP-AI-Port device) there is some basic intelligent processing available as standard, detecting Vehicles, People or Animals. Sending me a real-time alert whenever a Vehicle is detected on the Driveway is working well.