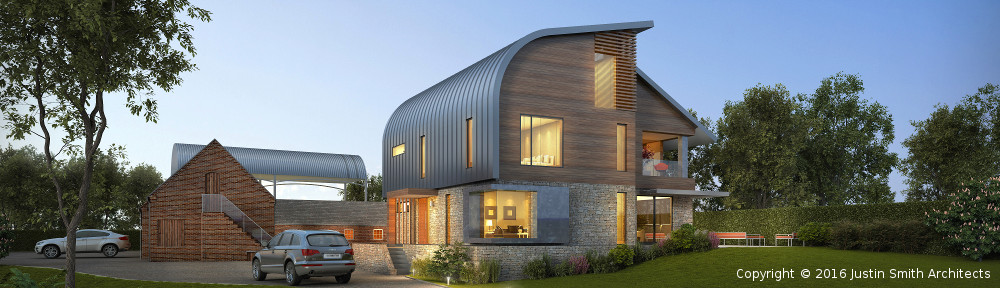
10 years ago I created a couple of time-lapse videos showing the construction of the House, from different vantage points, and it seemed like a good idea to do the same for the Outbuildings – especially because the House provided a convenient place to mount a camera (which would also play a role long-term delivering security footage of the courtyard). I briefly considered doing something more advanced with a camera drone flying a pre-defined circuit on a regular basis, which could have provided a more complete 360-degree view, but that seemed more complex than I wanted to get into for a fairly conventional building.
One challenge was that the vantage point on the second floor of the House was too close to the Outbuildings for the focal length of camera I was using, so its field of view only captured the southern half of the Outbuildings – but that was still enough to give a good indication of the build progress. (There are some parts of the time-lapse when nothing seems to be changing – but that’s because work was happening out-of-shot.) I did a better job of choosing the angle of the camera on its mounting bracket than for the House, just fitting in all of the roof.
The video creation procedure was the same as I used for the House: hourly snapshots grabbed from a UniFi video camera and saved as JPEG files (by a cron job running on a Raspberry Pi) with some extra logic to exclude the night-time images (small files, because they’re nearly all black and compress to a small size) and then filtered to remove the weekends when no building work was happening. The separate JPEG files were then used to generate an MPEG video using the ffmpeg utility. There’s more information about this procedure in the UniFi Video Camera Time-Lapse Video page.
I’ve had the JPEG files sitting on a computer for ages and finally got around to deciding what range of dates to include – given that the last few weeks of the build were all happening either inside or to the north of the site, out of shot – and uploading the video to YouTube.