
I’ve decided to live on-site in a static caravan while the new house is being constructed. The main reasons are:
- Security: Before the old farmhouse was demolished it received some unwelcome attention because of its relatively isolated location. Having a visible presence on-site outside working hours should deter the Bad People from taking too much of an interest while the house is being built.
- Monitoring the Build: Being at the site every day will make it easy for me to keep an eye on the progress of the construction and hopefully spot any issues before it becomes too difficult to correct them.
- Cost: Renting a small house in the area would cost around £600 a month. Over 18 months that’s more than £10,000 and for that money you can buy a perfectly respectable second-hand static caravan.
- Learning more about the Site: By living on-site you get a much better sense of how the weather affects the site, where the noise comes from etc. I don’t expect to change the basic layout of the buildings but the landscape design can be refined with a better understanding of how the site works.
Living in a static caravan on-site seems a fairly common thing for a self-builder to do and there are always one or two caravan companies exhibiting at the big home building shows. One company, Midland Caravans, is based just 10 miles from the site and I found they had a good selection of stock at the right sort of prices. I agreed to buy one of their caravans back in January, just before the sale of my house fell through, and they kept it for me while the sale of the house was re-arranged.
The caravan is a Willerby Villa dating from 2001. 37′ (11.25m) long and 12′ (3.65m) wide with a centre lounge, two bedrooms, two bathrooms, a (plastic coated steel) “tiled” pitched roof, double glazing and central heating. What I realised while viewing various different makes and models is that most of them have a flat inner ceiling even when they have a pitched outer roof. That’s not the case with the Villa and the living / dining / kitchen area has a ceiling that follows the roof line, which gives a much greater feeling of space, especially if you’re as tall as I am.
I didn’t want to leave the caravan unoccupied on-site for too long so I arranged for it to be delivered just a couple of days before moving out of my old house. When mounted on the back of the lorry the roof of the caravan is really rather high off the ground which caused the delivery team some concerns about whether it would fit under the overhanging trees in the lane leading to the site. In the end they decided it would be better to come in from the Aston-on-Trent end of the lane and then reverse down the access track, which worked out OK – it was a bit of a tight squeeze in places but the guys do this all the time.
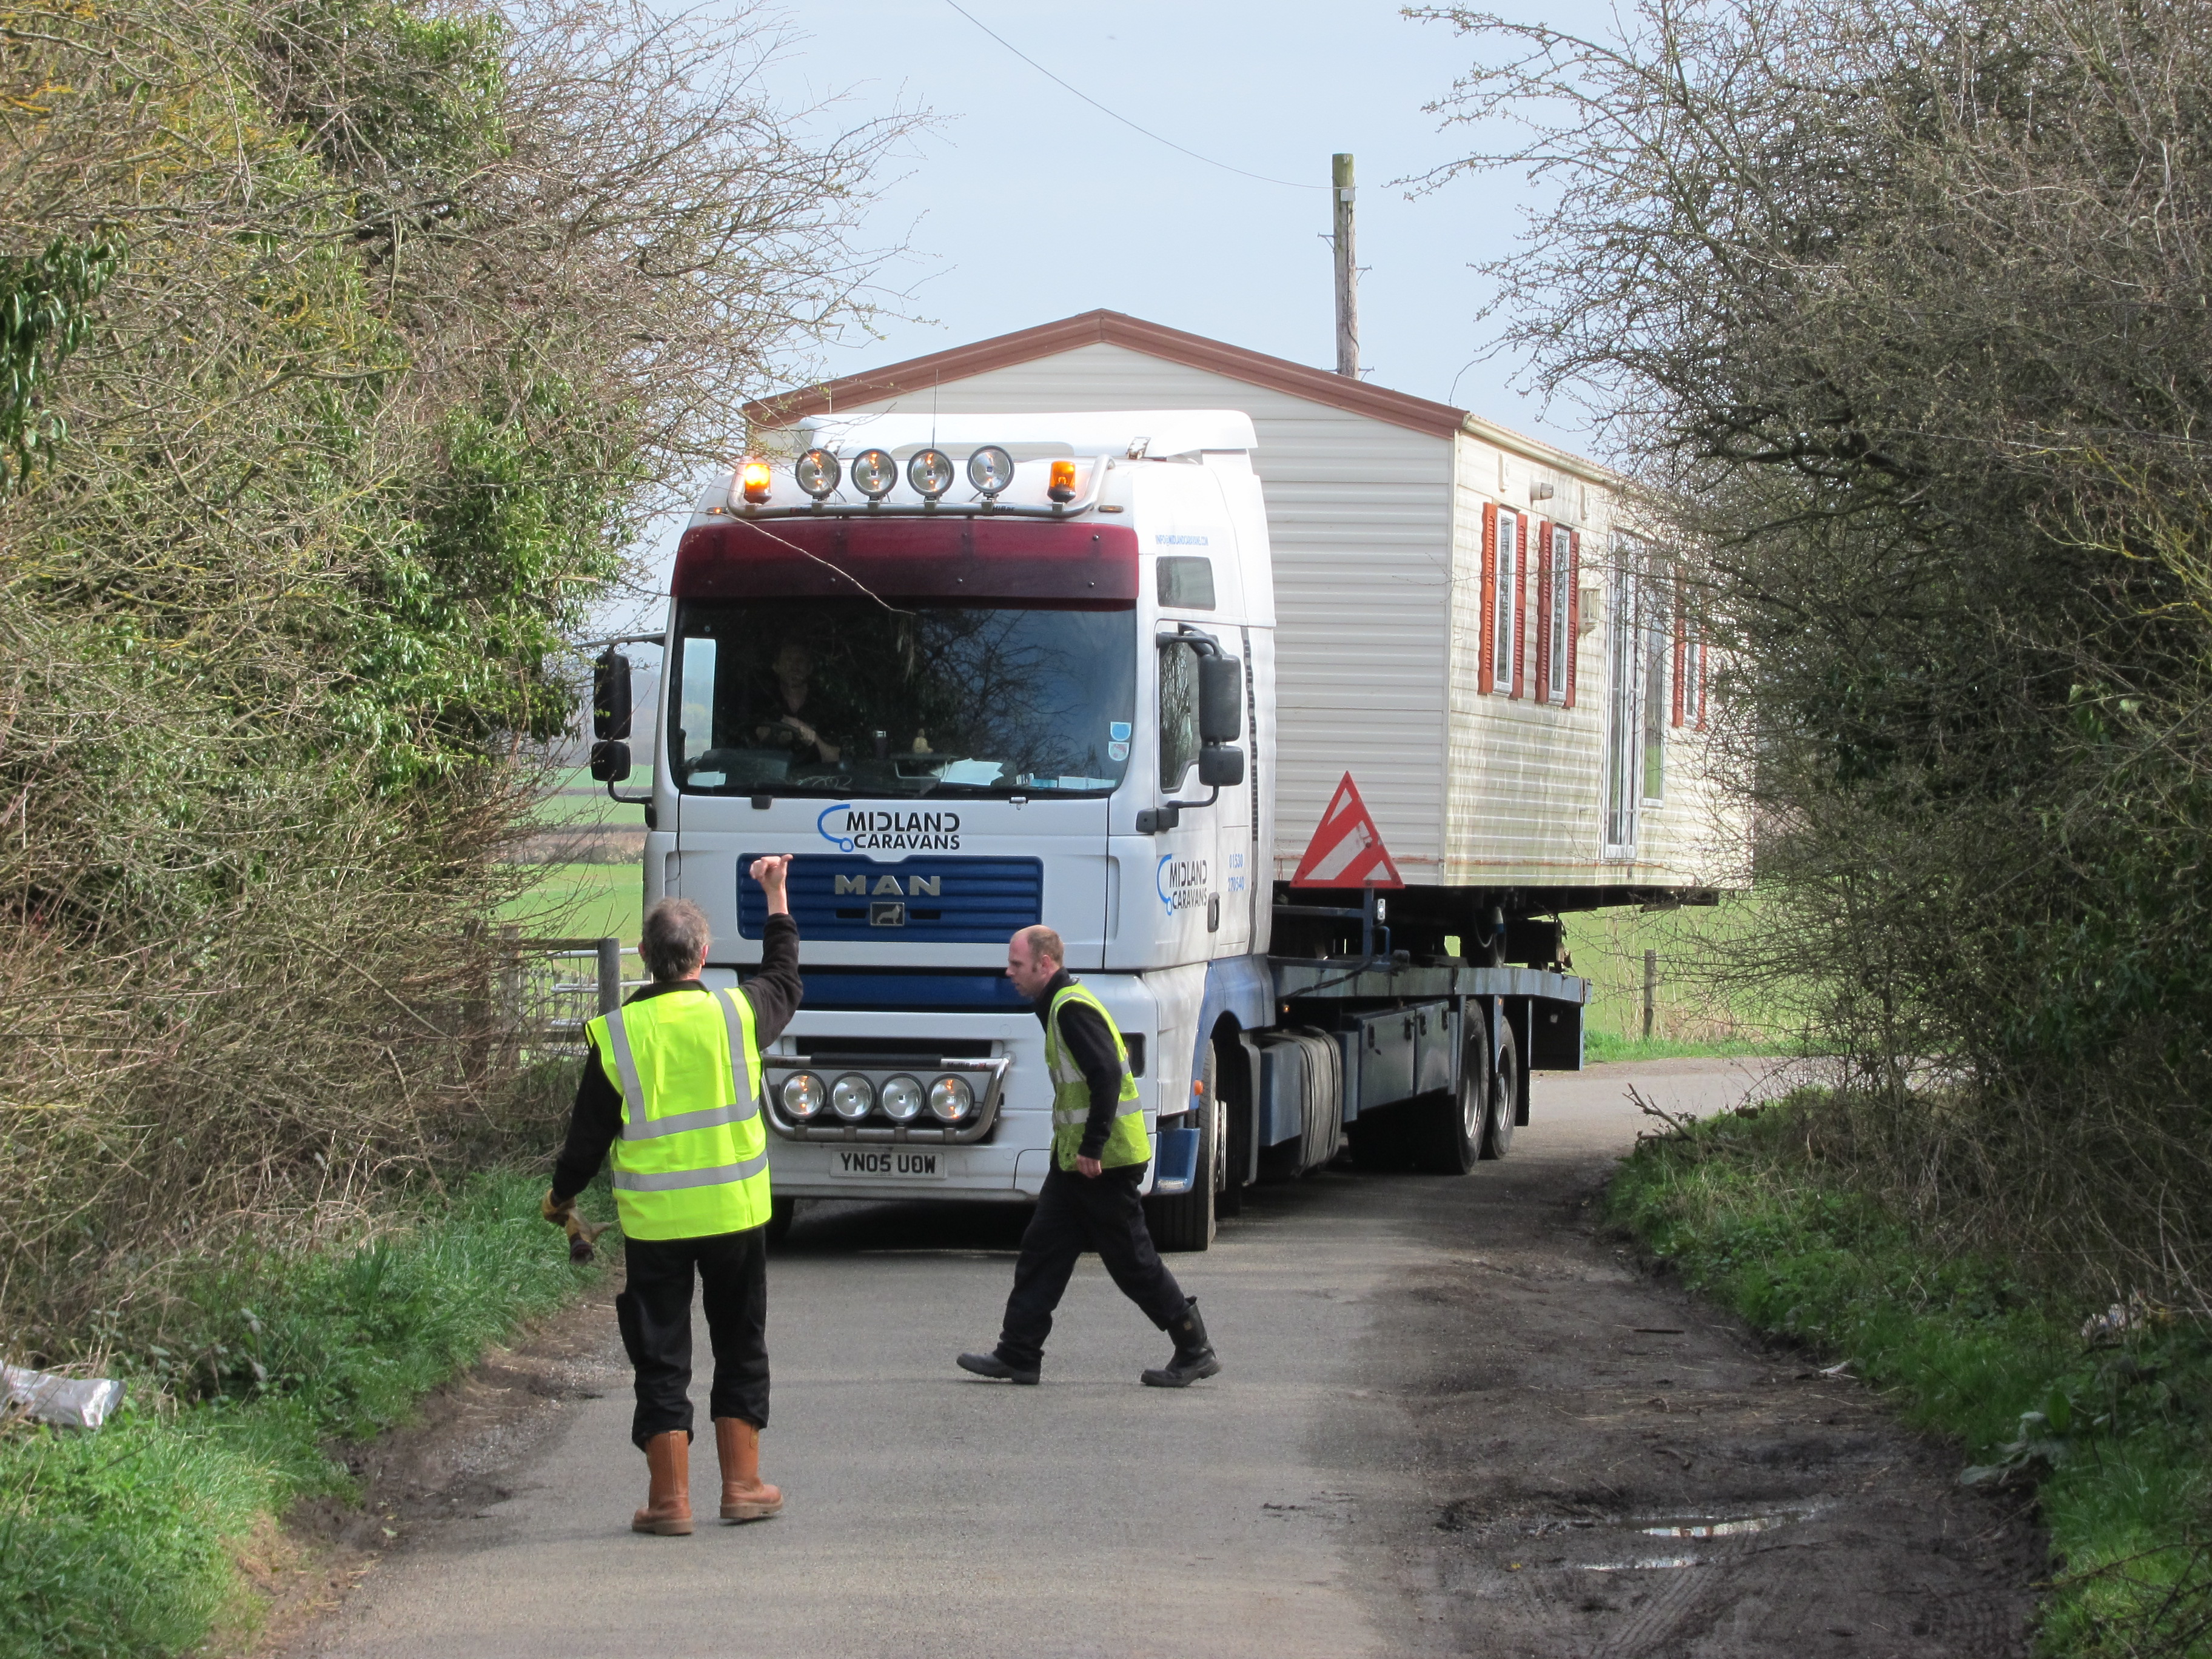
Willerby Villa static caravan delivery turning the corner into Aston Lane
The delivery lorry has air suspension which means it can be raised and lowered so that the 12′ caravan was able to pass over the 12′ gate posts whereas it would not have fitted between them.

Willerby Villa static caravan delivery reversing down the access track
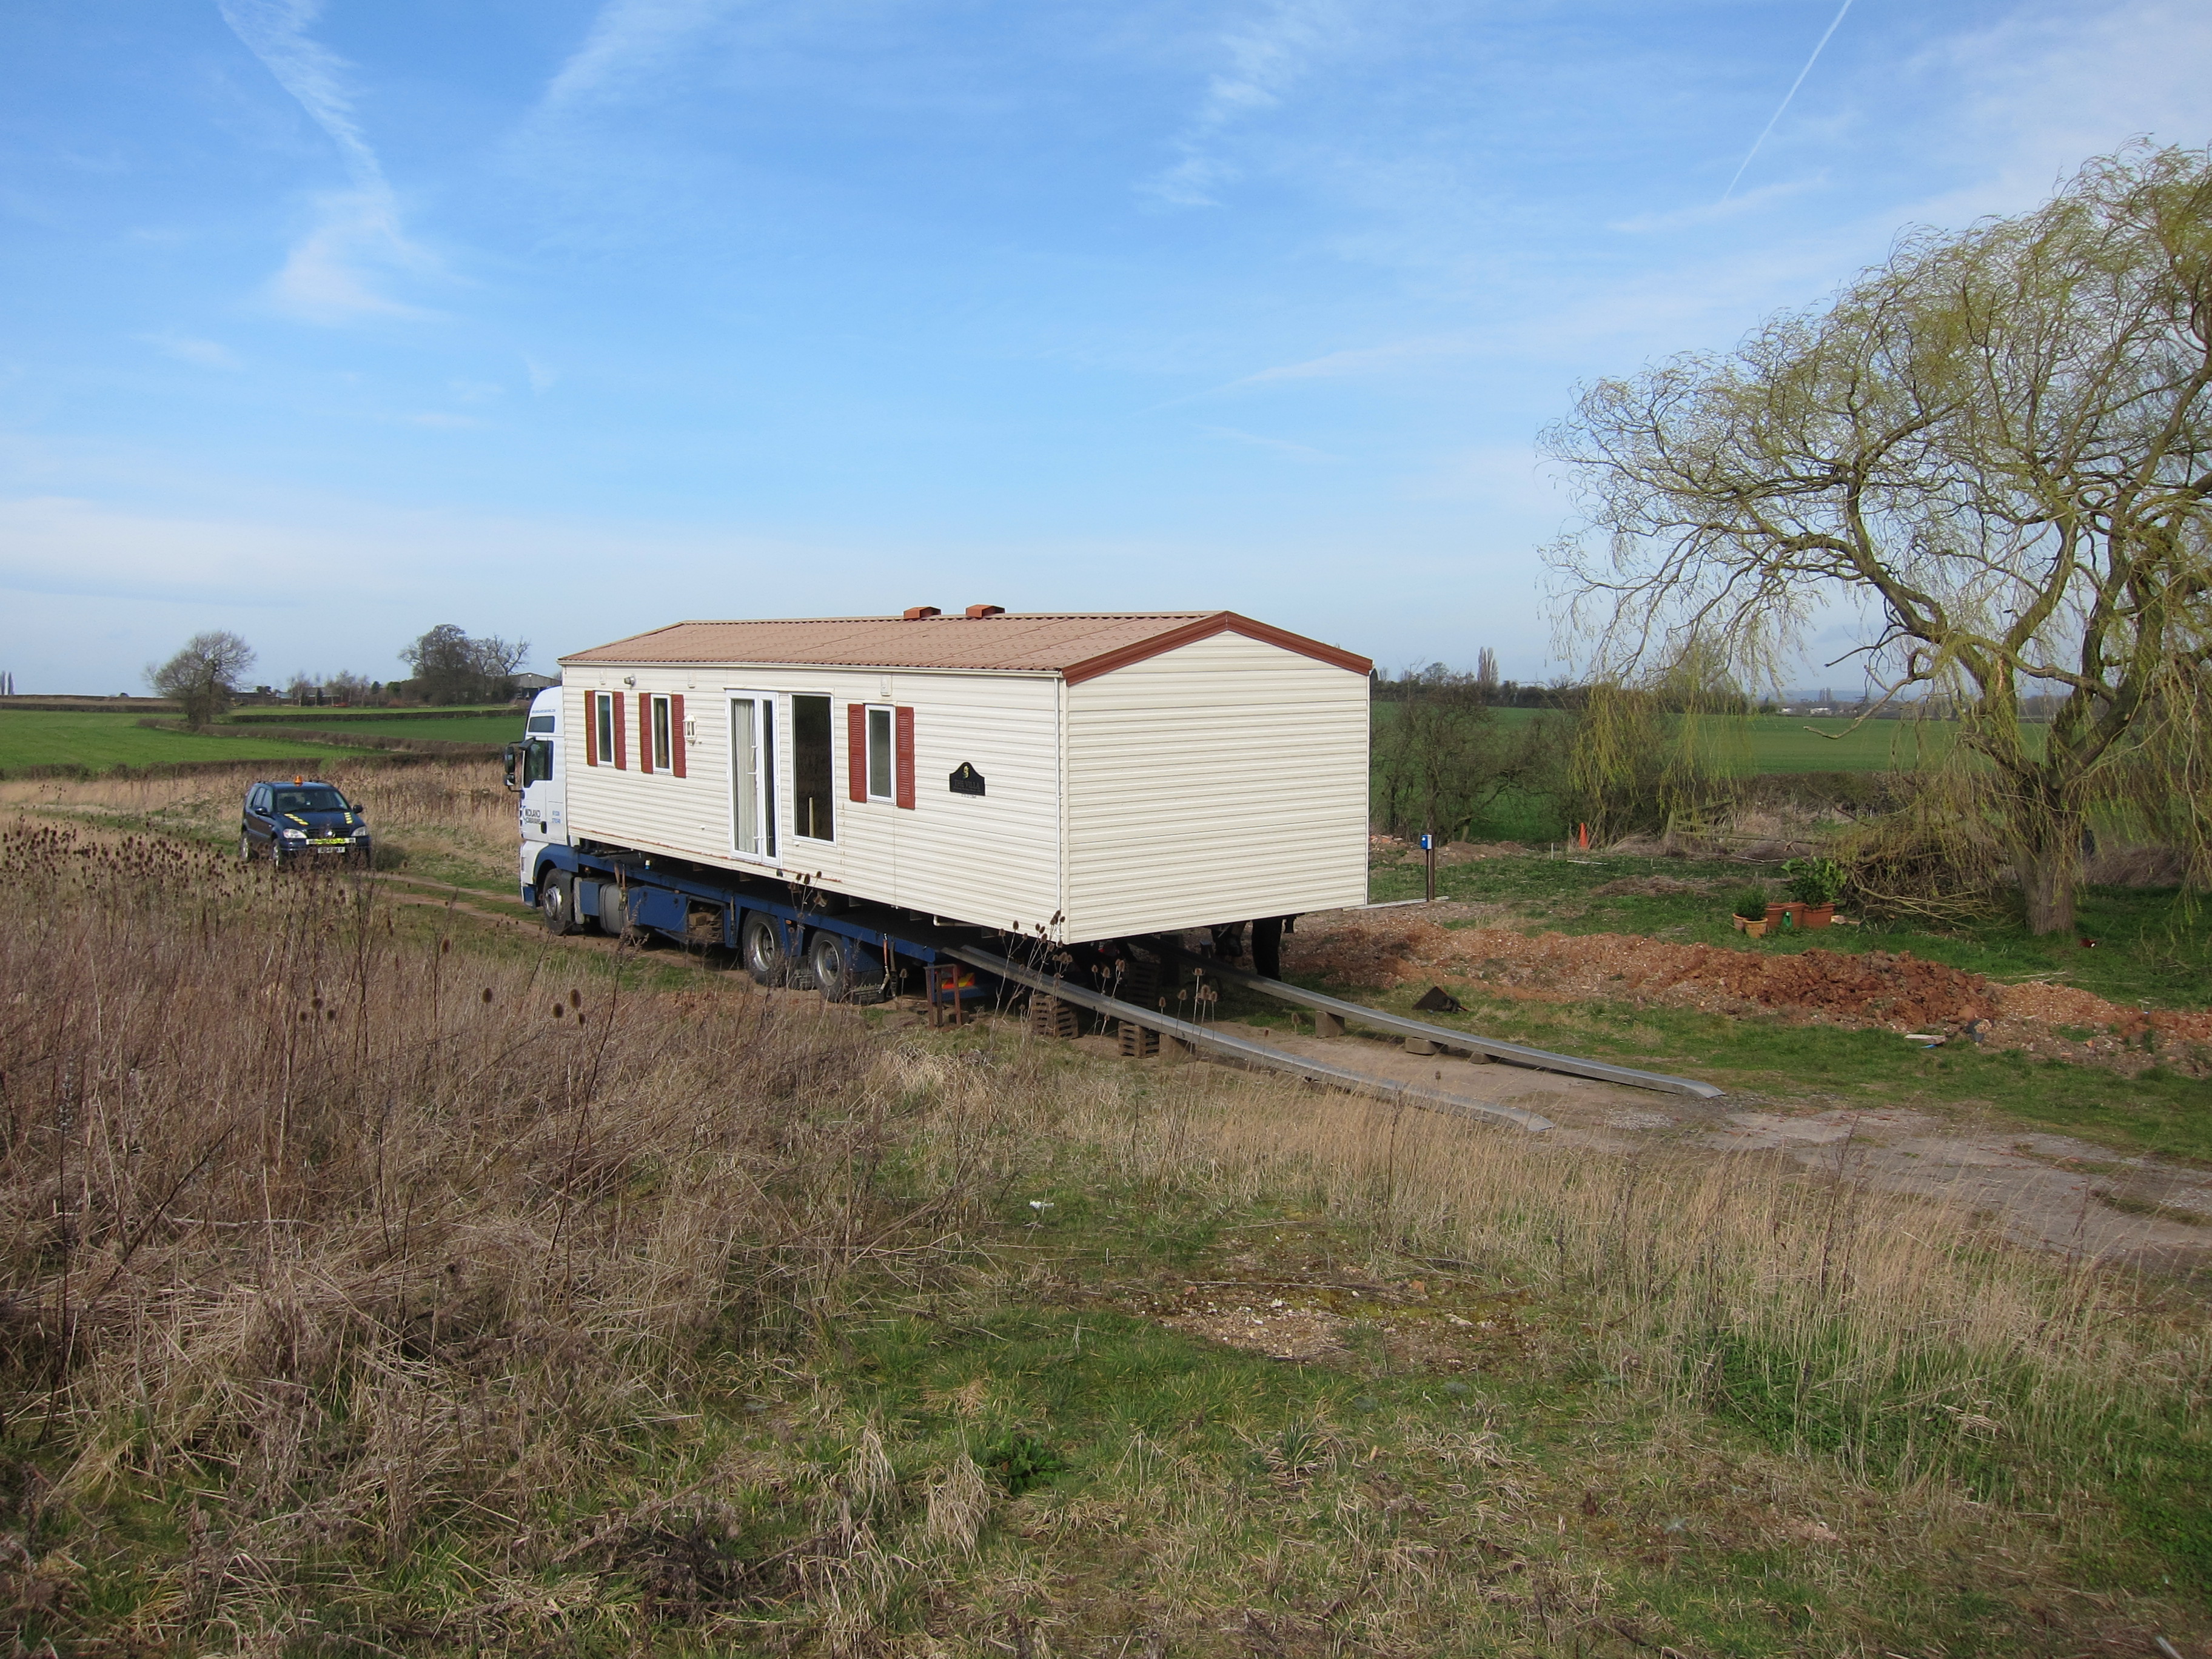
I wanted the static caravan to be well clear of the demolition and building works so it needed to end up about half-way down the site, facing the access track, next to where I had installed the electricity and water supplies.
Willerby Villa static caravan delivery ready for unloading
After unloading from the delivery lorry the caravan needed to be moved into its final position. Although the ground had dried out significantly following the heavy rain in previous weeks it was still a little soft, especially below the surface layer. The total weight of the caravan and all its fixtures and fittings – something like 4 tonnes in total – is resting on 2 wheels so there’s a significant load on each wheel. That caused some problems and the wheels kept sinking into the ground, especially where the trenches had been dug and refilled for the water and electricity services. The delivery team persevered, jacking the caravan up repeatedly and filling the holes under the wheels so that by the end of the afternoon it was finally in the right position.
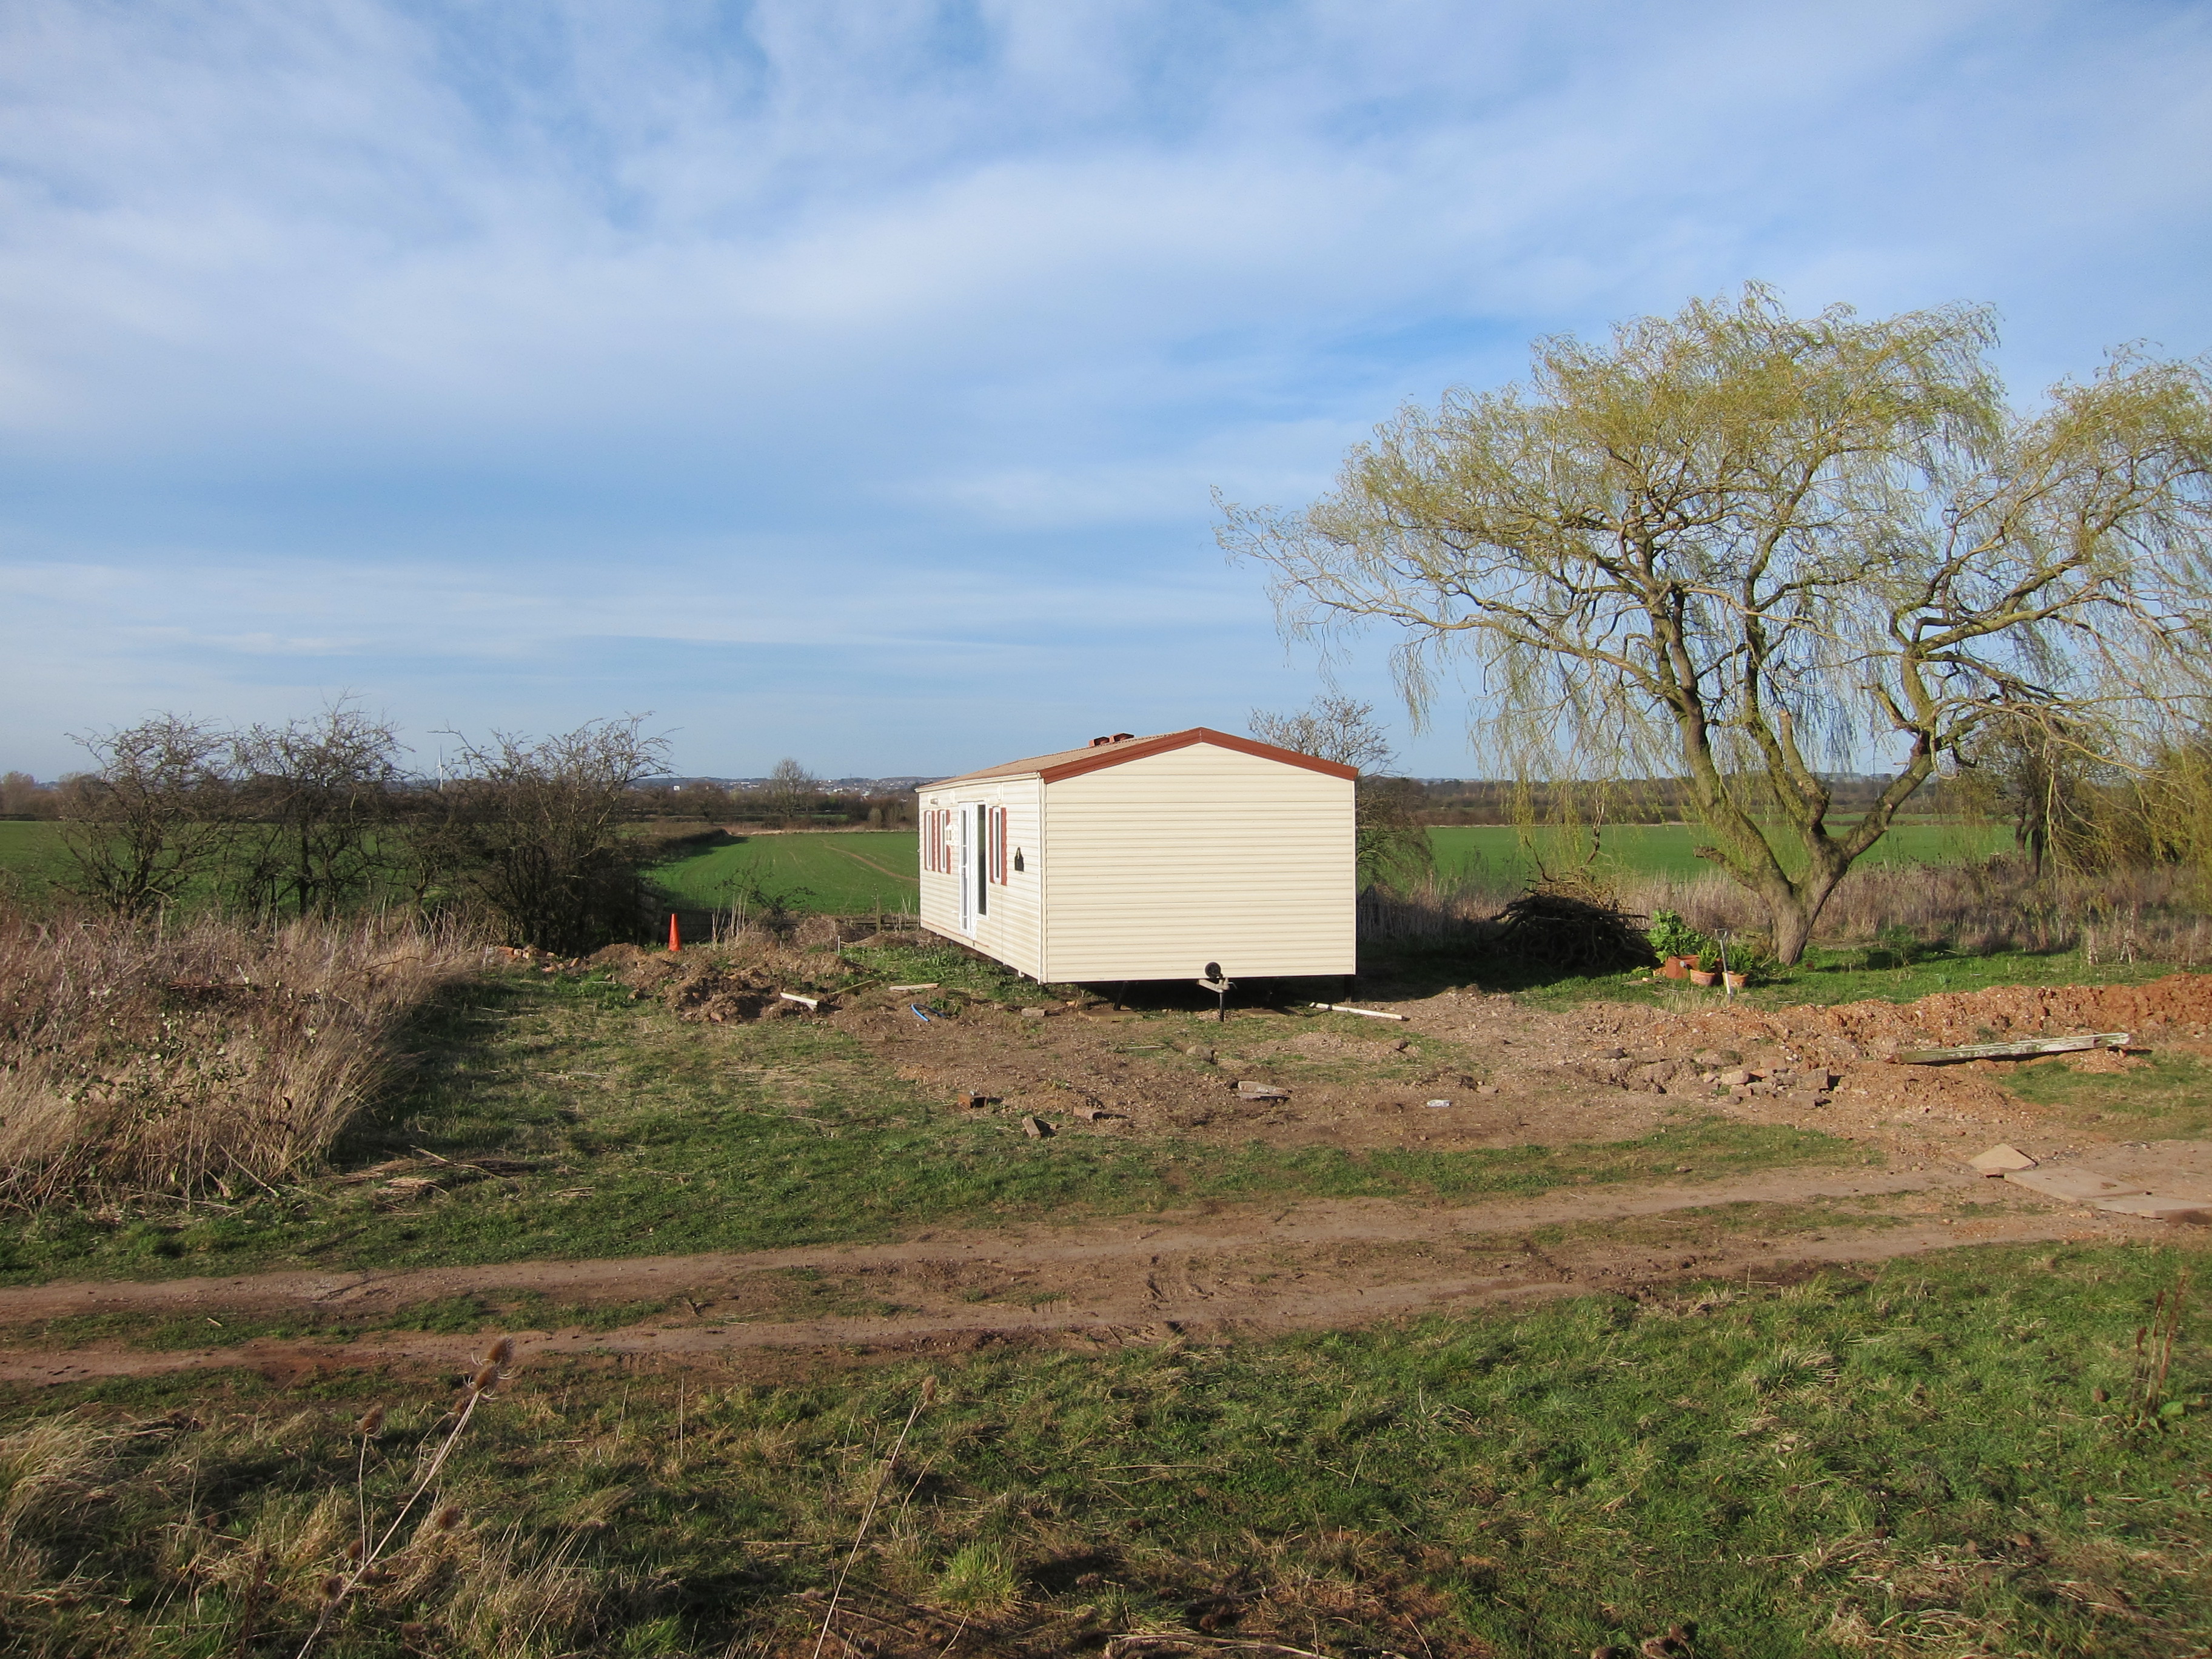
Willerby Villa static caravan delivery in final position
The biggest annoyance for me was that one of the drain valves for the central heating pipes was in an “accessible” (also known as “exposed”) location under the caravan and the plastic pipe fitting got broken so the central heating system that had been carefully filled with antifreeze and corrosion inhibitor drained out and couldn’t be used until the pipework was repaired and the system refilled.
It was very clear that had the ground been even a little wetter it would have been impossible to position the caravan without having laid some hard-standing for both the final location and the route from the unloading point, so from that point of view it was just as well the delivery got delayed until March. Since the caravan is only a temporary feature I really didn’t want to have to build a big concrete pad to put it on.
![]() Static Caravan Delivery by Marsh Flatts Farm Self Build Diary is licensed under a Creative Commons Attribution-ShareAlike 4.0 International License.
Static Caravan Delivery by Marsh Flatts Farm Self Build Diary is licensed under a Creative Commons Attribution-ShareAlike 4.0 International License.
Is this still for sale and how much are you asking please
Hi Lorraine,
Yes – it’s still for sale. I’ll email you with some more details.
David
Hi
Please can I use the picture ‘caravan delivery turning corner please’ in a layout for a new (free publication) magazine called Parklife, article is about moving a static caravan
I like to do things properly and get consent from people rather than just lifting images off websites without asking. I look forward to hearing from you.
Hi Susan,
You can certainly use that picture. Thanks for asking.
In case it helps others with similar questions, the ‘license’ under which all text and photos on this website are published is “Creative Commons Attribution-Sharealike” as further described at https://creativecommons.org/licenses/by-sa/4.0/
Basically this means that anyone can use any content for any purpose – as long as they say where it came from (the “attribution” bit).
David
Hi guys, I have a question unrelated to this post, but surrounding your self-built caravan.
I found you via Google while searching ‘ static caravan cat flap’ of all things….
We are currently in a static while we self-build, and I am having a hard time figuring out how ot install a catflap as I see in your caravan.
How did you do it? What tools/materials did you use ect? Any insight would be amazing
Thanks so much
H
Hi H,
I’ve moved your Comment over to one of the Static Caravan posts, since it’s more related to that content.
In general terms – as with a house – the first question is whether to put the cat flap in a door/window or in the ‘wall’. For a door/window then it’s the same as for a house, but unless you have a door with a uPVC panel at low level that’s probably difficult. There are cat flaps which can go into circular cut-outs in double-glazed glass doors or windows but the holes need to be cut when the glass panel is being made (before it gets toughened) so it would need a whole new glass panel, which would likely be expensive.
I decided to fit the cat flap into the “wall” of the caravan which – in my case – was just a thin aluminium outer skin with a hardboard skin on the inside and fibreglass insulation filling the (approx 40mm) gap between those. Then there’s a frame of vertical and horizontal wooden members between the inner and outer skin in strategic places. The key thing is to work out where the wooden frame members run – from memory those are roughly 60mm x 40mm and the vertical ones tend to be right next to window openings, and there’s a horizontal one all along the bottom of the walls. I felt it was best to put the cat flap next to one of the vertical frame members, for stability, but you definitely don’t want to be cutting out any of the wooden frame.
So, something like:
Hope that helps get you started,
David