Farm Gate Hold-Back Latch

There used to be an old wooden gate at the boundary of the property, where the access track enters at the West end of the site, but that fell apart several years ago and ended up on the bonfire. While there doesn’t really need to be a gate there, having one provides a ‘spare’ for the matching gate at the entrance from the lane (which is more at risk of accident damage) – and helps stop the sheep running into the wildflower meadow when they’re being moved between the fields either side of the track.

This gate will spend most of its life held open so needs some sort of ‘latch’ to hold it in place. There are few options – ranging from traditional forged steel models to more modern designs – but I settled on the Gate Hold-Back Catch Hot-Dip Galvanised – ABL from Locinox which was £23 inc VAT from local steelwork supplier FH Brundle. This provides 50mm of vertical adjustment and is 500mm tall so there’s plenty of length in the ground to anchor it in place. (Other variants are made from aluminium so are slightly more fragile and also slightly more expensive – though they do offer more adjustment options and can be configured to latch either ‘over’ or ‘under’ a gate or door.)

Locinox ABL Gate Hold-Back Catch in Galvanised Steel

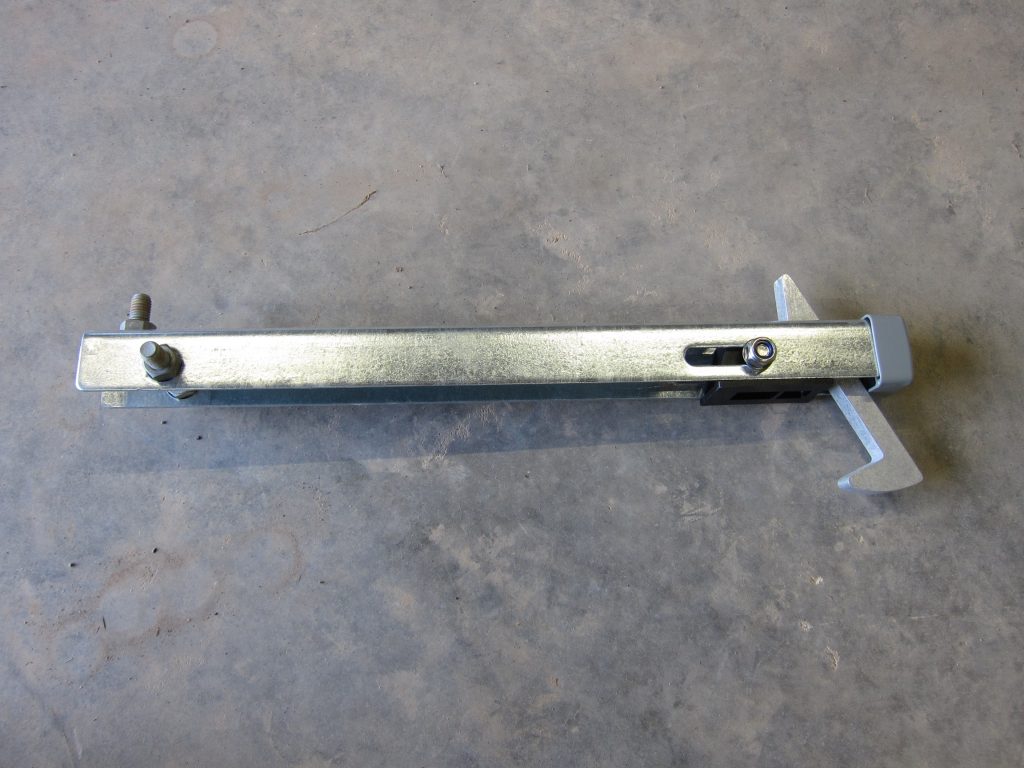
The galvanised steel bolts visible at the left of the photo above were my addition; the unit came with three large holes but adding bolts and nuts provides a much better ‘key’ into the concrete footing to maintain the vertical alignment. (There’s a third bolt-and-nut not visible in the photo.)

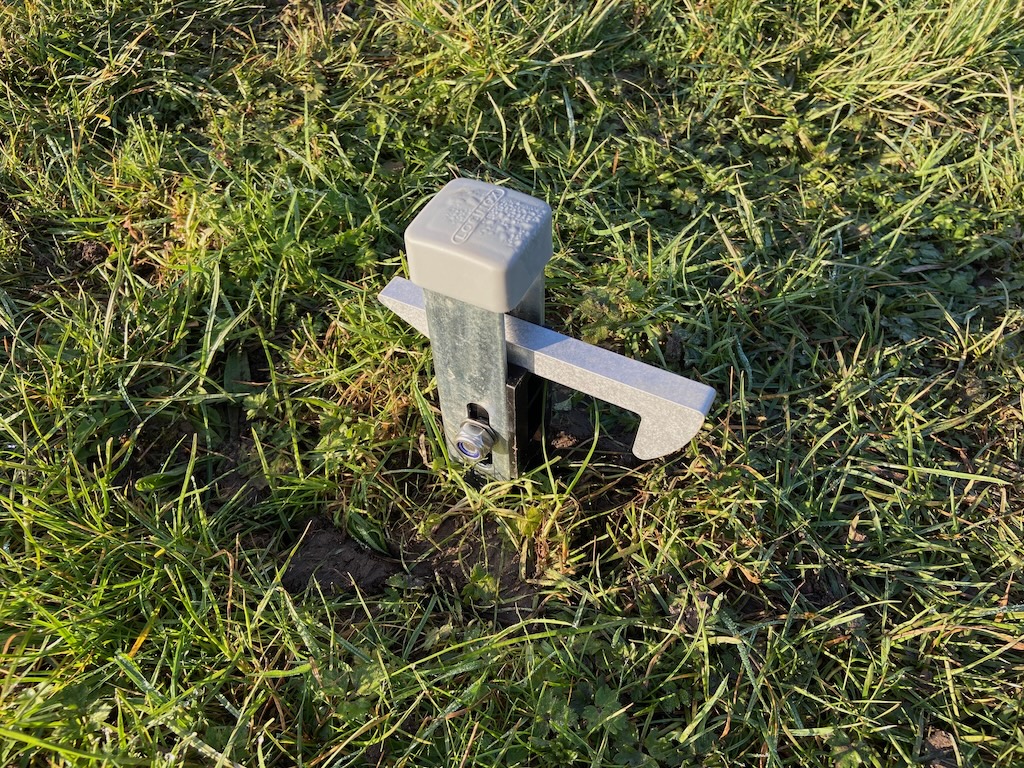
The gate sits quite low to the ground so only about 100mm of the latch is left protruding when it’s installed.

Gate latch mounted in the ground, with the majority of its length embedded in a concrete footing

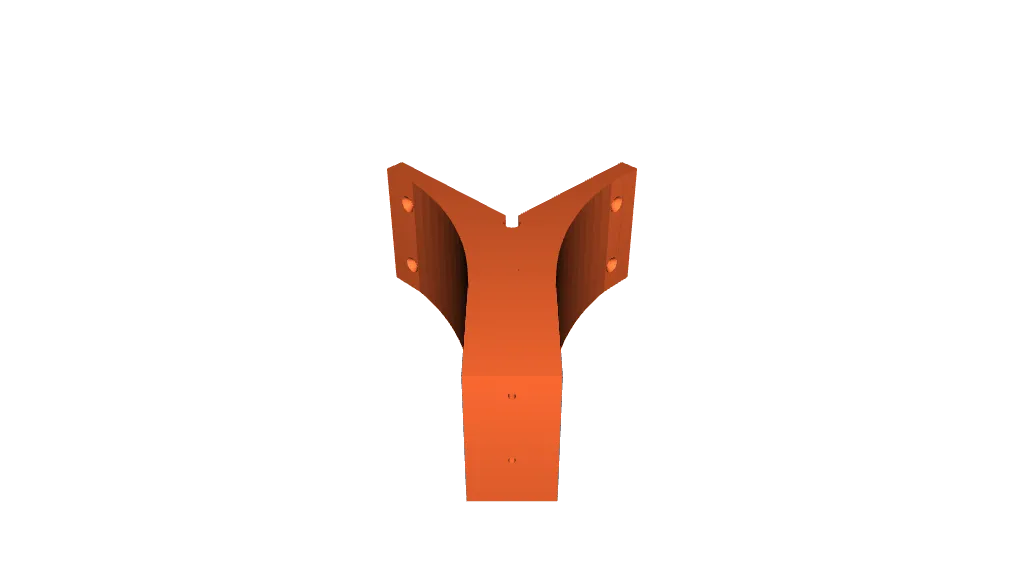
The bottom bar of the galvanised steel gate is a 44mm diameter round tube, which isn’t ideal for ‘catching’ on the latch hook, so I decided to add a 3D-printed rectangular block to clamp around the tube. This took a couple of attempts to get right but worked out pretty nicely using some silver-grey PLA filament I happened to have available.

3D Model of Gate Tube Clamp modelled in OpenSCAD

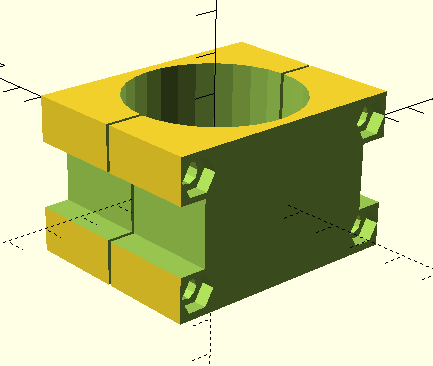
One refinement I’d add if printing this again (and PLA isn’t expected to last more than a few years when exposed to the weather) is to radius the corner of the block at the back of the gate, to help the latch bar ‘rise up’ when latching it – right now it needs a bit of ‘help’ to lift.

The finished result of the latch holding back the gate using the rectangular clamp block

Outdoor WiFi for the Outbuildings

While there are several Wireless Access Points inside the House (and there will be several more inside the Outbuildings) those do not provide a good WiFi signal outside, since the walls are quite effective at blocking the radio signals. Hence there are also two outdoor Wireless Access Points mounted on the House, which are Ubiquiti UniFi UAP-AC-M devices:

  • One on the West-facing elevation, covering the wildflower meadow and the driveway to the lane
  • One on the East-facing elevation, covering the Courtyard and the Southern side of the Outbuildings

One disappointment is that those provide almost zero coverage to the South and North of the House. South isn’t too much of an issue, since there’s only a small ‘blind spot’ (the site boundary is quite close), but North is more of a problem since there’s a much bigger area with poor WiFi coverage.

In an attempt to address that ‘blind spot’, the Outbuildings will have one additional UAP-AC-M, facing North-West, to cover the parking area North of the Garage doors and the driveway as it passes the North side of the House. To try to cover both North and West, it makes sense to mount the access point on the corner of the building. Mounting brackets are supplied with the access point to attach directly to a wall or to a pole, but mounting on an external corner is more problematic.

Fortunately, somebody has addressed this issue by designing an excellent 3D printed corner bracket. The same STL file is published:

Rendering of 3D Model of a Corner Mount for a Ubiquiti UAP-AC-M Outdoor Wireless Access Point

At first glance this bracket looks very ‘big’ since it places the unit 100mm out from the corner, but that’s no bad thing from an RF signal standpoint. It has fixing holes perfectly placed to suit the supplied wall mounting bracket – then further (countersunk) holes to fix the bracket to the wall.

Before purchasing the additional UAP-AC-M, I did review whether to install a more modern outdoor access point instead. The UAP-AC-M conforms to the WiFi 5 standard (for about £75) and there are alternatives which support WiFi 6 (for about £150) or WiFi 7 (for about £200). Given that significant price differential – and given that I have two UAP-AC-M units already – I decided to go with the cheaper option.

A smartphone or similar device will ‘roam’ between different access points while moving around the buildings or between inside and outside. While doing so, it is not expected to lose its WiFi connection (each access point presents the same set of SSIDs) or change its IP address. (The VLANs which correspond to each SSID are ‘stretched’ between the House and the Outbuildings, so once allocated an IP address via DHCP the WiFi client can continue using that same IP address with different access points – because they’re all on the same VLAN and hence the same subnet.)