For the ‘farm’ hedges around the boundary of the site, I’m happiest with Hawthorn – which is what the boundary hedges were originally and still mostly are now, just with a few (big) gaps. Some of the Hawthorn has given way to Blackthorn, which isn’t quite as good but provides an interesting contrast. (The main problem with Blackthorn is that it spreads by suckering and the whole hedge tends to grow wider over the years. It also responds less well to hedge-laying than Hawthorn.)
For other hedges within the site, especially near the buildings, I generally prefer Hornbeam. While it’s a UK native and happy to tolerate wet ground (much better than Beech which looks very similar) it can be kept trimmed into a tidy, formal shape.
The only sensible way to plant a hedge more than a few metres long is using bare-root plants but those really need to go into the ground while they’re still dormant – which ideally means before the end of March (and even then the plants will need to have been kept in cold storage). The existing Hornbeam hedge to the South of the House lost the leaves it had kept over winter and started to bud around mid-March, indicating that new bare-root hedging would likely also be coming out of dormancy at a similar time.
Ever since the Outbuildings got completed, with the ground around them looking rather flat and bare, the plan has been to plant a hedge along the back of the parking area to the North of the Garages, to act as a wind-break and to help separate that area from the planting beds further North. That was waiting on the fence along the Eastern boundary being installed, which happened at the start of March.
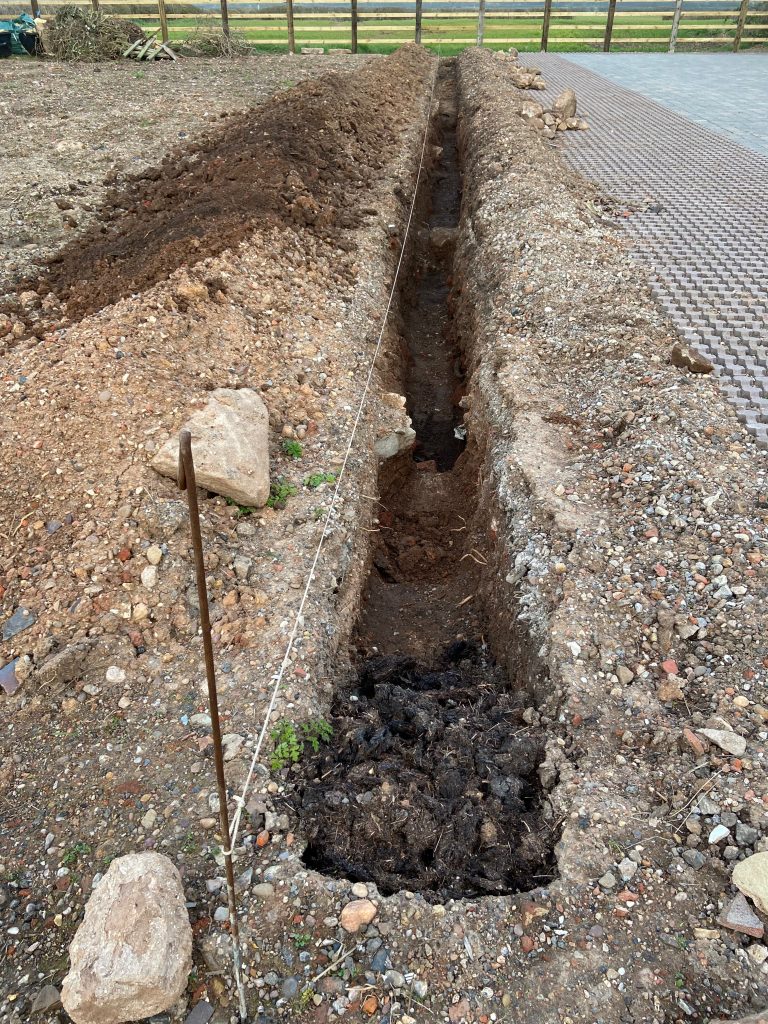
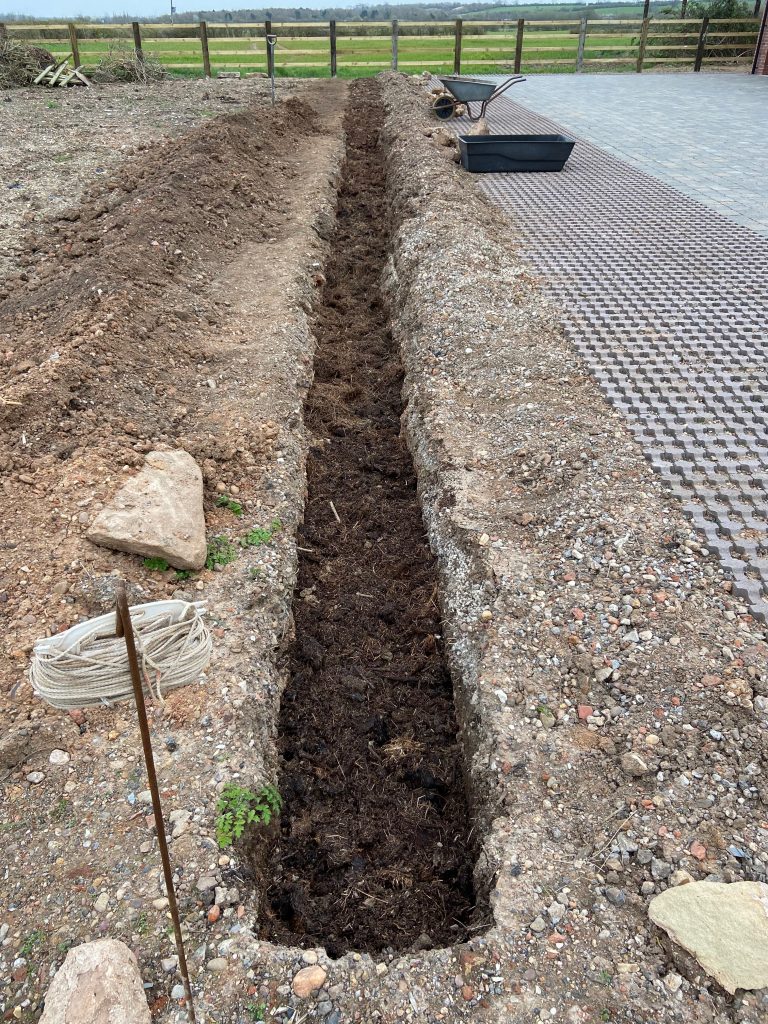
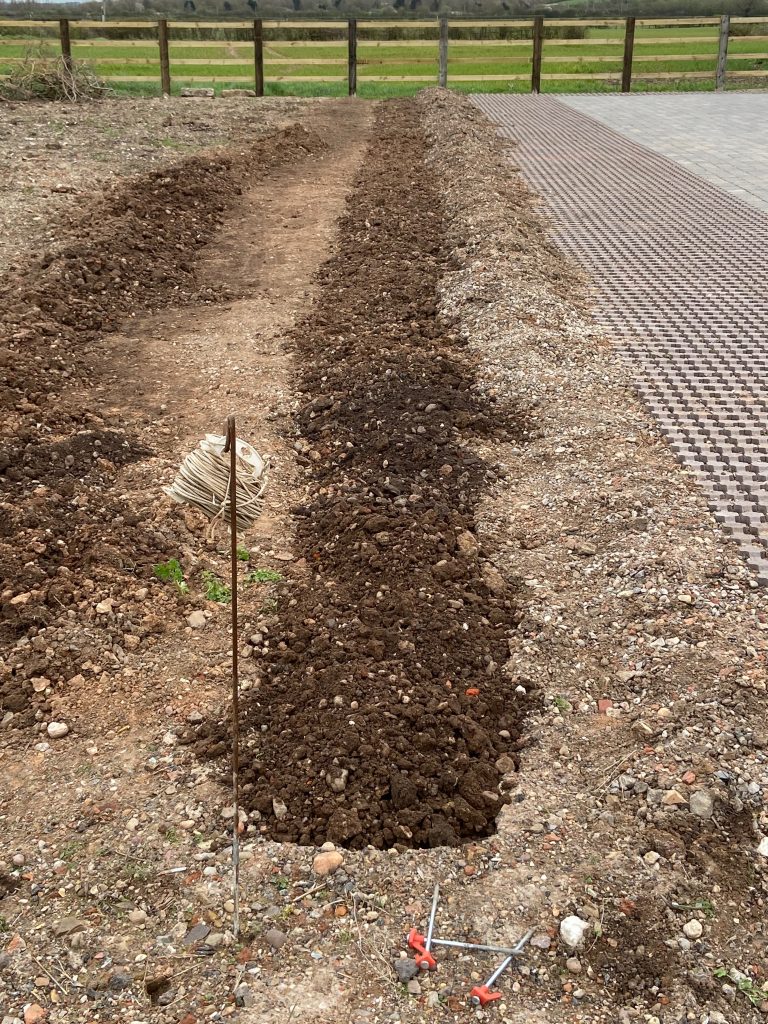
What should have been a fairly quick job of preparing the ground turned into a much bigger task when it became clear the ground had been heavily compacted by all the building plant traffic. When it gets compacted, the ground here turns into a solid layer which is almost waterproof – resulting in a thin layer of mud on top of an impermeable layer below. That’s no good for planting into so the compacted layer needed breaking up (generally with a pickaxe) and forking over. To make matters worse, under the compacted layer there was a lot of demolition rubble from the old barn buildings (which had been there since the House was built) – many barrow loads of full-sized bricks and half-sized concrete blocks – so that had to come out to check the ground wasn’t compacted below it. In some places that meant digging down nearly a full metre, to expose the original topsoil.
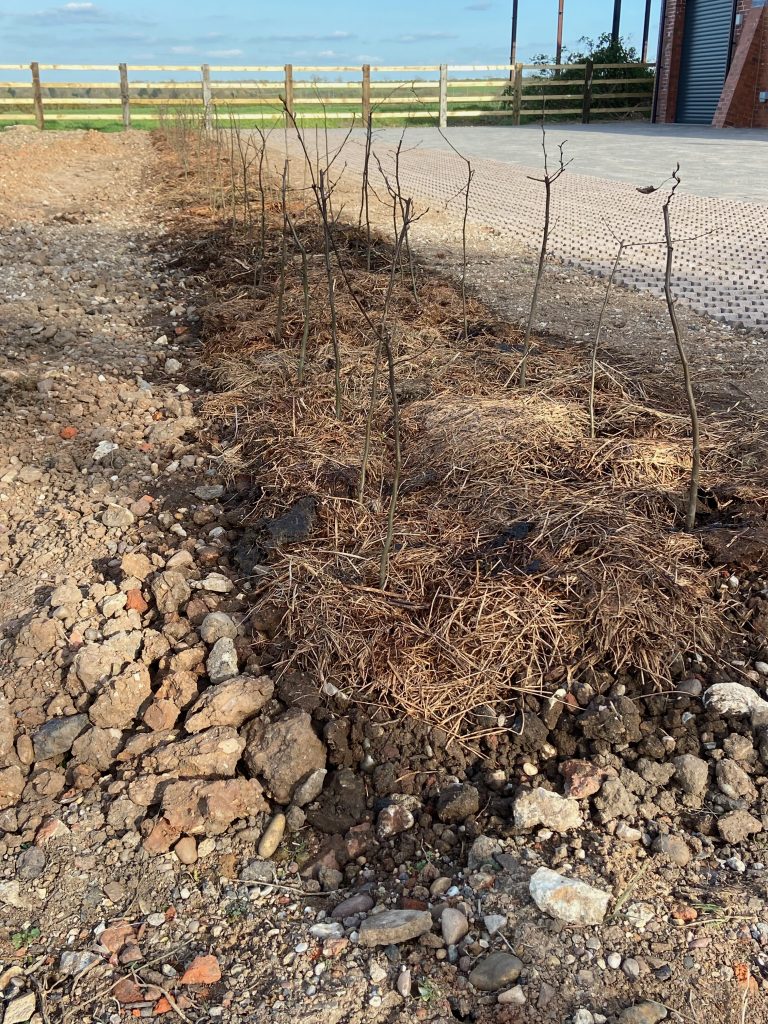
With the made-up ground consisting mostly of subsoil, rather than topsoil, it needed plenty of organic matter adding – of which there is a plentiful supply from several years of composting the hay cut every August from the wildflower meadow. The main problem with that is judging how far all of the disturbed ground and compost will settle, so that the hedge ends up level with the adjacent parking area. Ideally I’d leave it to settle for a month or so but then that would really be too late to be planting bare-root hedging.
Previously I’ve bought bare-rooted Hawthorn and Hornbeam from a local supplier but they were out of stock of Hornbeam for this season so I used mail-order supplier Best 4 Hedging based in Chorley, Lancashire, who were also a bit cheaper. I’d hoped that by placing an order on a Monday I’d avoid the risk of the plants being stuck in-transit over a (potentially warm) weekend but they ended up shipping on the Friday and I wasn’t expecting them until the Monday but I was pleasantly surprised by DPD delivering on the Saturday.
The plants were just starting to sprout leaves – which helped to confirm none of them were dead. They were very similar to what I’d planted before, with the expected variation in heights and stem thicknesses; quite possibly they had come from the same nursery as before. I kept them in buckets of water in the dark for a couple of days while finishing the preparation work and then planted them over a couple more days. The hedge is 24m long and I’d planned on 5 plants per metre (40cm spacing in two staggered rows 40cm apart) for 120 in total. It always feels like vandalism to cut off the top 1/3 of each one after planting, but this is important:
- To encourage more shoots to sprout from the base, for leaf cover closer to the ground
- To reduce the number of leaves needing water from the root system while that recovers from the shock of being transplanted
- To reduce the effect of wind loading while the plants get settled – especially since I don’t bother staking them
It’s quite hard to get a good photo of a line of brown sticks against a brown background; I’ll take further photos once they get some decent leaf-cover.
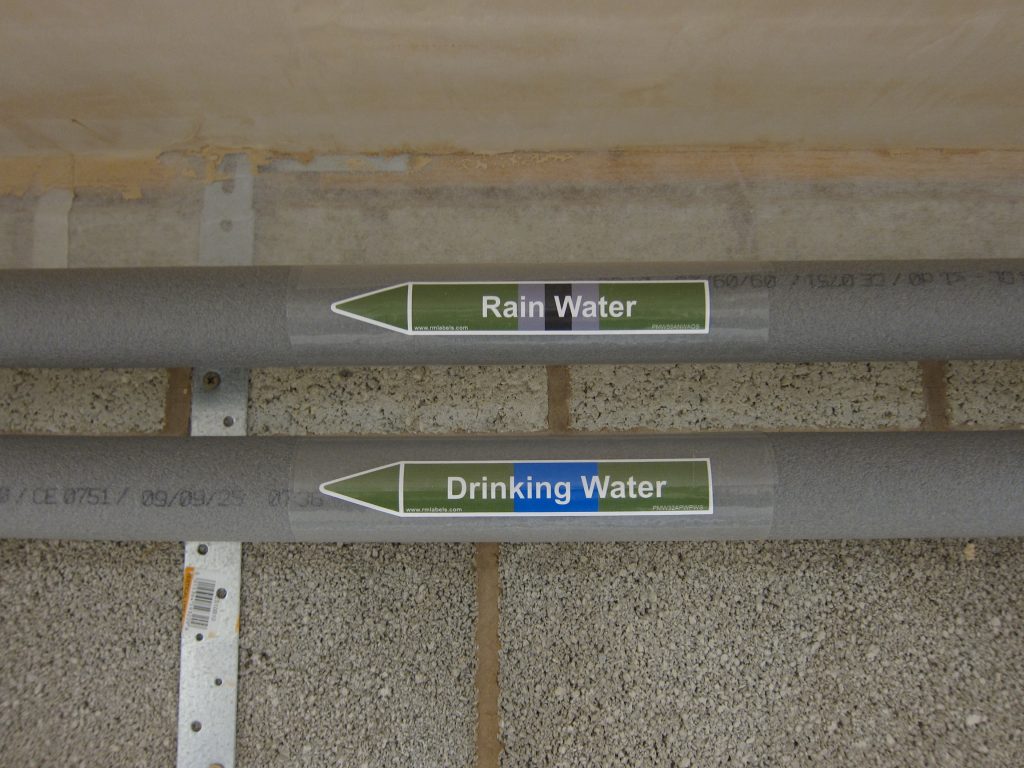
With the rainwater harvesting system feeding two outside taps by the garages it proved easy to water in the new plants using a hose and spray nozzle. While the cost of 1,000 litres of metered mains water is only about £2.50 it’s good not to have to give any thought to the water usage. I was also careful to thoroughly soak the compost mulch covering several times, in the hope that by being wet that would be less likely to blow away in the 40mph winds forecast for a few days after planting.