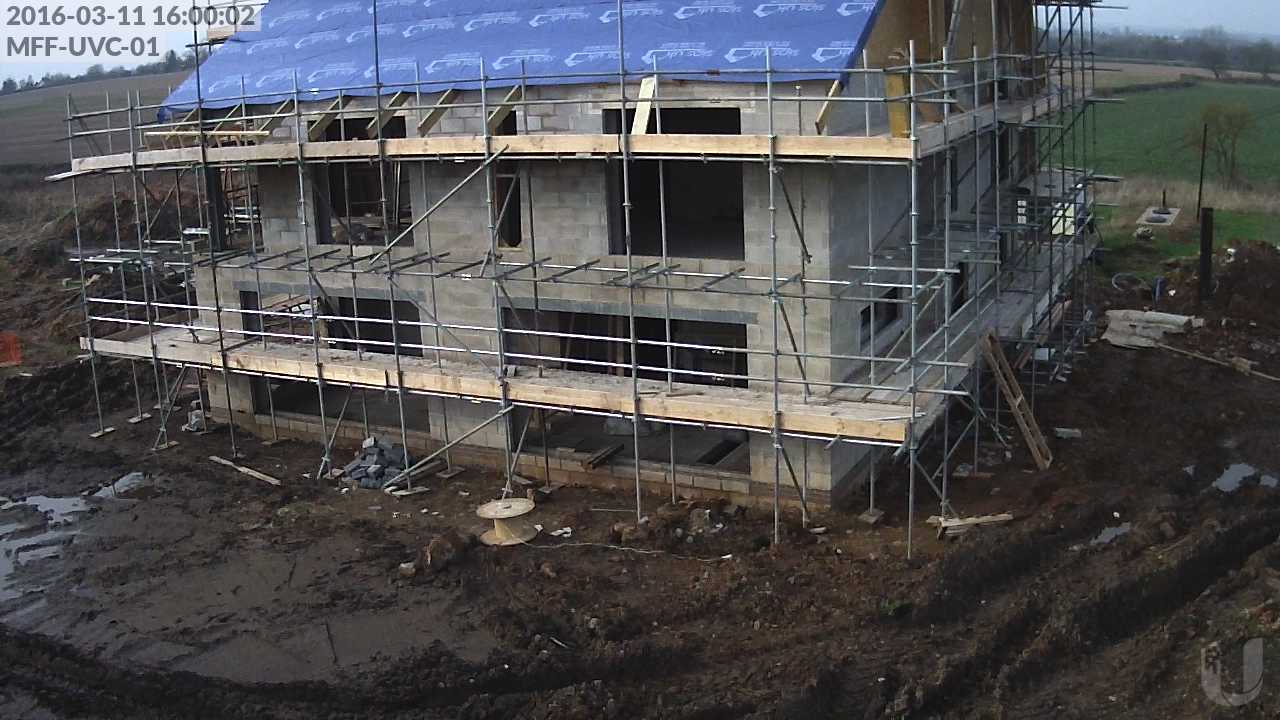
I’m finding that there are a whole lot of things I need to keep track of: decisions on which kitchen appliances to choose, thoughts on colour schemes for various rooms, reminders of items to buy or install at different stages of the project etc.
I’ve been using a simple Shopping List spreadsheet for specific things I knew I needed to research and then buy and also saving away Internet Bookmarks for different options I came across. While these are better than nothing I couldn’t help thinking there must be a better way of managing the information – and that lots of other people must be facing the same challenge.
I’ve noticed that most activities progressed through the same set of phases:
- I identify a problem or requirement
- I do some research into the options to address or solve it
- I pick one solution from the short list of options
- Sometimes I go back later and change my mind, based on further research or feedback from elsewhere
- If something needs buying I research the best place to buy it from and what the lead time is likely to be, then make a note to buy it at the appropriate time
- If something needs some specific configuration or installation I make a note about how and when to do that
One of my work colleagues recently showed me Trello which is a simple web-based project management application and is free to use (unless you need the Enterprise features).
Trello manages Lists of Tasks and lets you record notes against Tasks and easily move Tasks (which are known as Cards) from one list to another, for example as they pass from Design to Build. After experimenting with it for a couple of days I’m finding it’s got just about the right balance of structure and freedom for what I need right now.
Here’s a summary of how I’m using it:
- I create a Card for every Topic I know I need to work on, for example:
- I will need an Ethernet Switch of some sort for the house’s computer network (most likely more than one)
- I will need a new Dining Table for the main Dining Room, since I’m using my old table in the open-plan kitchen / dining / living area
- I use the Description field on the Card to capture the Requirements and Constraints
- I add a colour-coded Label to a card to group it with a category of similar topics
- I add sequential Comments to a Card as I do work, noting the results of research I have done or options I have identified
- I move Cards between Lists to indicate whether they need Research, whether they need a Decision on the various options identified by the Research, whether I need to go ahead and Buy something based on a Decision, whether I need to Install or Configure something I have bought etc.
Seems to be working OK so far.