Week 32, Day 5:
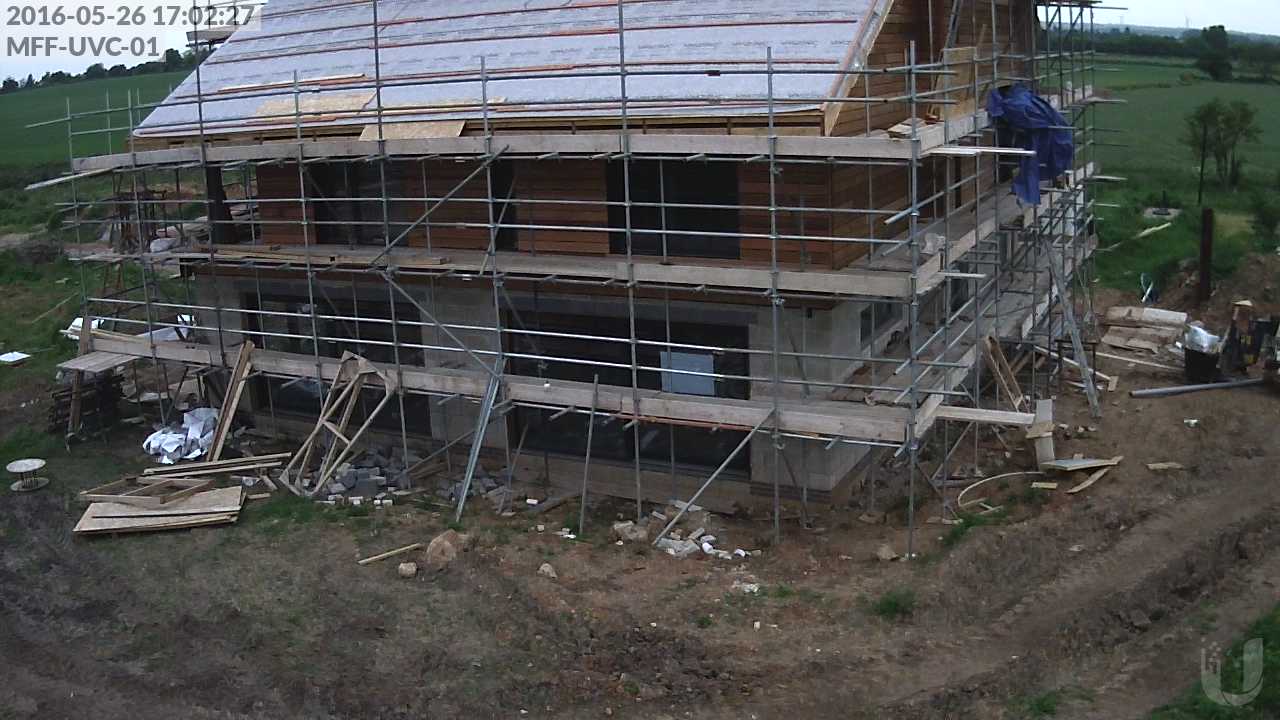
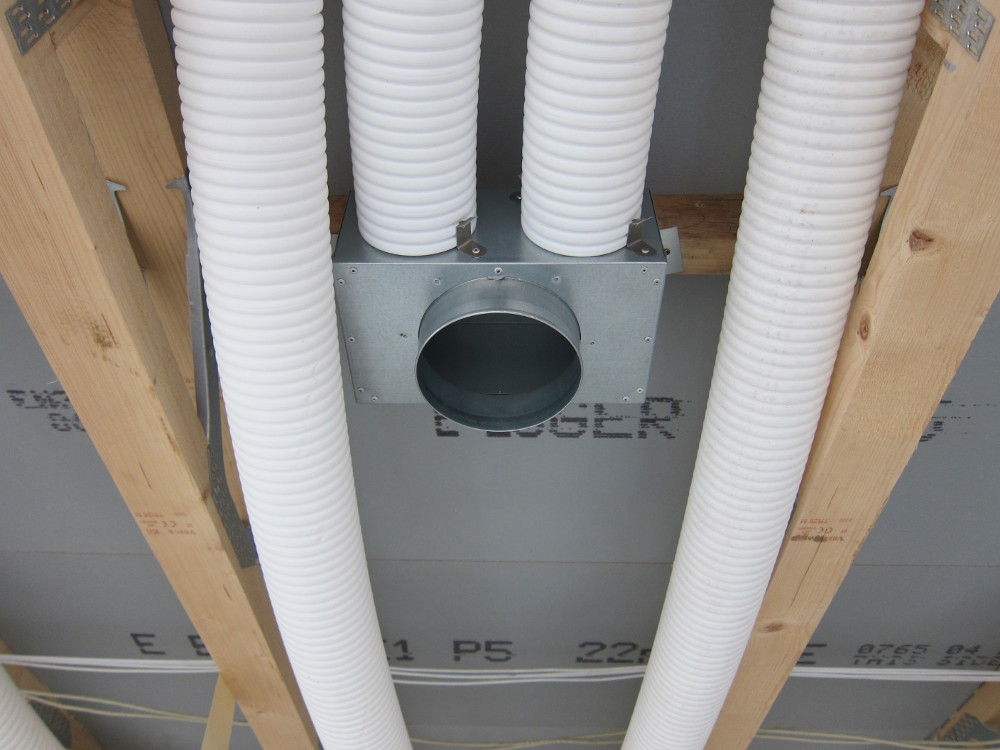
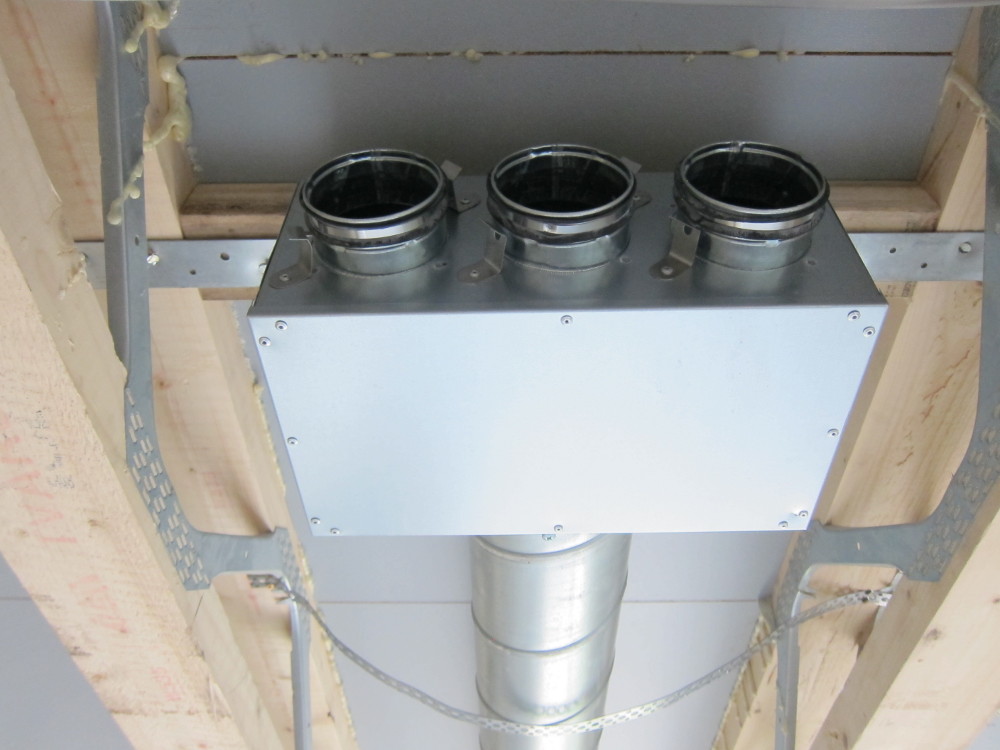
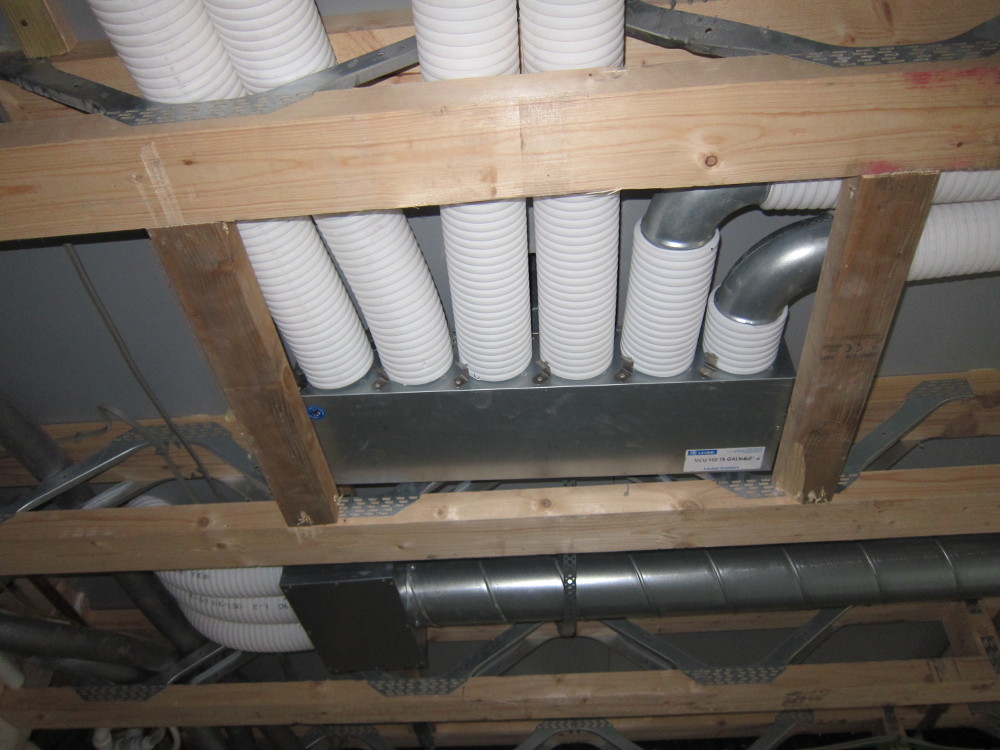
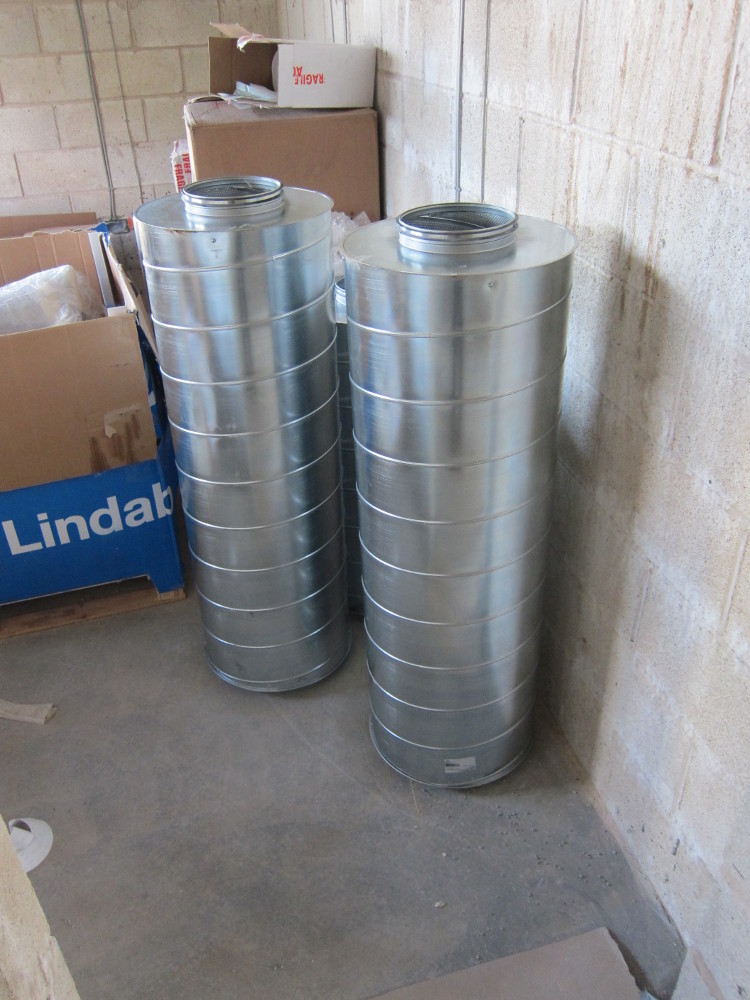
- Little visible progress on the outside but plenty of progress on the inside – plastering, air-tight taping, more ventilation ducting and electrical first fix
- Today’s featured topic is the installation of the new underground electricity cable – it’s not connected yet but getting it in the ground feels like a big step in the right direction; more details below the photo
Week 32, Day 5
The original electricity supply came overhead from the pole-mounted transformer. Some of the cables were a little bit thin (especially for the 32A start-up current required for the Ground Source Heat Pump) and had seen some damage over the years so Western Power Distribution agreed to replace them and elected to bury the new cable underground.
The new cable has an impressive specification: 3 cores, each of 185mm^2 and with steel wire armouring – roughly 48mm diameter overall. On agricultural land cables need to be buried at least 1m deep. Sam the digger driver was an expert and very respectful of farming practices – the photo below shows the turf and topsoil piled on the left with the subsoil piled on the right. Note the transformer in the distance.
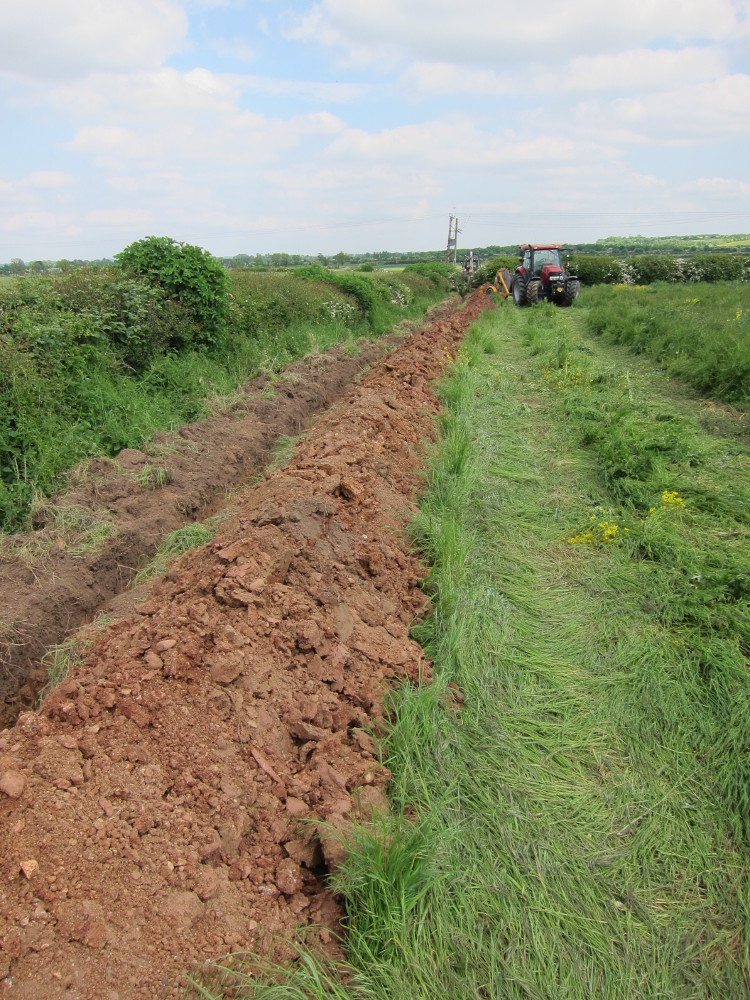
Installing the underground electricity cable
While there is a crop (oil seed rape) in the field right by the transformer most of the cable run was through a field currently in set-aside or over my land, along the line of a fence that had seen much better days and needed replacing anyway.
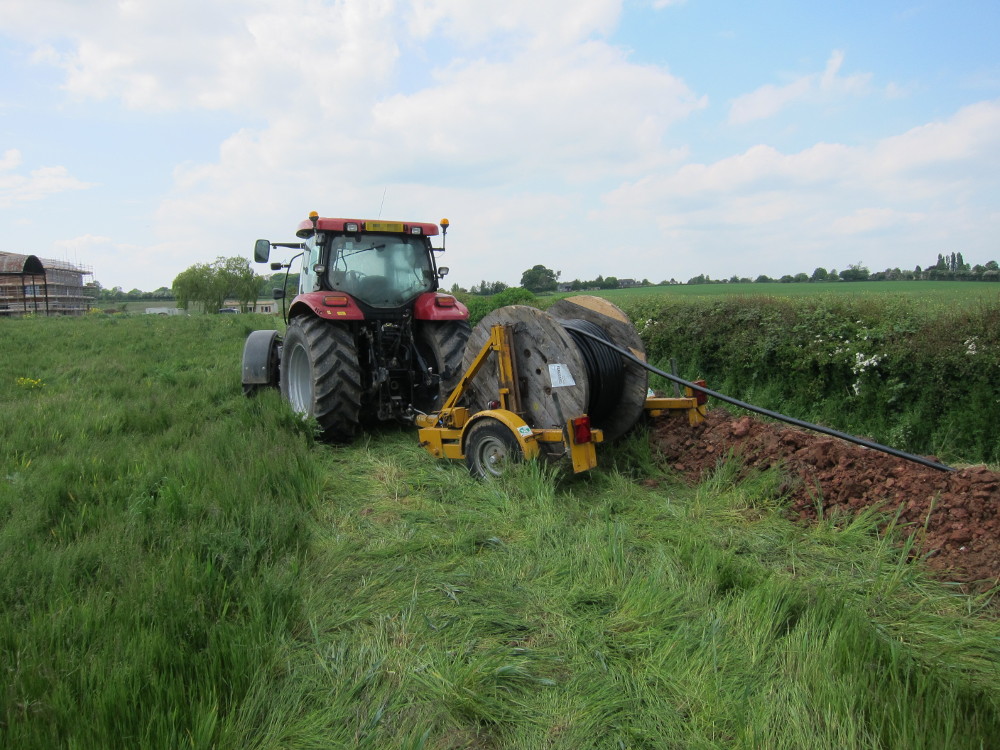
Close up of the tractor and drum-trailer
At the “house” end the cable runs south along the line of the fence. It will be joined onto a smaller cable underground before running into the existing GRP cabinet – see the original electricity re-connection post for more details of that.
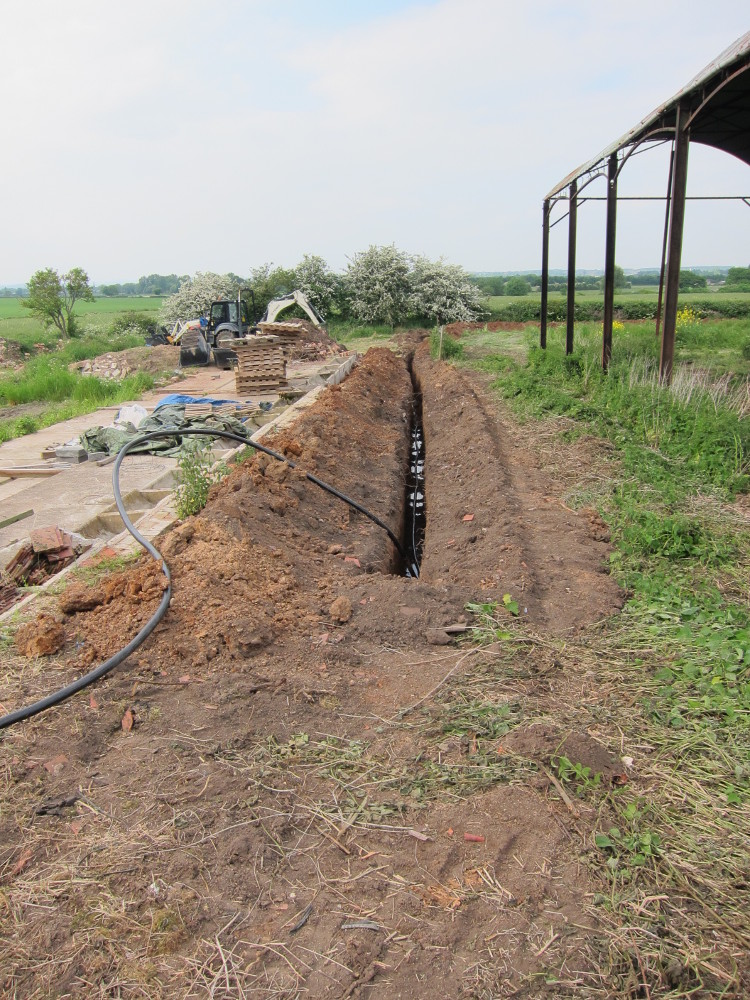
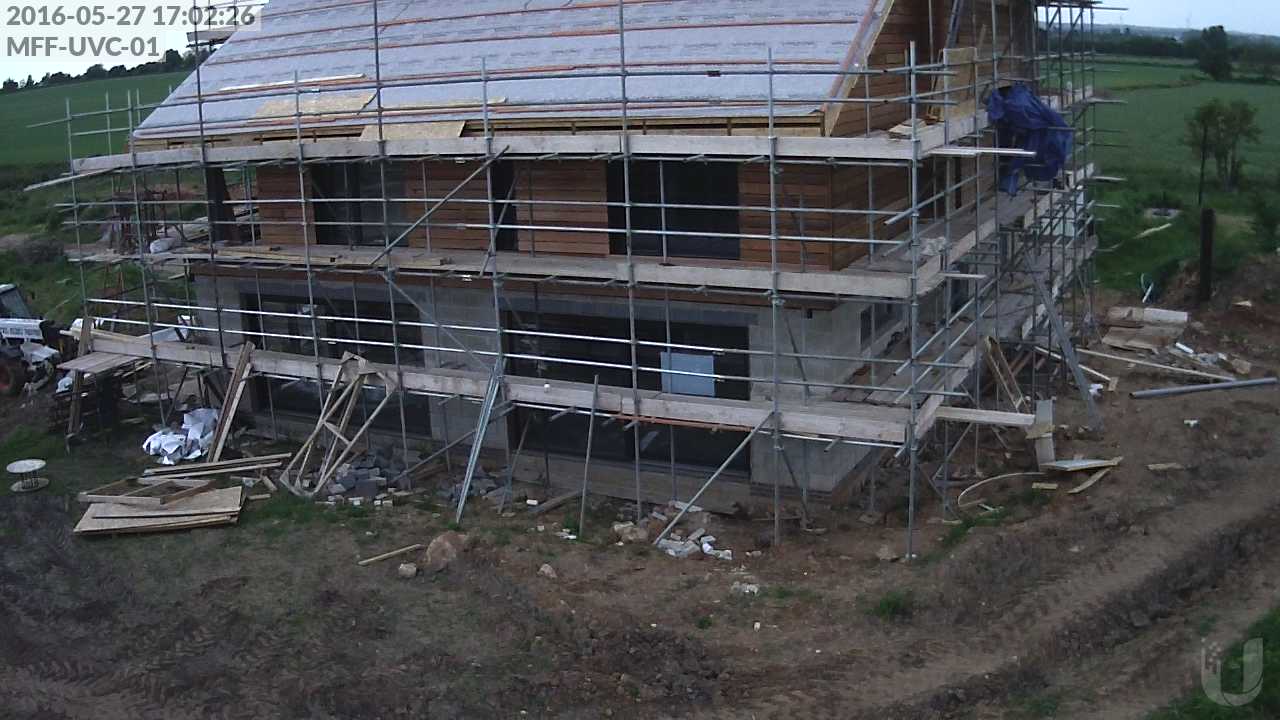
Cable trench alongside outbuildings
The new cable is scheduled to be brought into service on 2016-06-07, after which the old overhead cables and poles will be removed.